Layouts are a feature in Joomla 3 that makes possible to re-use small portions of your design, using template overrides.
In this tutorial, I'll show you how to create really flexible and re-usable custom layouts.
Follow these 5 steps to become a master of custom layouts.
For the examples in this tutorial we're going to use Breeze, a free template you can download here.
Step #1. Create a template override
Let's start by creating a template override for an article. We need the override before we can create our custom layout.
In your Joomla admin area, go to Extensions > Template manager > Template > details & files. Here's how that looks for Breeze:

Now let's create the override file that we're going to use:
- Click Create overrides
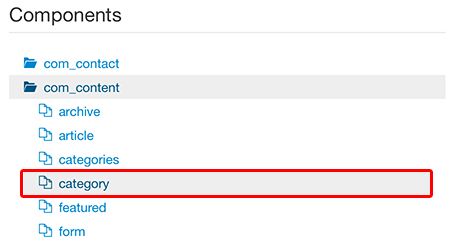
- Click com_content
- Click article
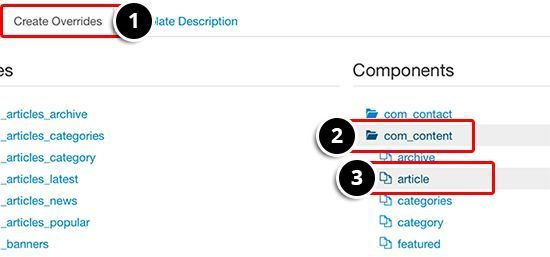
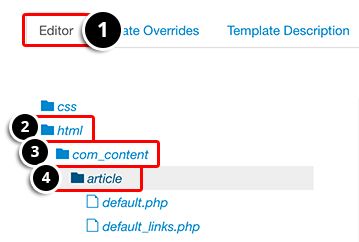
This will automatically create a template override file that you can edit:
- Click Editor
- Click html
- Click com_content
- Click article
Note: in case you can't create your override from the administrator area, you can do in the old-fashioned way as this post explains.
Step #2. Create the layouts folder
Now we're going to create a layouts folder that will store our custom layouts.
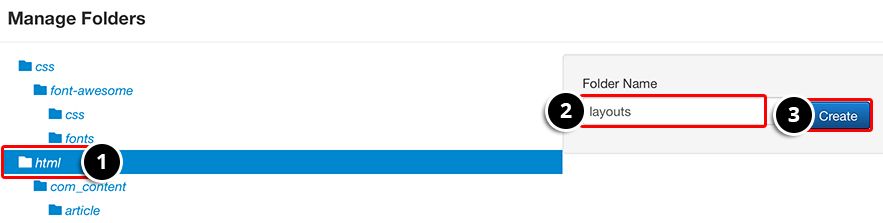
Click the Manage folders button:

- Click the html folder
- Type "layouts" as the name
- Click the Create button
Note: do the above steps only if the folder doesn't already exist.
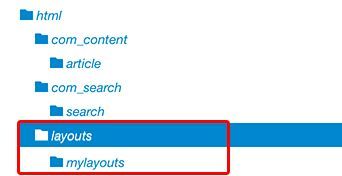
Now repeat the process to create a new folder inside layouts named mylayouts. The structure should look like the following image:
Step #3. Create a very basic Joomla layout
Now let's actually create the file to store our layout.
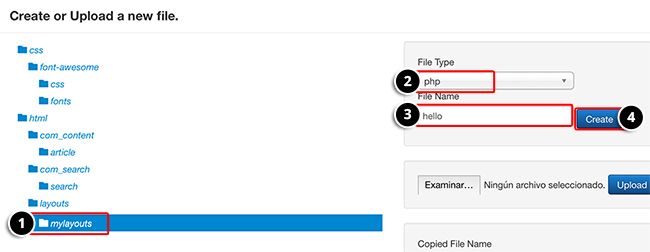
Click the New file button on top.

- Choose mylayouts folder
- File type: php
- Filename: hello
- Click Create
This will create a file in html/layouts/mylayouts/hello.php. Open this new file from the editor tab and add the following code:
<?php
/**
 * @package     Joomla.Site
 * @subpackage  Layout
 *
 * @copyright   Copyright (C) 2005 - 2015 Open Source Matters, Inc. All rights reserved.
 * @license     GNU General Public License version 2 or later; see LICENSE.txt
 */
defined('JPATH_BASE') or die;
?>
<h3>Hello world!</h3>
Save the changes.
From the editor tab go to html > com_content > article > default.php and add the following code around line 65 just before the print/email icons:
<?php echo JLayoutHelper::render('mylayouts.hello'); ?>In the previous code 'mylayouts.hello' defines the path to mylayouts/hello.php from the layouts folder.
Save your changes and open an article in the frontend to see the end result:
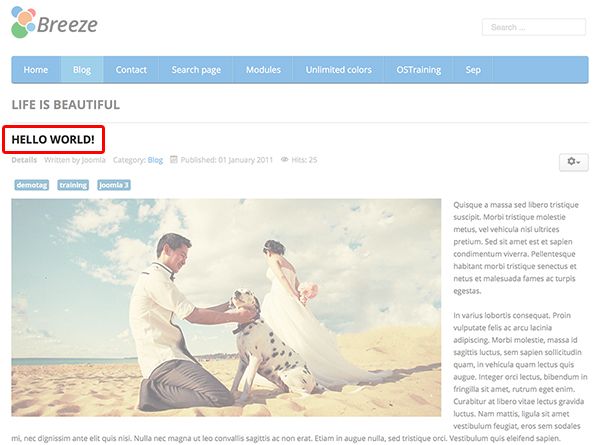
This is a dummy layout that displays static text. If you want to add dynamic content based on the data of the article, continue reading to Step 4.
Step #4. Create a dynamic Joomla layout
We will create a new layout to display a label for the featured articles.
Create a new PHP file named featured inside the mylayouts folder with this code:
<?php
/**
 * @package     Joomla.Site
 * @subpackage  Layout
 *
 * @copyright   Copyright (C) 2005 - 2015 Open Source Matters, Inc. All rights reserved.
 * @license     GNU General Public License version 2 or later; see LICENSE.txt
 */
defined('JPATH_BASE') or die;
$item = $displayData['item'];
?>
<?php if($item->featured) : ?>
    <div class="alert alert-success">
        <span class="icon-star"></span> <?php echo JText::_('JFEATURED'); ?>
    </div>
<?php endif; ?>
Notice the line below in the previous code:
$item = $displayData['item'];This line is really important. It gets all the article information such as title, text, images, etc. It contains the following code:
<?php if($item->featured) : ?>
    <div class="alert alert-success">
        <span class="icon-star"></span> <?php echo JText::_('JFEATURED'); ?>
    </div>
<?php endif; ?>
The if sentence checks whether the article is saved as "Featured" in database, in order to display the text.
From the editor tab go to html > com_content > article > default.php and add the following code around line 65 replacing the calling to hello:
<?php echo JLayoutHelper::render('mylayouts.featured', array('item' => $this->item)); ?>In the previous code we added something new:
array('item' => $this->item)This code passes the article information to the layout file (featured.php).
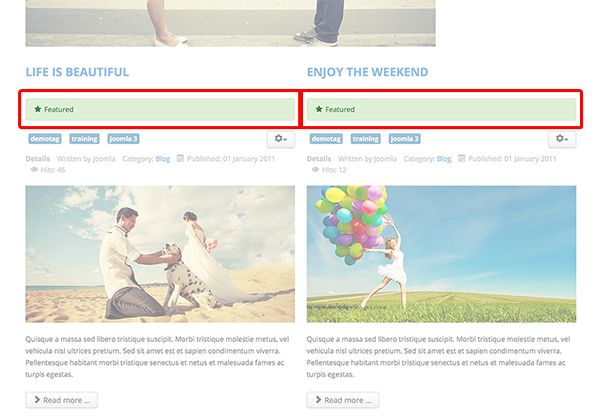
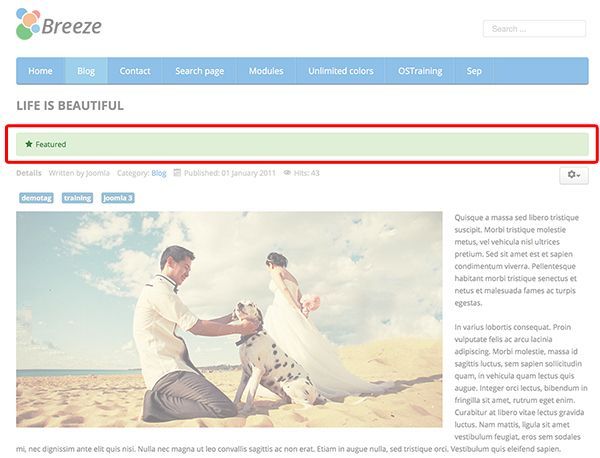
Save your changes and open a featured article in the frontend to see the end result. The alert text below the title displays a star with the "Featured" text.
Step #5. Re-use your featured layout
The reason why layouts are useful is because we can use them again and again. In this example, let's integrate them with the blog page.
Create a new template override for your blog:
- Create overrides
- com_content
- category
Edit the file blog_item.php
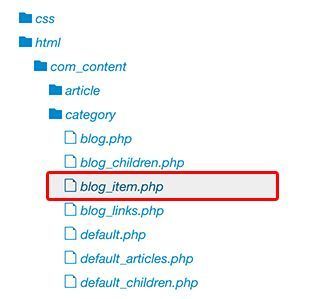
Add the same code to render the featured layout around line 25 just after the title:
<?php echo JLayoutHelper::render('mylayouts.featured', array('item' => $this->item)); ?>Save your changes and open a blog page to see the end result. The same alert text is now displayed for your featured articles.