Here's how to install Joomla 1.7 manually on your hosting environment.
Step 1: Check Your System Requirements
Save yourself a lot of time and headaches by first checking out the system requirements and getting your server up to speed:
https://www.joomla.org/technical-requirements.html
Step 2: Download Joomla 1.7
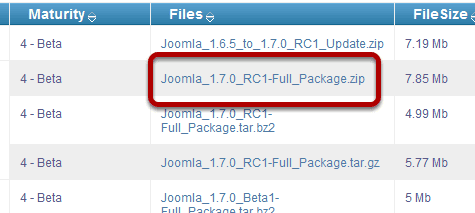
Go to https://joomlacode.org/gf/project/joomla/frs/?action=index and download the latest version.
In our case, since we're publishing this tutorial early it says RC (Release Candidate), but you should use the latest stable version.
It is usually best to use .zip version. If your internet is not relatively fast, you may want to download the smaller tar.bz2 file or tar.bz2 file, which each have two layers of compression to make the file smaller and easier to download. If you choose this file, then you would have to unzip the file twice rather than just once in the subsequent step.
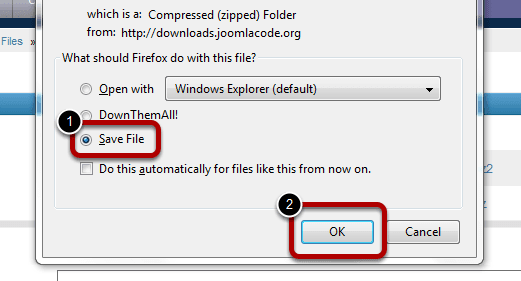
Select Save File and then click OK.
Step 3: Upload to Server
In these next two steps we are going to upload our zipped folder onto the server and then extract all the files within the zipped folder. I will be using cPanel, which is a file manager. However, your hosting provider may not have cPanel, so you may have to unzip the folder on your Desktop and then upload using a FTP client, or if your host has another file manager you can use it if it has an extraction feature.
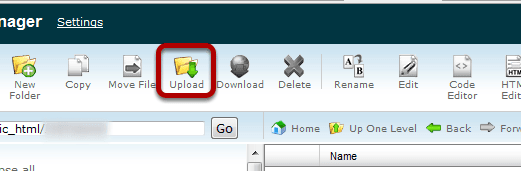
Access the folder in which you want to install Joomla 1.7. Then upload the Joomla installation file which we download.

Wait for the entire file to upload. It may take a while.
Step 4: Extract Files
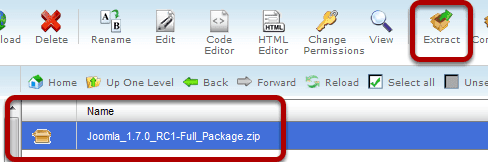
Select the file and then Extract.
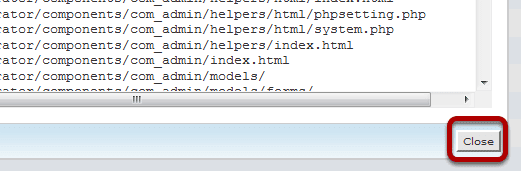
Close out of the results.
Step 5: Run the Installation
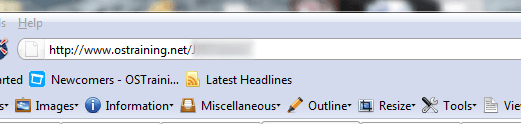
Open a new tab or window and then type in the address to the folder in which you uploaded Joomla 1.7
Language
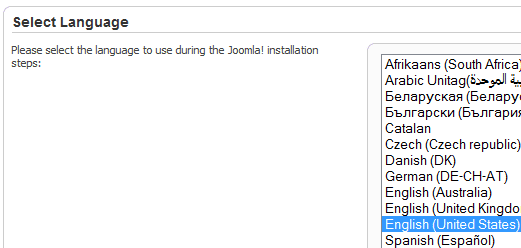
Select your Language.
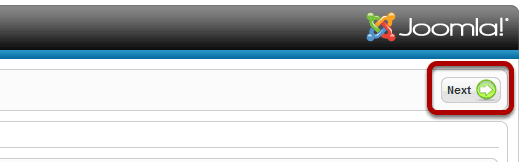
In the top right click Next.
Required Configuration

If any of these items are not supported (marked as No) then please take actions to correct them. Failure to do so could lead to your Joomla! installation not functioning correctly.
Recommended Configuration
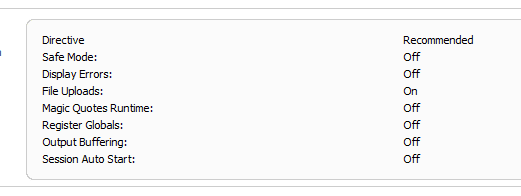
Depending on your server setup, you may have issues if the server configuration is not the same as the recommended settings. However if you have a good host, it is rare to have any issues.
If you corrected any of the configuration, check the output again. If everything is ok, click Next.
GNU GPL License
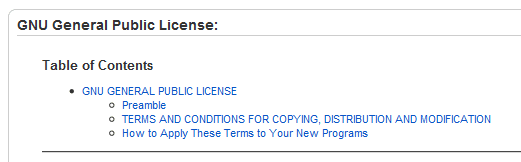
Make sure you read through the license if you have not before.
If you agree to the license, click Next.
Enter Database Information
The next part is a bit tricky because much of depends on your host and their server configuration.
If you have not setup a database and assigned a user, now is the time to do. You will have to access your host's control panel to set it up. If you need help, find your host's documentation or ask them how to set up a database and assign a user to it. We wish we could give you detailed instructions for this part, but it varies too much between hosts. As an example, here is the documentation for Cpanel and which is fairly straight forward.
The basic steps for all hosts:
- Create the database
- Create the database user
- Assign the database user to the database
- Give permissions to the database user
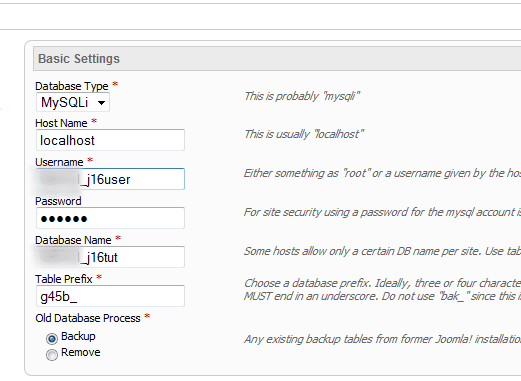
Lets take a look at a few of these settings that often cause issues.
- Username: This is not the same as your account's username. It is the username of the user of the database. The user should have all permissions to the database. Also, the username should be the full username. Do not use just the part that you created if your host assigns a prefix to create a full username.
- Password: Password of the user to the database. Make sure the password is not simple or easy to guess.
- Database Name: This should be the full database name. Do not use just the part that you created if your host assigns a prefix to create a full database name.

When you have correctly entered all settings, click Next.
FTP - Optional
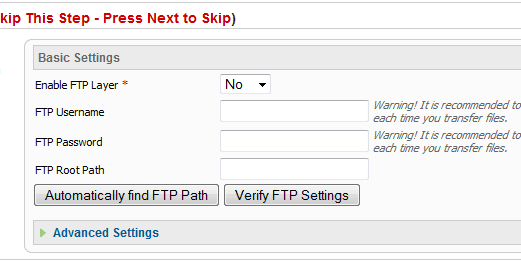
For most users it is generally recommended to skip this step.
Click Next.
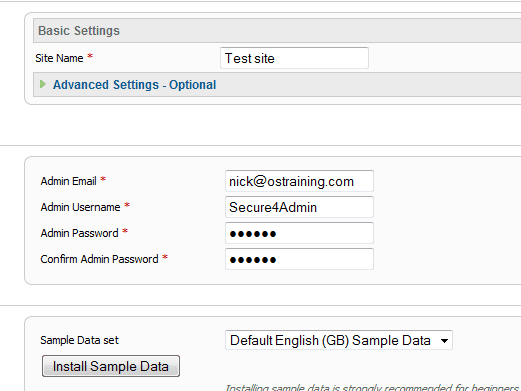
Enter information appropriately.
Note: Please change your Admin username from the default Admin to something else. More than half the work is already done for a hacker if your username is left as Admin.
Note: If you want to just test Joomla 1.7, then install the sample data so that it allows you to get a look and feel of what Joomla 1.7 is all about. However, we generally advice against installing the sample data because it is much easier and quicker to start building a site without it.

Click Next.
Step 6: Remove the Installation Directory
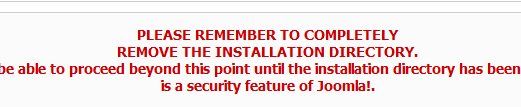
For security reasons we need to go back to the file manager and remove the installation directory.
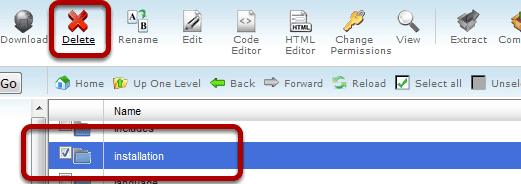
Delete the installation directory and you are done!
You can now check your site.