We recently had a few questions asking how to connect a Joomla site with Woopra using Shack Analytics.
Woopra is a SAAS platform that allows you to easily track, analyze and optimize how visitors and customers engage with your Joomla site.
In this blog post, you will learn how to connect the Woopra platform with your Joomla site using Shack Analytics. Once you did, you are well on your way to becoming a data wizard, even if you are not a technical person.
To create a connection between your Joomla site and the Woopra platform, you need to install a Woopra tracking code to your site.
This is a two-step task:
- Copy the code snippet from your Woopra account
- Create a global tracking tag with the code snippet in Shack Analytics Pro.
Let me give you a brief walk through this process.
I assume you already have a Woopra account. Those of you who are new to the Woopra platform, please, visit woopra.com and click the "START FOR FREE" button in the top right corner:

To connect your Joomla site to Woopra using Shack Analytics, you would need first to copy a tracking code snippet from Woopra.
Step #1. Copy the code snippet
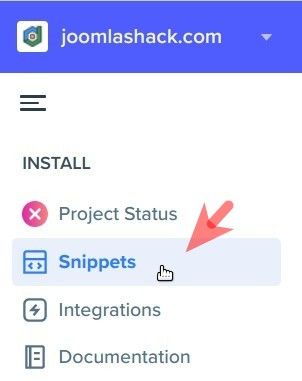
In your Woopra account, on the left side of the screen, you would need to click "Snippets":
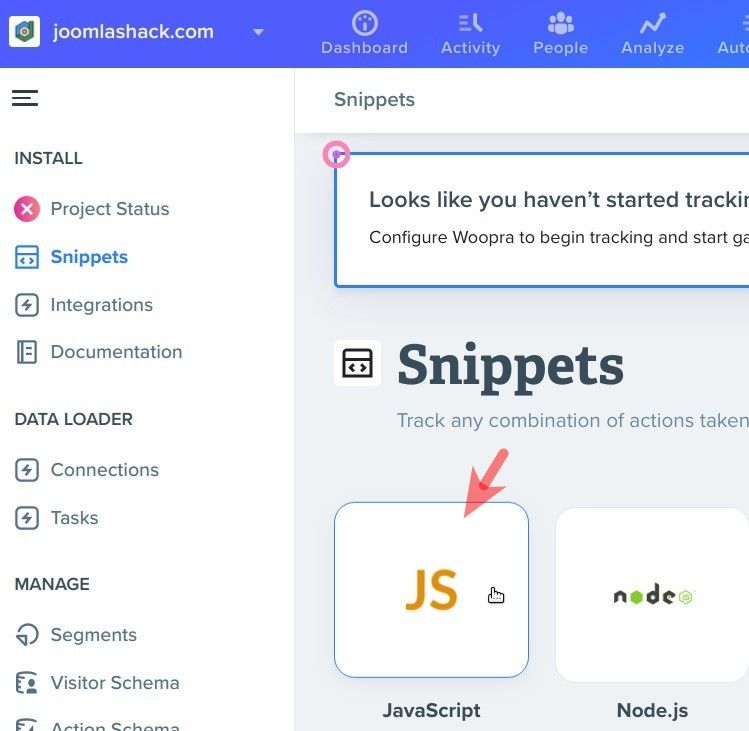
This will bring you to the "Snippets" screen. Once there, you want to click "JS":
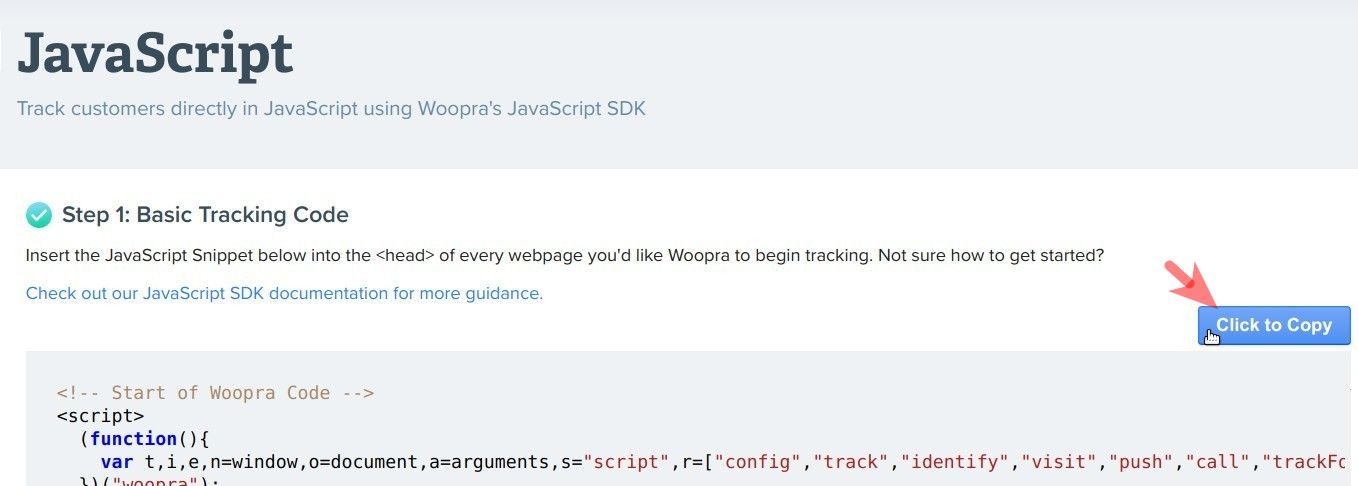
This would open for you the "JavaScript" page with the code snippet, required by Shack Analytics to connect your Joomla site to the Woopra platform. Here you would just need to click on the "Click to Copy" blue button to copy the snippet:
Great! At this point, you are done with the first step. Now would be a good time for you to move to your Joomla site. Once there, you will need to implement the code you just copied using the Shack Analytics Pro Joomla extension.
Step #2. Create a global tracking tag
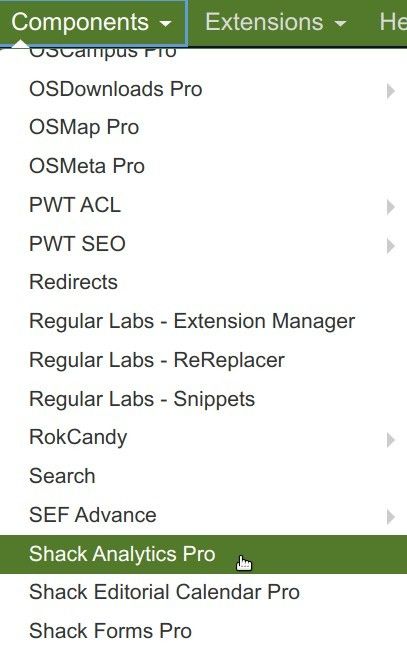
In your Joomla administrator panel, you want to go to "Components" > "Shack Analytics Pro":
This will bring you to the "Shack Analytics: Tracking Tags" screen. In the top left corner, you would need to click "New" to create a new tracking tag:

This would then open the "Shack Analytics: New Tracking Tag" screen for you. On this screen, you want to enter your tag title into the "Title" field. Then you want to paste the code you copied in the previous step into the "Header Custom Code" box:
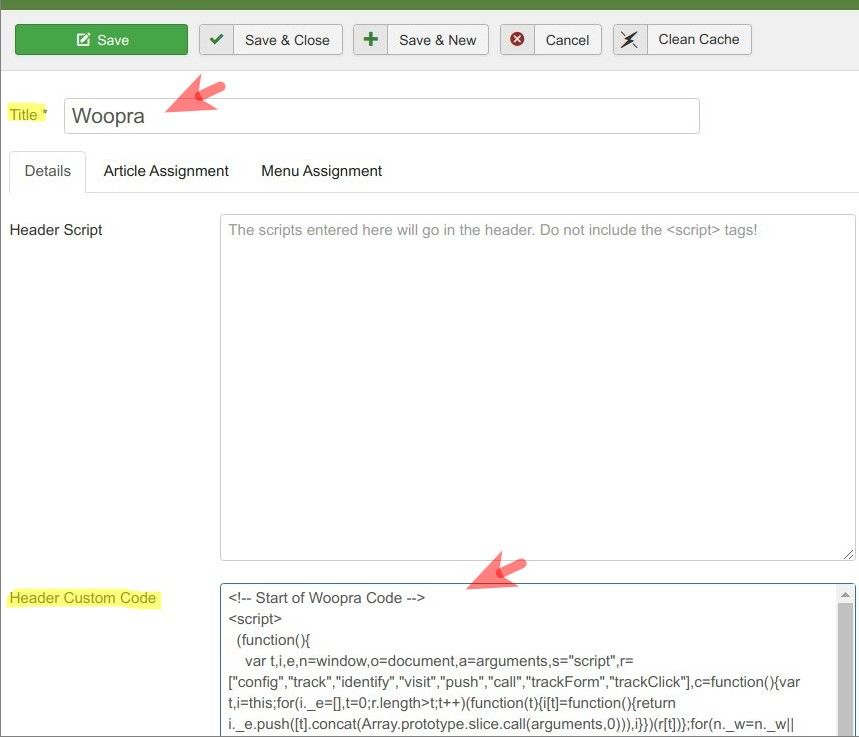
Once you created the tag title and pasted the Woopra tracking code in, you can safely click "Save & Close". You will now see your tracking tag listed by Shack Analytics:
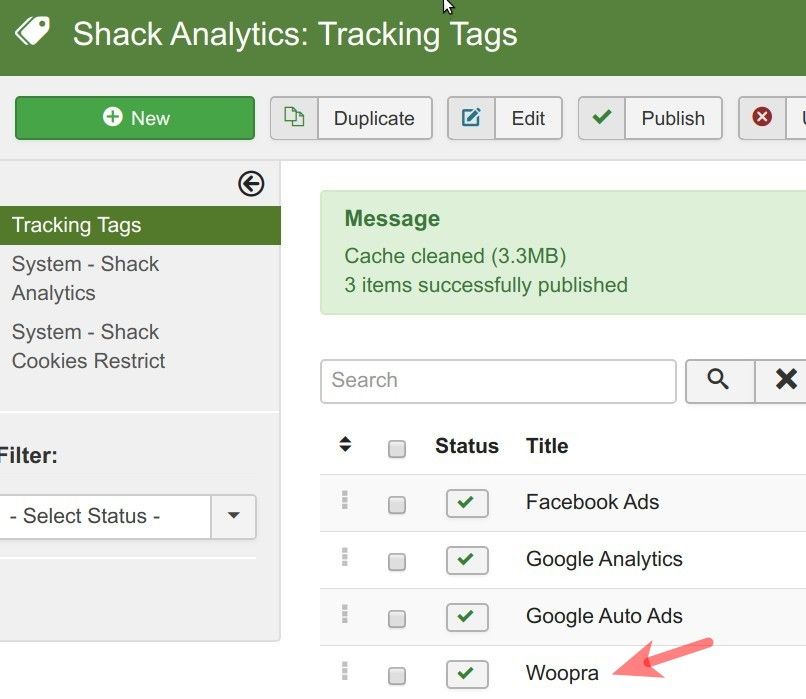
So far so good. You created the tracking tag but it is not at work yet. To rectify this, you would need to assign this tag as a global tag for your Joomla site.
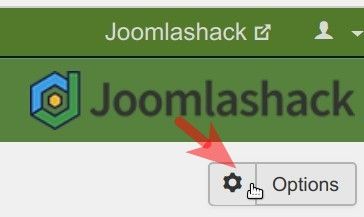
To do this, In the top right corner, you want to click "Options":
This will bring you to the "Shack Analytics: Configuration" screen. Here you want to click inside the "Global Tracking Tag" box and then - on your tracking tag:
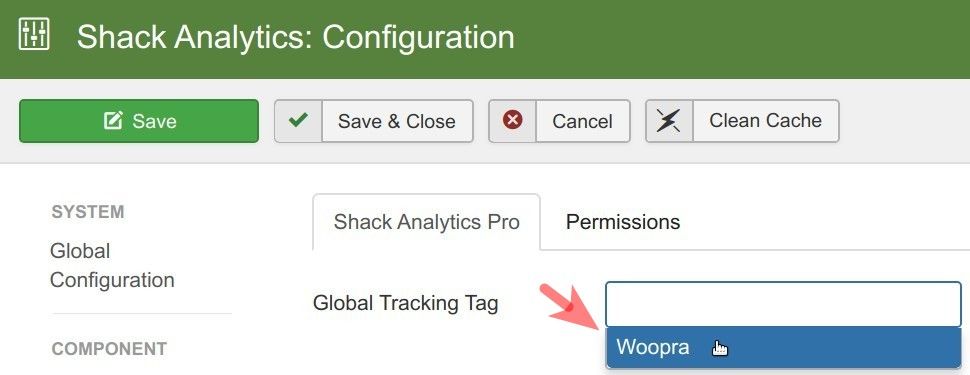
Make sure your tracking tag took place inside the "Global Tracking Tag" box:
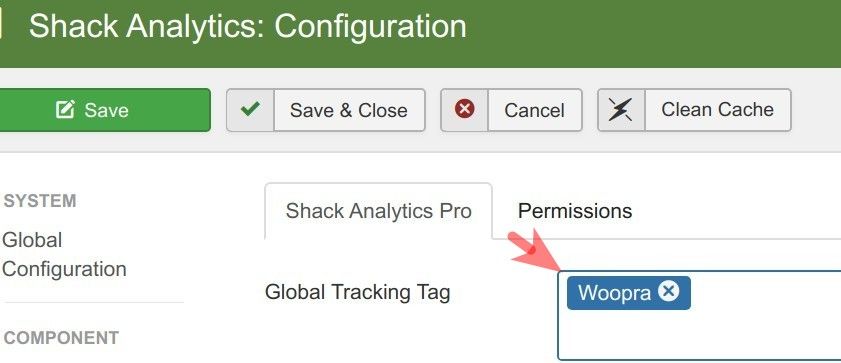
Now would be a good time to click "Save" or "Save & Close".
At this point, you can check the final result to see your Woopra tracking tag at work. To do this, you would need to check the HTML source code of your Joomla site.
If you followed all the instructions, you should see the code snippet from Woopra embedded between the <head> and </head> HTML tags:

Excellent! Your Joomla site is now connected to your Woopra platform. You are well on your way to becoming a data wizard.
What's Next?
What's Next?
Save $1,000's when you sign up for Joomlashack's Everything Club.
You will get your hands on our extensive range of over 20 extensions, plus legendary support!
Click here to join the Everything Club


