One of my favorite new features in Joomla over the last couple of years is the "User Actions Log". This allows you to audit user activities. This core extension allows you to track who is doing what on your site. You can track who logged in, who created articles, who installed extensions and much more.
In this blog post, I will give you a tour of the User Actions Logs feature.
Before starting, I want to congratulate Mohamed Karim who created this new feature during a Google Summer of Code project.
Step #1. Before you start
For this feature to work, check that all the required extensions are enabled.
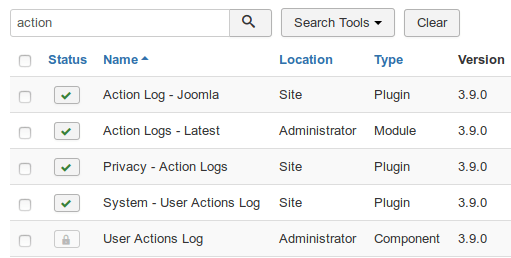
- In your Joomla control panel, go to "Extensions" > "Manage" > "Manage".
- Enter "action", without the double quotes, into the "Search" box. Make sure all the actions plugins and the administrator module are enabled:
Step #2. Choose which extensions to log
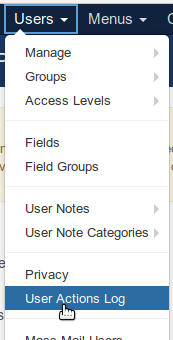
- Go to "Users", then "User Actions Log".
- Click "Options".
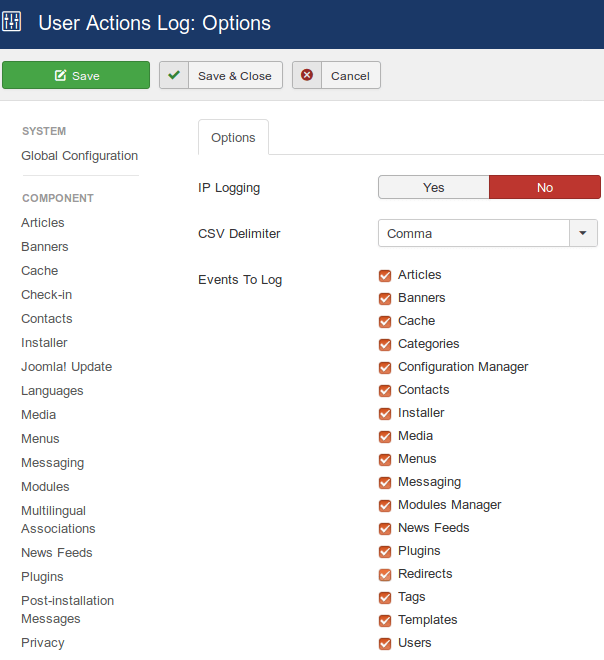
Inside this area, you can choose the settings for your logs. You can choose:
- Whether or not to log users IP addresses.
- What delimiter to use in the data export CSV file.
- Which components should have events recorded.
At the moment, only events for Joomla's core extensions are recorded. However, I suspect that Joomla extension developers (including Joomlashack) will start to integrate with User Actions Log, so you'll soon be able to record far more events.
Step #3. Inspect the User Actions Log
Once you have configured the logging, you can now start to see the results.
- Go to "Users" > "User Actions Log".
- Here you will see the list of the currently logged activities:
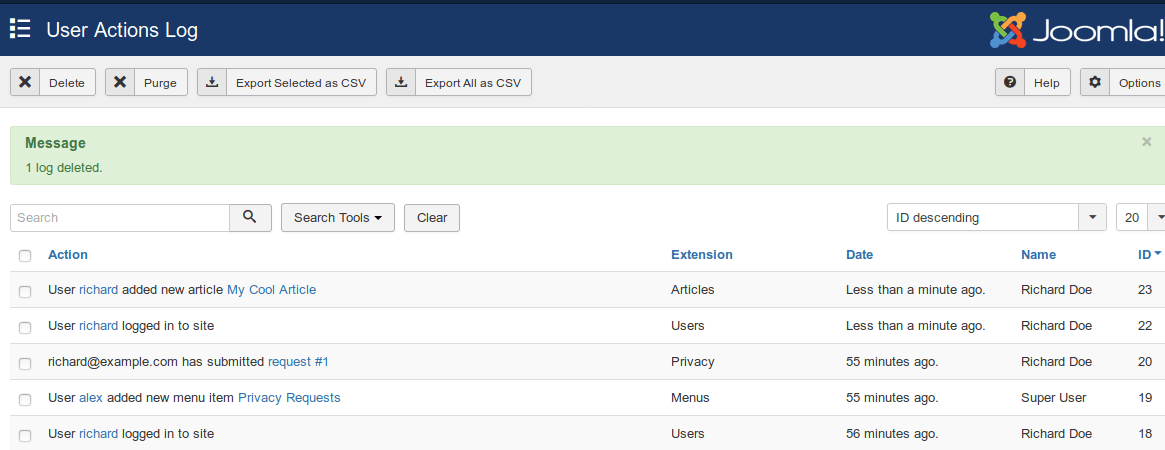
Your Users Actions Log table will consist of five columns. Let's take a look at them, from left to right.
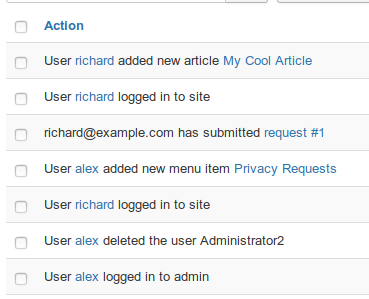
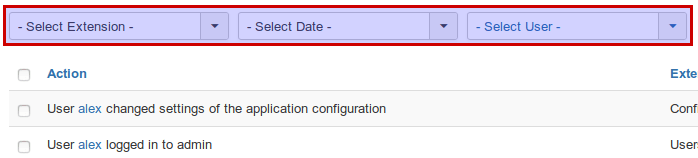
In the "Action" column, you'll find a brief description of the logged user activities. As you can see in the image below, the description will include the Login Name (username) of the user who performed the action. For some Joomla extensions, this description will also include the name of item that was involved.
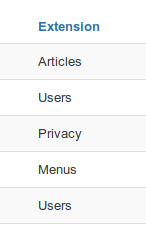
Under the "Extension" column, you'll find the names of the extension associated with the activity:
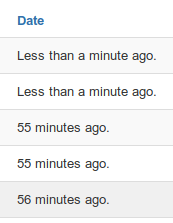
The "Date" column shows how long ago the users' actions took place. In most Joomla administrative areas, we see the calendar dates. However, in this situation, I think the "time ago" format is much more useful.
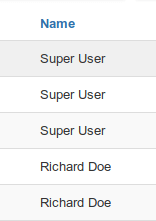
The "Name" column displays the names of the users whose activities have been logged.
The "User Actions Log" screen has also three filters, to enable you to browse the list more efficiently:
- The Extension filter
- The Date filter
- The User filter
Step #4. Administer the User Actions Log
You can perform the following four administrative tasks on the "User Actions Log":
- Delete selected action(s).
- Purge all of the actions in one click.
- Export selected action(s) as a CSV file.
- Export the whole log as a CSV file.
For each of these tasks, you will see a corresponding button at the top toolbar:

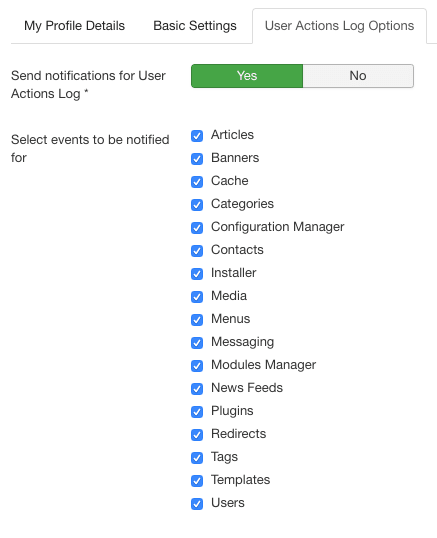
Step #5. Set up Email Notifications
If you're a Super User, you can get notifications from User Actions Log. When you're logged in as a Super User, go to your profile page and you'll see this new tab with options: