The quickest way to create your slideshow with Shack Slides is to use an image folder as the slideshow source.
In this tutorial, we'll give you a video and a text guide to creating a slideshow.
Video Guide to Shack Slides and Images
Text Guide to Shack Slides and Images
Step #1: Create a folder for images
Your slideshow source folder must be visible in Joomla's Media area.
- In your Joomla backend, go to Content > Media:

- Click the Create New Folder button:

- Enter your folder name into the empty box. For the purpose of this tutorial, I called my folder my_slideshow.
- Click Create Folder:

- Click on the newly created folder icon:

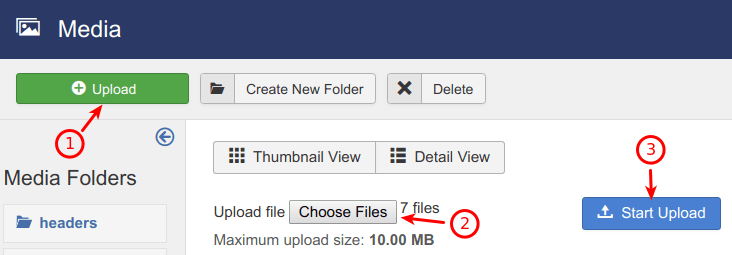
- Click Upload.
- Click Choose Files. Select the source image files on your hard drive.
- Click Start Upload:
- Click Save & Close.
Good job! You have just created a source folder for your slideshow and uploaded your images in it.
Step #2: Set the folder as the slideshow source
In this step, you will set the newly created folder as the source for your slideshow.
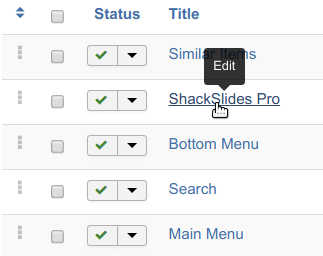
- Go to Extensions > Modules.
- Open the Shack Slides Pro module for editing:
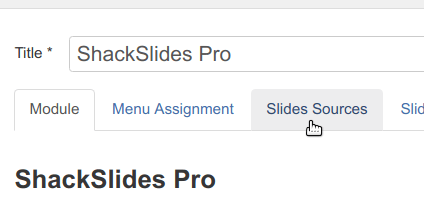
- Click the Slides Sources tab:
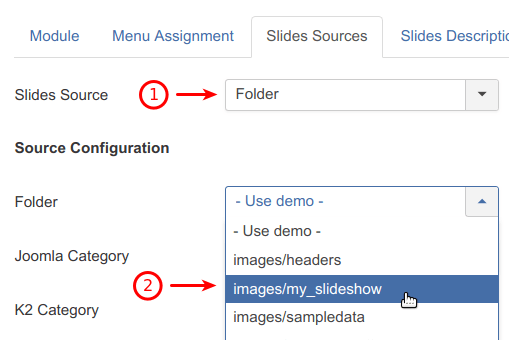
- Make sure that "Slides Source" is set to the "Folder" option.
- Select your new folder under the Folder setting:
- Assign this module to the required pages under the Menu Assignment tab.
- Set the module position under the Module tab. For the purpose of this tutorial, I selected the banner position of the Protostar template.
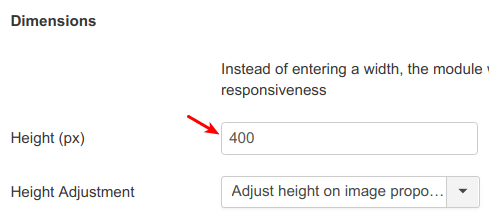
- Still under the Module tab, scroll down to the Height setting and enter 400 into the setting box.
Step #3. Set the slides order
In this step, you will set the order in which to display your slide images. There are two parameters to work with: the "Slides Order" and "Order Direction". Let's take a look at them one by one.
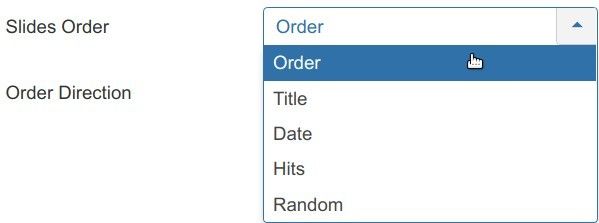
- Still on the "Slides Sources" tab, go to the "Slides Order" parameter and set it to one of the following options:
- Order: Display images according to the order in which they are stored in their source folder
- Title: Display images according to their titles
- Date: Display images according to their creation date
- Hits: Display images according to the number of their hits
- Random: Display images randomly:
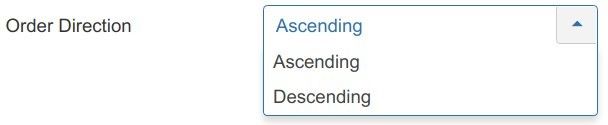
- Go to the "Order Direction" parameter and set it to one of the following options:
- Ascending (Default)
- Descending:
- Click Save & Close.
If you now check your site frontend, you should see your slideshow at work.
