
Joomla is a brilliant Content Management System. To layout your specific Joomla content items in your own specific way though you have to use a 3-rd party page builder extension.
In this blog post, you will learn how to create a basic front end page with your own layouts and elements using the RSPageBuilder extension.
Joomla limitations
Using Joomla only, you can build a decent looking front page listing Joomla articles.
- Simply select the Featured Articles menu item type for your front page.
- Then set the number of leading articles, introduction articles, the number of columns, and the number of links under the Layout tab:
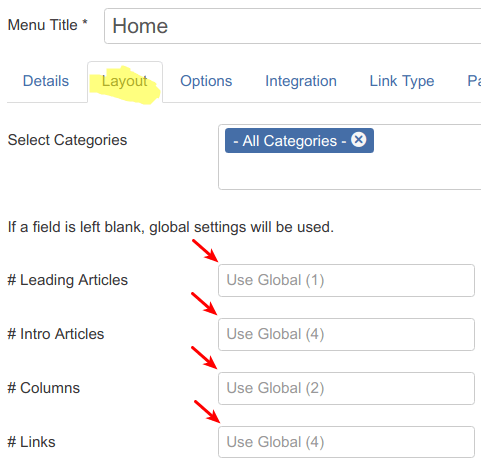
I set my articles to be displayed in a one-column layout. This layout looks fairly tidy and professional at the front end:
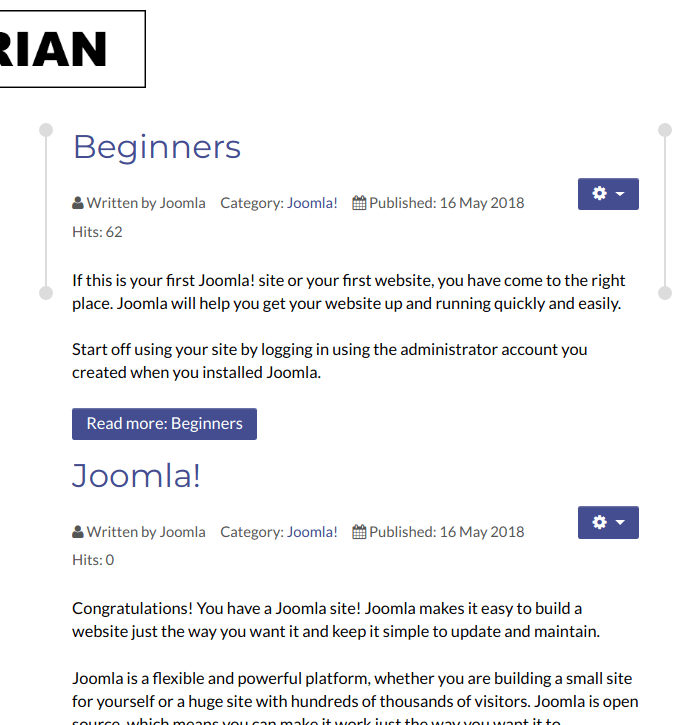
This layout is ideal for a blog. What if I would like my front page to display specific articles and in a specific order?
You can achieve this with the RSPageBuilder extension. As its name suggests, RSPageBuilder is a page builder. In fact, this is a very novice-friendly drag-and-drop page builder.
With this extension, you layout your front page with blocks. Each block will contain one or a few web elements.
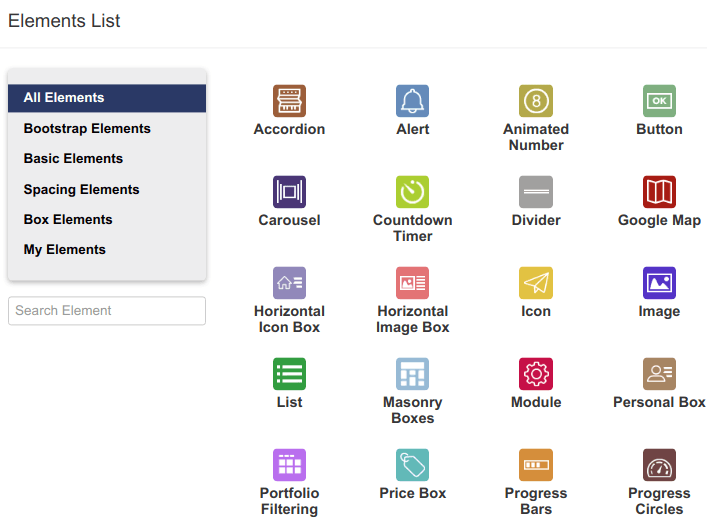
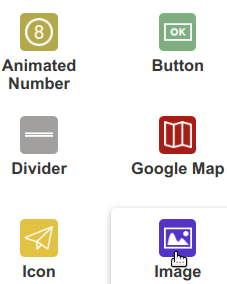
As you can see on my screenshot above, an element can be an icon, or an image, or a text block with a button:
Let's build a basic front end page using some of these elements to demonstrate how to use this extension.
To simplify this tutorial, we will assume that you already spent some time to plan your site.
Do you need help with how to plan your Joomla site?
Please, read Chapter 2, "Joomla Site Planning" of our bestselling book "Joomla 3 Explained" by Steve Burge.
For our tutorial, we will assume that your basic front page will have the following goals:
- To introduce your charity.
- To encourage volunteers to sign-up.
- To encourage sponsors to donate.
- To demonstrate the number of your volunteers.
- To display a testimonial from a sponsor.
- To display a testimonial from a volunteer.
Let's get started.
Step #1 - Install RSPageBuilder and Joomlashack's Mondrian template
- Download the RSPageBuilder. It is a free Joomla extension.
- Install RSPageBuilder using Joomla extensions installer.
- Download Mondrian template from Joomlashack (subscription required).
- Install Mondrian template using Joomla extensions installer.
- Assign Mondrian to be the main front-end template.
Excellent! You are ready to move to the next step.
Step #2 - Create a row with two blocks
In this step, you will learn how to quickly build your front-page layout blocks using RSPageBuilder's rows.
Your first row will consist of two blocks.
The first block will display an image. The second block will display an animated number of your volunteers:

- In your Joomla control panel, go to Components > RSPageBuilder.
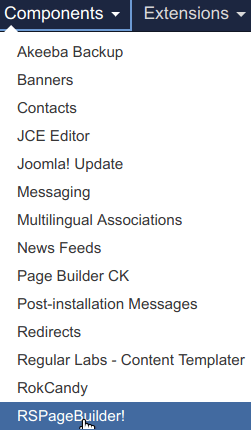
You will see the RSPageBuilder page.
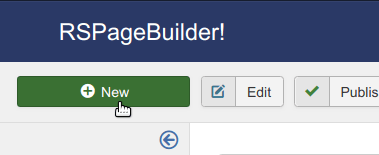
- Click New:
You will see a wide green row with the plus icon in the middle. This is your front page first layout row.
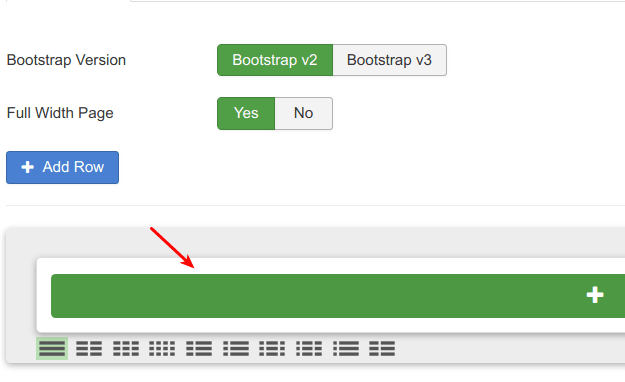
You can use this whole row and place an element in it.
Our plan though is to create two blocks: one for an image, and another one - for an animated number.
To achieve this goal, all we need to do is to split our row into two blocks.
- Click on the 1/2 + 1/2 icon:
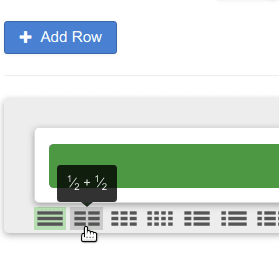
You will see the row now is divided into two blocks.

Good job! You've just created the first row for the layout of your front page.
And you did it even without touching a single line of code.
Step #3 - Fill the row blocks with the required web elements
In this step, you will fill your two blocks with their content.
As you planned, your left side block will contain an image.
- Click the + icon.
You will see the Element List box.
- Click on the Image element:
- You will see the Image element interface. Click on the blue Browse button if you wish to change the image.
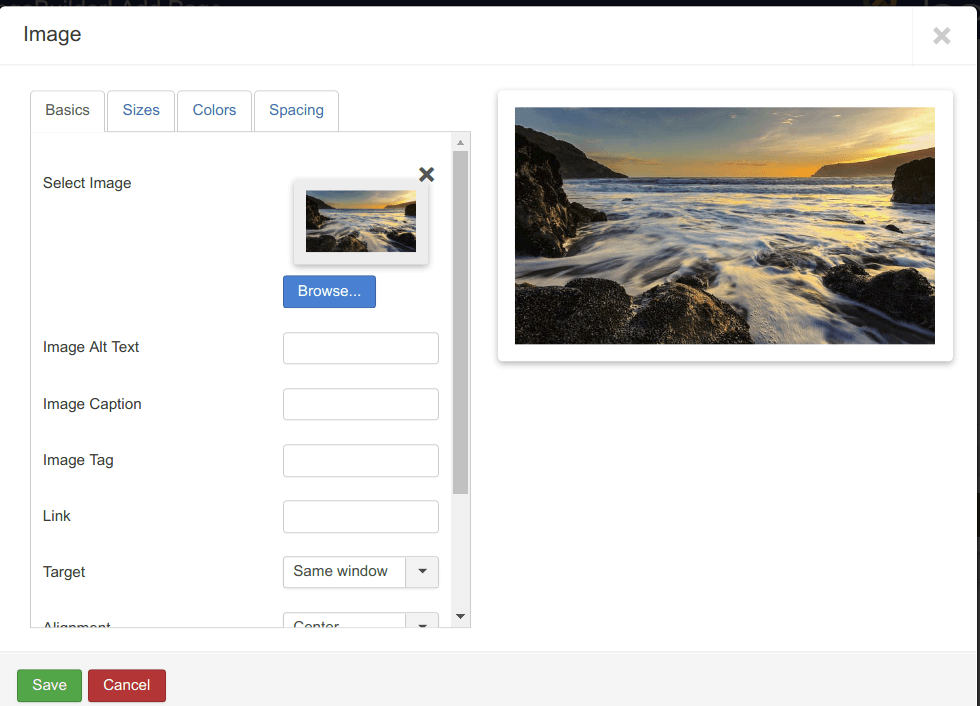
- Click Save.
Your left side block will now display the image element icon:
![]()
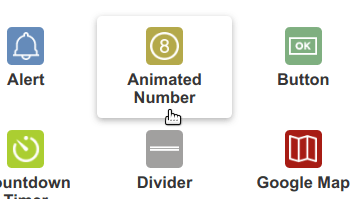
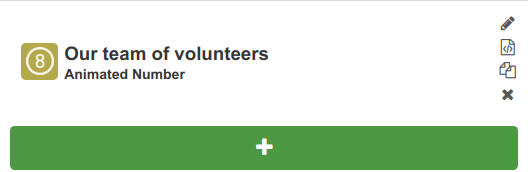
- Repeat this step with the second block. For this block select the Animated Number element:
- Enter your own title into the Title field.
- Enter your own number into the limit field.
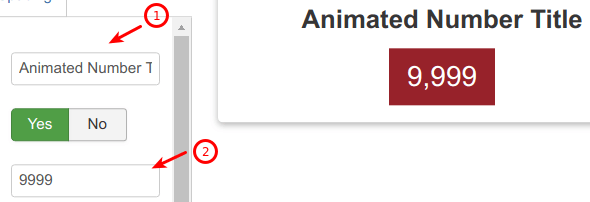
- Click Save.
Your block will display the title you entered and the Animated Number sub-heading and icon:
Now let's check how our front end page will look like with these two blocks.
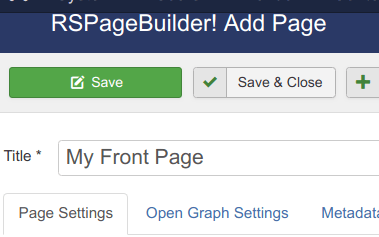
- Enter a title into the page Title field. I entered just My Front Page.
- Click Save & Close:
- Create a menu item for this page.
- Assign this menu item the Default status to make your newly built page a home page of your site.
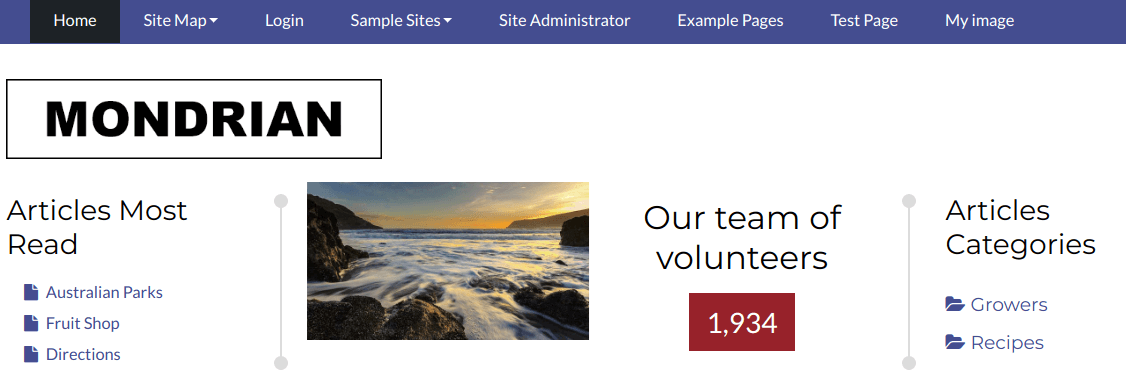
If you check your site now, you will see that it looks tidy and professional.
Step #4 - Repeat the last two steps
You now know how to divide a row into blocks. You also learned how to fill the blocks with your preferred web elements.
You are now well equipped to carry on building your front page.
- Click on the Add Row blue icon:
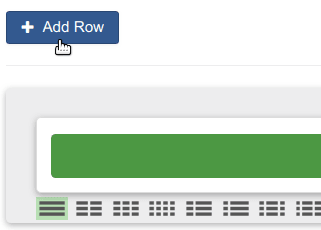
You will see a new row added underneath the one you created before.
- Keep it as is. It will be used just to add some white space underneath the first row.
- Add a new row with the following settings:
- The number of blocks: two.
- The first block element: Button. Enter Join Our Community of Volunteers as the button title.
- The second block element: Button. Enter Become Our Sponsor via PayPal as the button title.
- Add another row with the following settings:
- The number of blocks: keep as is,
- The element: select Divider.
- Set the Dotted border style.
- Add the next row with the following settings:
- The number of blocks: three.
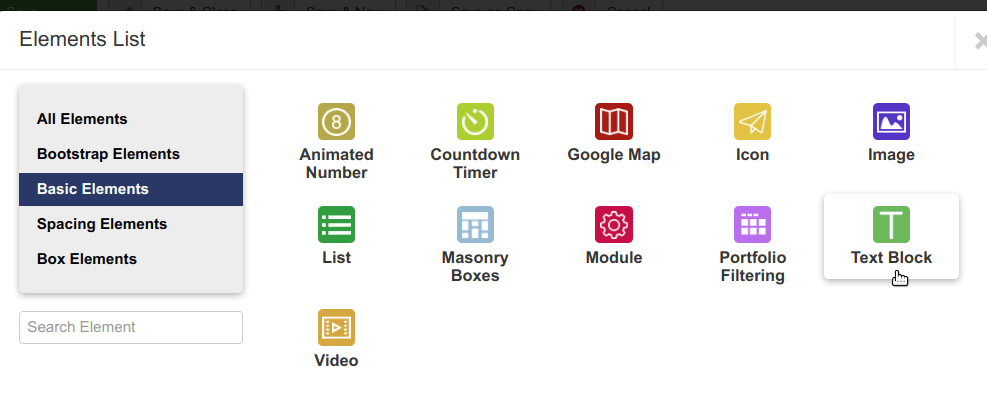
- The blocks elements: select the Text Block for all three blocks.
- Add another row with the following settings:
- The number of blocks: keep as is,
- The element: select Divider.
- Set the Dotted border style.
- Add the next row with the following settings:
- The number of blocks: keep as is.
- The element: select the Testimonial Box.
- Add another row with the following settings:
- The number of blocks: keep as is,
- The element: select Divider.
- Set the Dotted border style.
- Add the next row, with three blocks each displaying the Text Block element.
This is a good time to save your work and check how your front page pans out.
You will find all your selected elements nicely displayed in their blocks.
Congratulations! You now know how to create your own front page with RSPageBuilder.
What's Next?
What's Next?
Save $1,000's when you sign up for Joomlashack's Everything Club.
You will get your hands on our extensive range of over 20 extensions, plus legendary support!