One of our Shack Forms customers asked how to integrate Shack Forms (formerly known as "Perfect AJAX Popup Contact Form") and MailChimp.
In this blog post, you will learn how to create a Shack Form to sign up its submitters to a MailChimp list.
Creating a MailChimp sign-up form using Shack Forms gives you a few benefits.
- Your sign-up form will have all of the cool effects and themes offered by Shack Forms!
- You will be able to further direct the form sender to any page on your site.
- You will be able to automatically store submitted data in your Google Sheets document.
- You will be able to track your sign-up form performance and analyze it in Google Analytics.
In this tutorial, you will use Shack Forms to create a MailChimp sign-up form with three fields:
- First Name.
- Last Name.
- Email Address:

The form will be displayed in a lightbox, as you can see in the image above. It will be displayed when a Homepage visitor tries to exit the page.
Connect Shack Forms to your MailChimp account
A Shack Form integration with MailChimp starts from connecting the form with your MailChimp account.
You do this by setting your MailChimp API key in your Shack Form.
- Log to your MailChimp account.
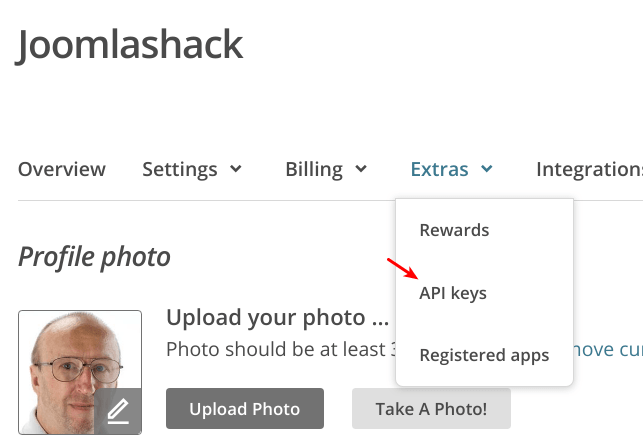
- In the top right corner, click Profile:

You will see your profile overview page.
- Click Extras.
- Click API keys:
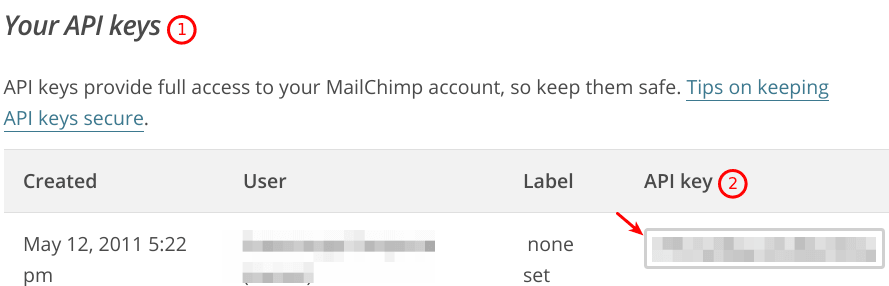
You will be taken to the API keys page.
- Find Your API keys group of settings.
- Copy your API key:
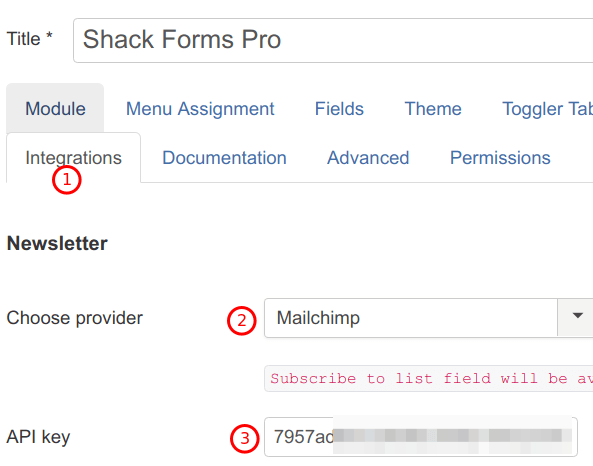
- In your Shack Form, click on the Integrations tab.
- Select Mailchimp from the Choose provider field.
- Copy your MailChimp API key into the API key field and click Save:
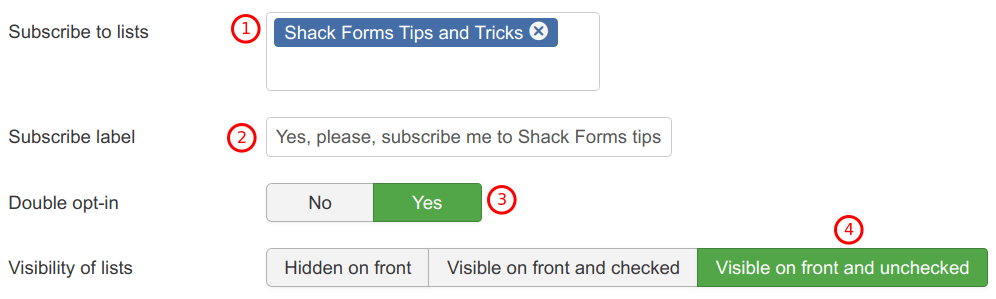
- Select your MailChimp list(s) from the Subscribe to lists field.
- Enter some text into the Subscribe label box.
- Click Yes for the Double opt-in setting.
- Click Visible on front and unchecked for the Visibility of lists setting and click Save:
Good job! Your Shack Form is now connected to your MailChimp account.
You can now use your MailChimp sign-up form fields in your Shack Form.
Synchronize the Shack Form and MailChimp fields
In this step, you will create your Shack Form fields matching your MailChimp list sign-up fields.
You just need to copy your MailChimp fields names into your Shack Form.
- In your MailChimp account, go to Lists:
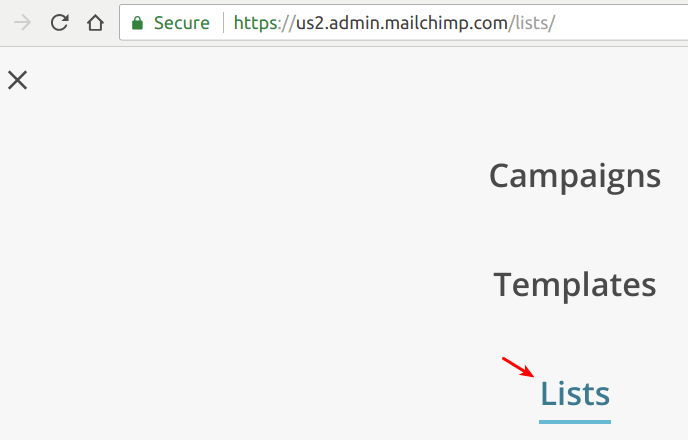
You will be taken to the Lists page. For the required list:
- Click on the little arrow pointing down.
- Click Signup forms:

- On the next page, click Form builder:
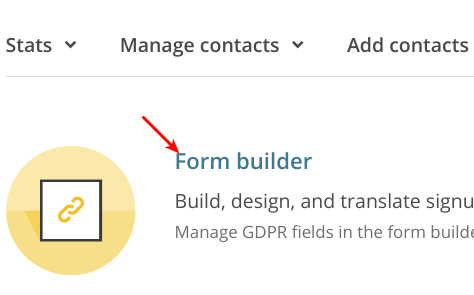
You will see the Form builder page.
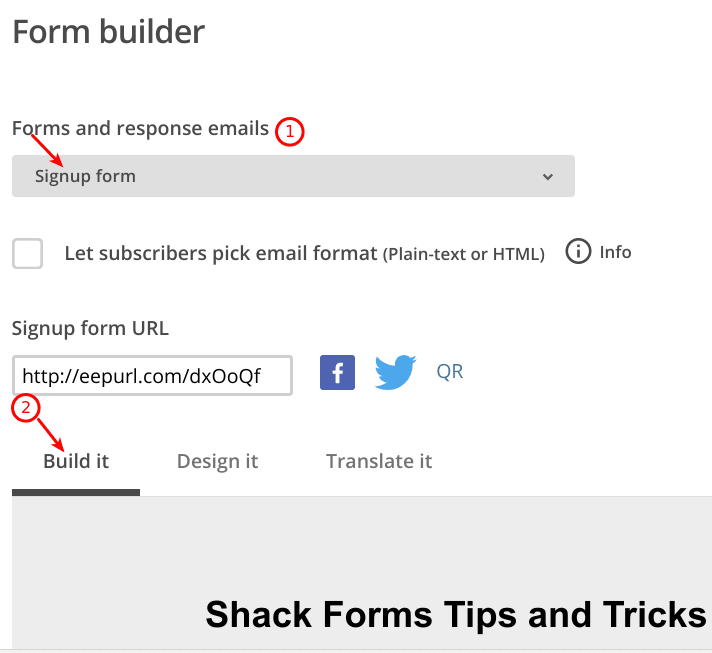
- Select the Signup form option under the Forms and response emails.
- Make sure you opened up the Build it tab:
- Click inside the First Name field.
- You should see the Fields setting tab slid out. Copy the FNAME value from the Field tag field:
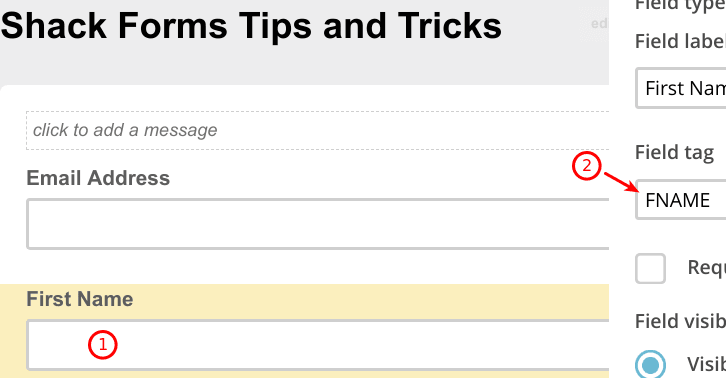
- In your Shack Form, click the Fields tab.
- Paste the FNAME inside the Alias name field:
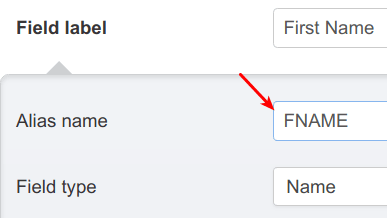
- Repeat this step for the Last Name and Email fields.
- Click Save.
Excellent! You now connected your Shack Form with your MailChimp account.
You also synchronized your Shack Form and MailChimp fields.
Configure the Shack Form
In this last step, you will define on what page(s) and how your Shack Form/MailChimp sign-up form will be displayed.
For the purpose of this tutorial, your form will be displayed on the Home page, in a lightbox, and when a visitor attempts to exit the Home page.
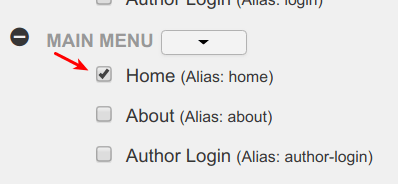
- In your Shack Form, click the Menu Assignment tab.
- Assign the form to the Home menu item:
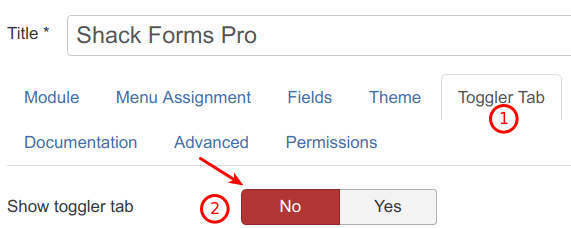
Next, let's simplify the form's lightbox and hide the toggler tab:
- Click on the Toggler Tab.
- Click No for the Show toggler tab parameter.
Well done! In conclusion, you will set this form to display as a lightbox. You will set it to be shown to the Home page visitor attempting to exit it.
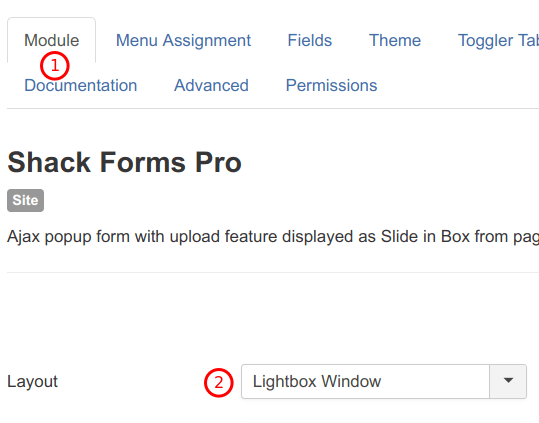
- Click the Module tab.
- Select the Lightbox Window for the Layout setting:
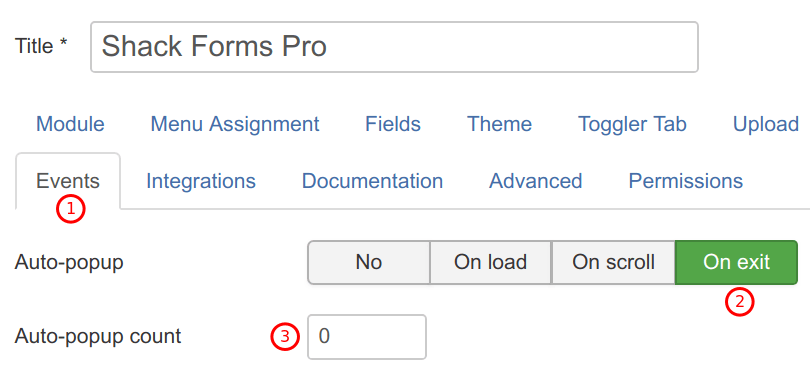
- Click the Events tab.
- Set the Auto-popup parameter to On exit.
- Make sure the Auto-popup count is set to 0 (zero):
- Click Save or Save & Close.
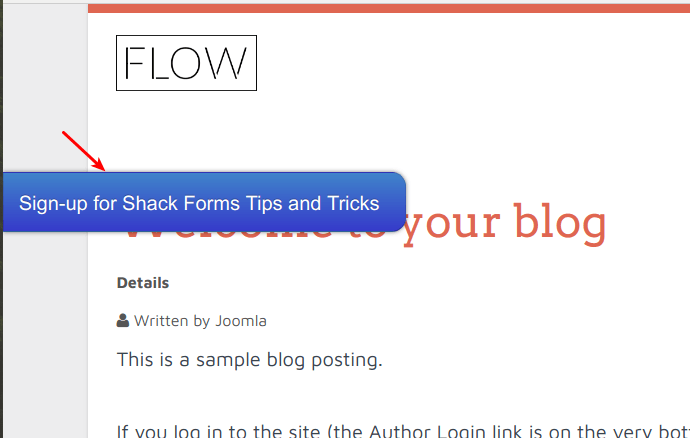
Now go to your site frontend. Refresh the browser and point your mouse cursor away from the browser.
You should see your MailChimp sign-up form displayed in a Shack Form lightbox:
Test your Shack Form
- Fill in the First Name and Last Name fields with dummy names.
- Enter one of your actual email addresses into the Email Address field.
- Click within the Yes, please ... checkbox.
- Send the form.
- Check the inbox. You should see the email marked with the Confirm Subscription button:

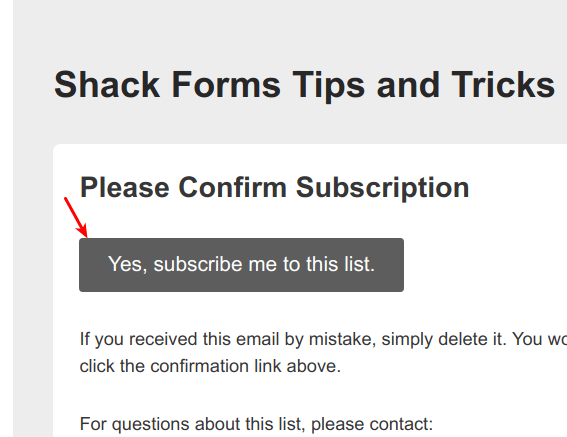
- Open this email.
- Inside the email body, click on the Yes, subscribe me to this list button:
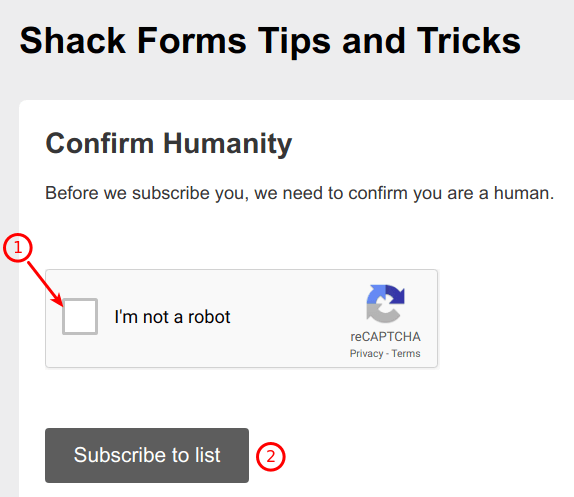
You will be taken to the MailChimp's Confirm Humanity page.
- Click within the I'm not a robot checkbox.
- Click Subscribe to list:
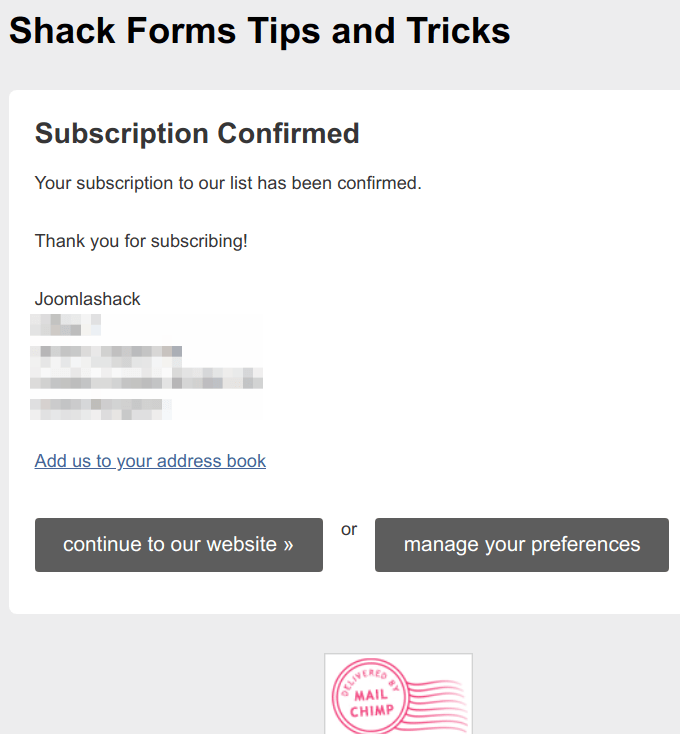
You will see the Subscription Confirmed page:
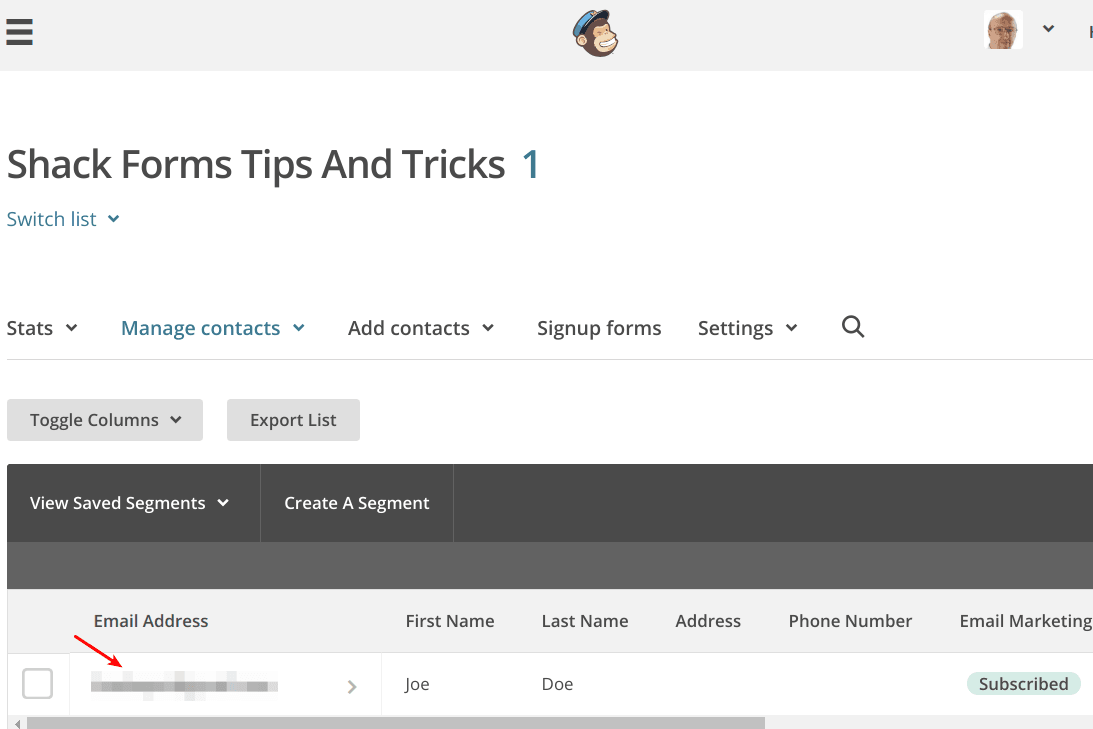
- Check your MailChimp list to which you set your Shack Form. You will see the subscription listed: