
One of our customers asked how to automate uploading backups of their Joomla site to Google Drive. They were creating backups with the popular Akeeba Backup Joomla extension.
Having a spare copy of your Joomla site backup outside your web server is a very good practice. You will always have a backup of your site, whatever happens to your hosting.
In this blog post, you will learn how to set Akeeba Backup Pro to automatically upload your Joomla site backups to Google Drive.
The process is fairly straightforward. Create a new backup profile in your Akeeba Backup Pro control panel. Then authenticate it to work with your Google Drive account.
Finally, simply launch a backup process. Once Akeeba Backup Pro finished creating the backup, it will automatically upload it to your Google Drive.
Note:
- You must be signed in to your Google Mail account before following this tutorial.
- This tutorial applies only to Akeeba Backup Professional.
Let's take a look at this process in more detail.
Step #1. Create a New Backup Profile
- Go to Basic Operations > Profile Management.
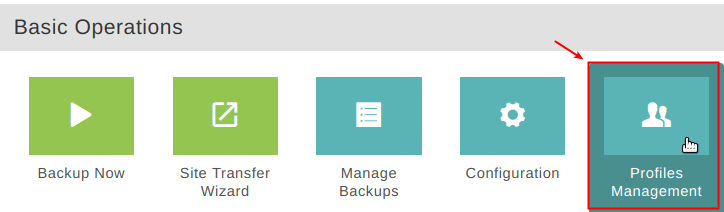
You will be taken to the Akeeba Backup: Profiles Management page.
- Click New.
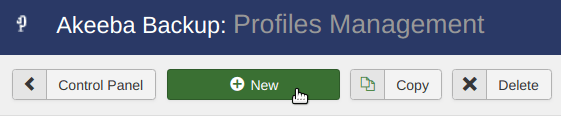
You will see the Akeeba Backup: New Profile page.
- Enter informative and descriptive name for the new profile. For the purpose of this tutorial I picked "Upload to My Google Drive".
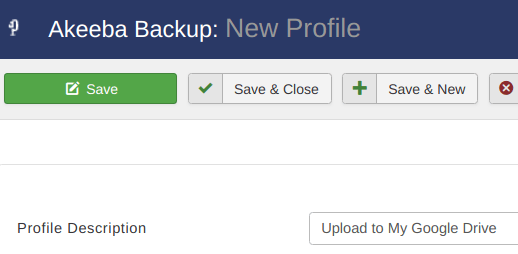
- Click Save & Close.
Akeeba Backup for Joomla will take you back to the Akeeba Backup: Profiles Management page. You will see your new backup profile nicely listed there for you.
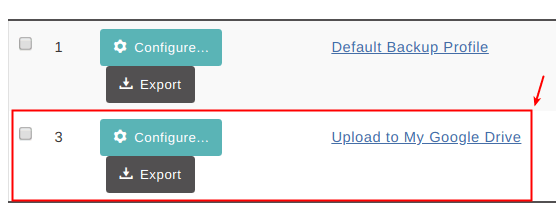
Excellent! You are now all set to authenticate this backup profile to work with your Google Drive.
Step #2. Authenticate the New Profile with Google Drive
- Click the new profile's blue Configure button.

You will arrive at the "Akeeba Backup: Configuration" page.
- Scroll down to the Advanced configuration group of settings.
- Find the Post-processing engine setting and set it to Upload to Google Drive.
- Click Configure.
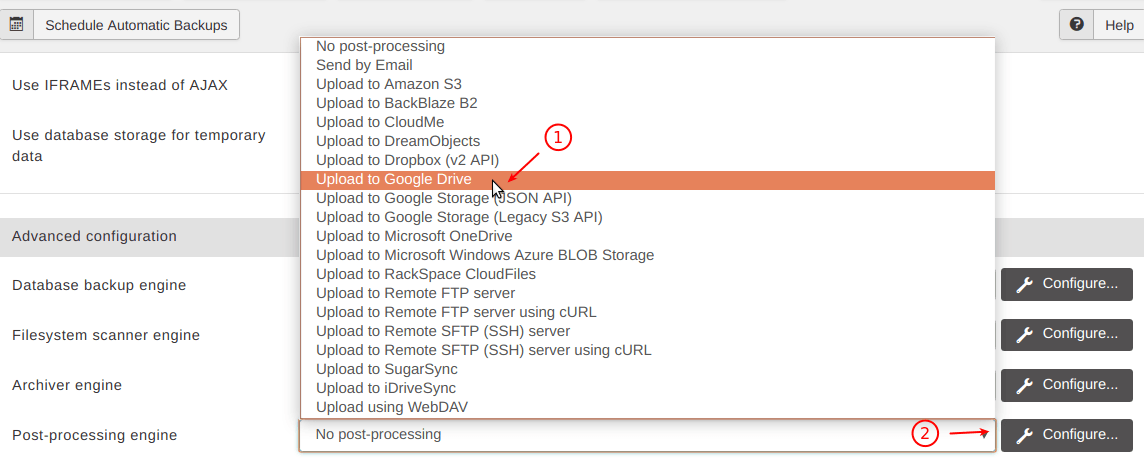
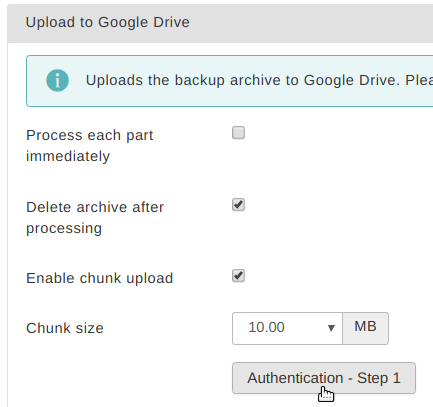
You will see the Upload to Google Drive group of settings appeared.
- Click the Authentication - Step 1 button.
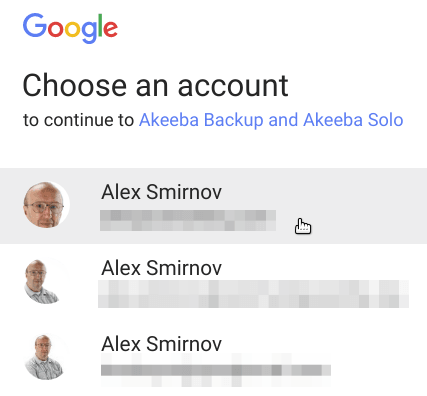
- You will be prompted to select your Google Mail account. Click on your preferred Google Mail account.
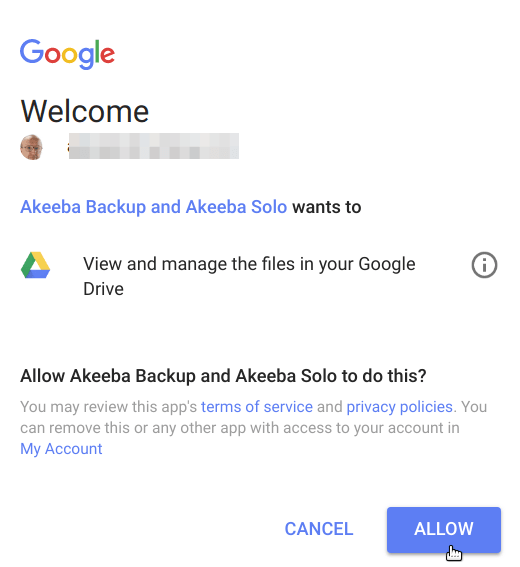
You will see another prompt from Google. It will tell you that "Akeeba Backup and Akeeba Solo wants to View and manage the files in your Google Drive" and asks if you allow this.
- Click Allow.
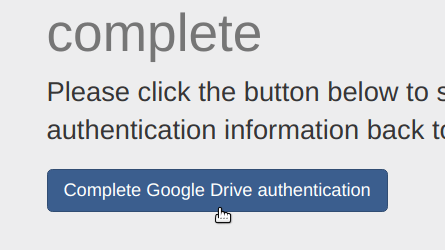
You will see the Google Drive Authentication is almost complete box with some important information.
- Read the Important and Tip paragraphs.
- Click Complete Google Drive authentication.
You will be taken back to the backup configuration page. Take notice that the Access Token and Refresh Token fields are now filled in with the authentication token values.

- Click Save & Close.
Good job! You have now created and authenticated a new Akeeba Backup backup profile. Let's take it to test.
Step #3. Putting the New Backup Profile to Test
- In your Akeeba Backup control panel go to the One-click backup section.
- Click Upload to My Google Drive.

Akeeba Backup will start creating your site backup.
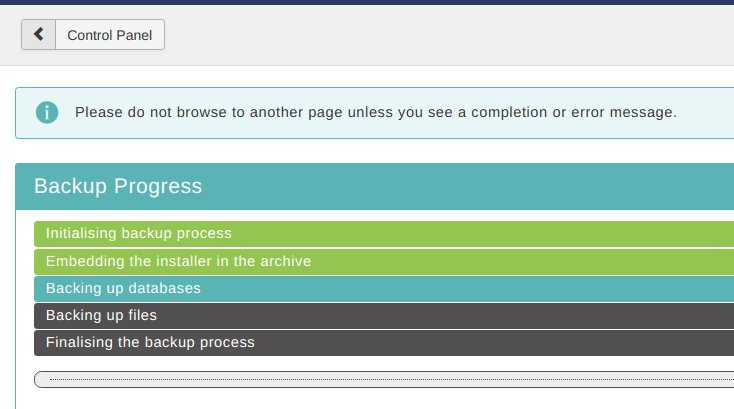
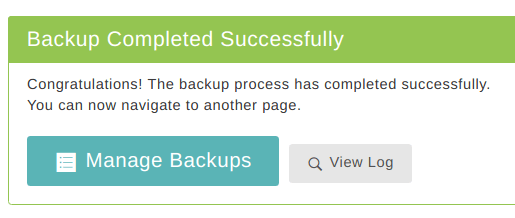
In a short time, depending on the size of your site, you will see the Backup Completed Successfully message.
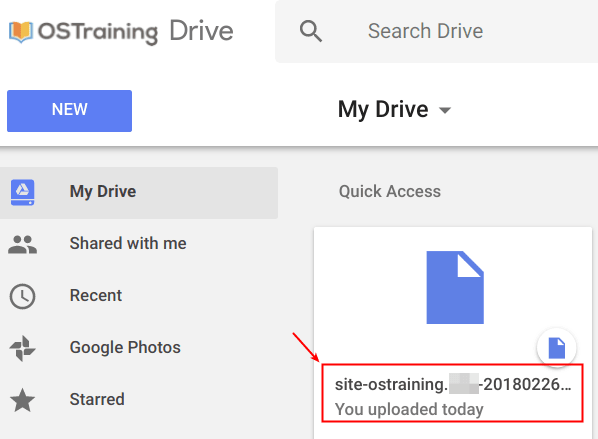
Check your Google Drive now. You will see a new file uploaded. Its name will be similar to site-domain-name-20180226-104259utc.jpa.
Congratulation! You now know how to upload backups of your site to Google Drive with Akeeba Backup.
What's Next?
What's Next?
Save $1,000's when you sign up for Joomlashack's Everything Club.
You will get your hands on our extensive range of over 20 extensions, plus legendary support!