One Joomlashack member was asking us about Joomla blogging extensions. They wondered what extension we use for the Joomlashack blog.
Our answer was "None!" We run one of the most popular blogs in Joomla and it's almost entirely done using the Joomla core.
In this guide, I'll show you step-by-step how to build a blog that looks exactly as ours.
Step #1. Create the Categories
Before you do anything else, I recommend that you create categories to organize your blog content.
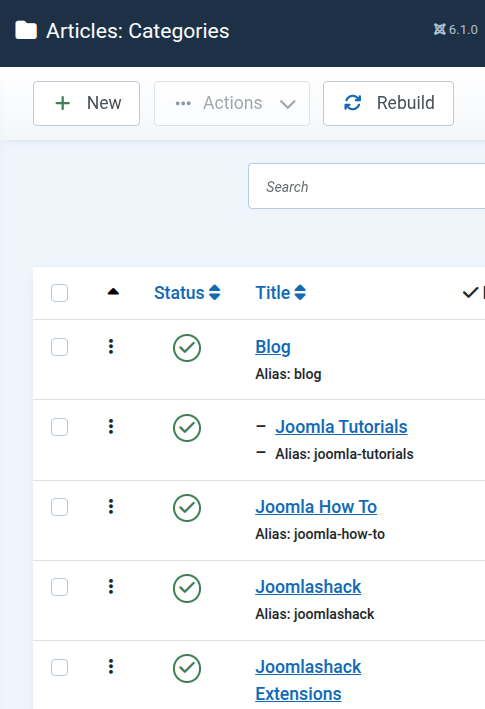
- Go to Content > Categories in your Joomla administrator.
- Click "New" and create the "Blog" category.
After that, you can create subcategories if you expect to have a busy blog. This screenshot below is taken directly from Joomlashack.com. You can see that our subcategories include "Joomla Tutorials", "Joomlashack", "Joomla Templates" and more.
Step #2. Create the Menu Link
The second step is to create a menu link so that visitors can see our blog.
- Go to Menus > Main Menu (or another menu if you prefer).
- Click "New".
- Enter "Blog" in the "Menu Title" area.
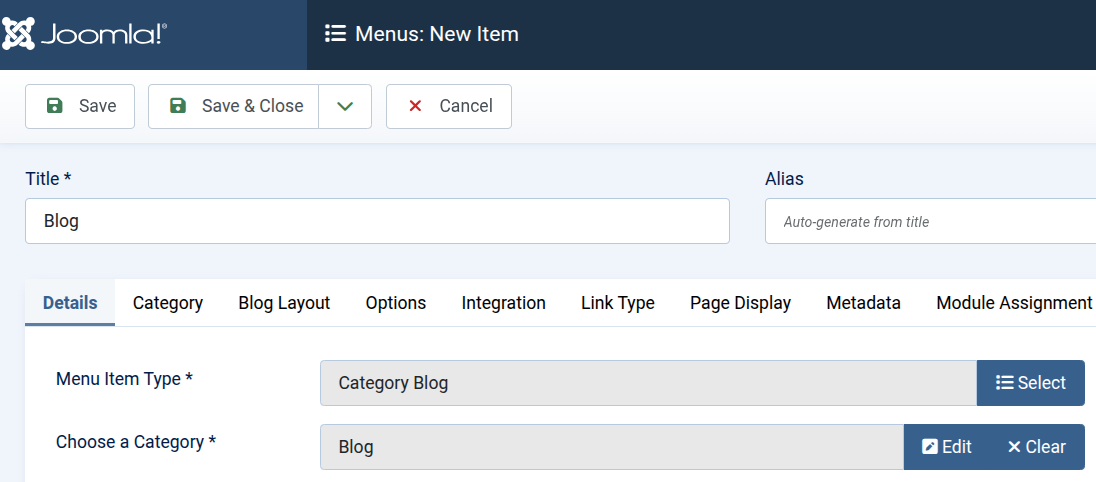
- Click the blue "Select" button for "Menu Item Type".
- Choose "Category Blog".
- Choose "Blog" in the "Choose a Category" field.
When you're done, your menu will look like the image below.
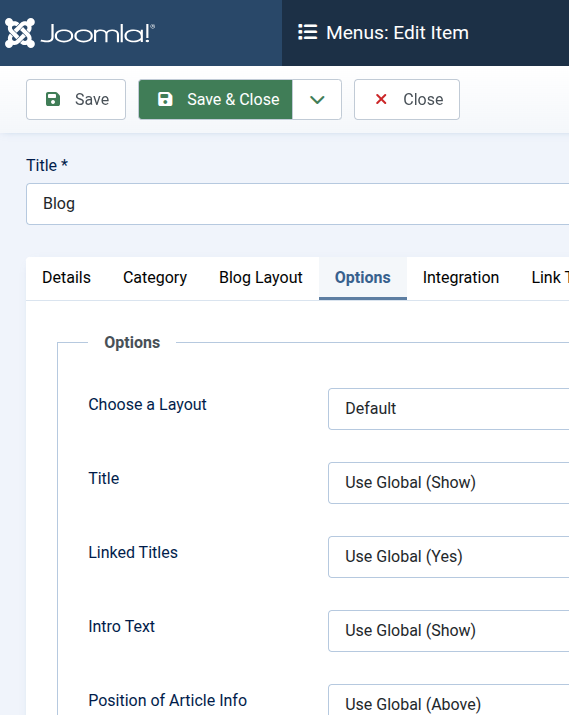
Before moving on, I'm going to recommend some changes to the display of your blog.
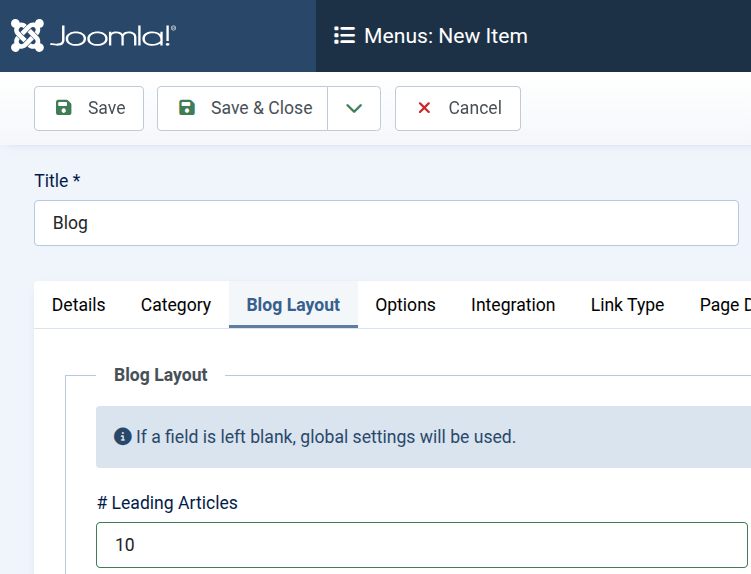
- Click the "Blog Layout" tab.
- Set the "Leading Articles" field to "10". This means that at least 10 articles will be displayed full-width across the page.
Step #3. Create the Articles
Next, you can write the first articles for your blog.
- Go to Content > Articles.
- Create articles that are in the "Blog" category or one of the subcategories.
At this point, you can go to the front of your site and click the "Blog" link. You should see that several of your new posts are live on your blog.
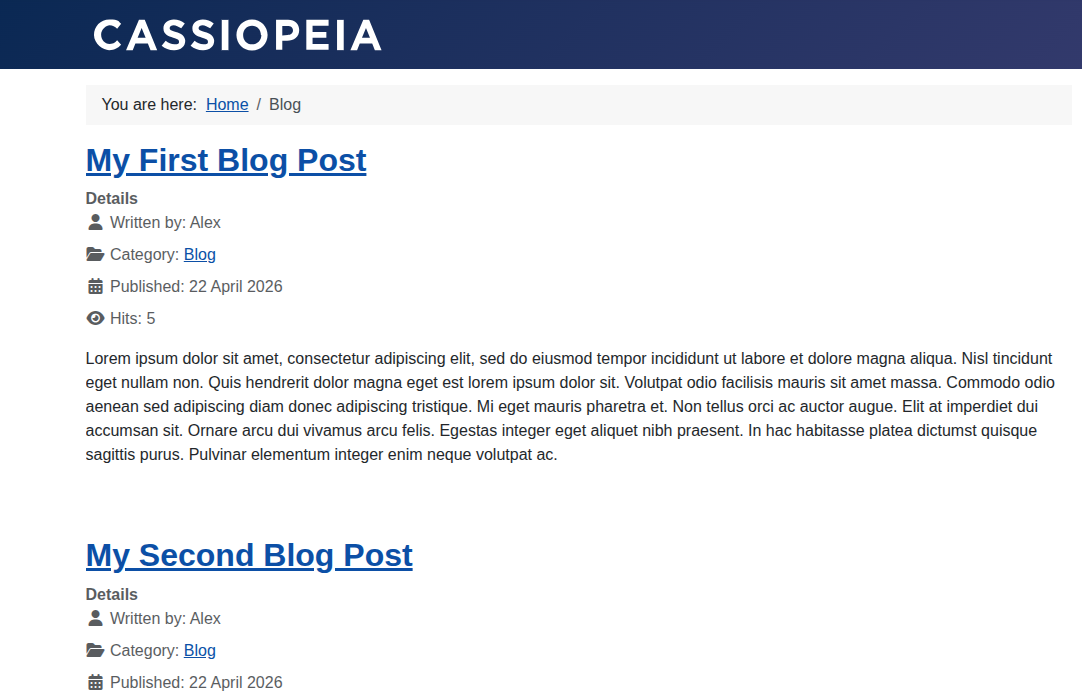
Looking at the layout in the image above, there may be some features you want to remove. For example, you might want to remove the "Hits" text. To do that, go back to "Menus" and edit your "Blog" menu link. You can change these features under the "Options" tab.
Step #4. Add Links to Your Social Accounts
Now we're going to add some social media features to our blog. In this step, we'll show icons that link to our social media accounts. We'll use the Joomlashack extension called Shack Icons Pro.
- Download and install Shack Icons Pro.
- Go to System > Site Modules > Shack Icons.
- Enter the URLs for your social media accounts:
![]()
- Under the "Menu Assignment" tab, you can choose to have this module appear only on your Blog menu link.
- Set your module to "Published".
- Go to the front of your site and visit the blog. You should be able to see your social icons next to the blog posts:
![]()
Step #5. Add Social Sharing Icons
The next step also involves social media: we're going to add social sharing links to our blog posts. We'll use the Shack Article Sharing extension from Joomlashack.
- Download and install Shack Article Sharing.
- Go to System > Plugins > Content - Shack Article Sharing Pro
- Enable the plugin.
- Inside the plugin, click the "General Options" tab.
- Choose the "Blog" category in the "Categories for social buttons" field:
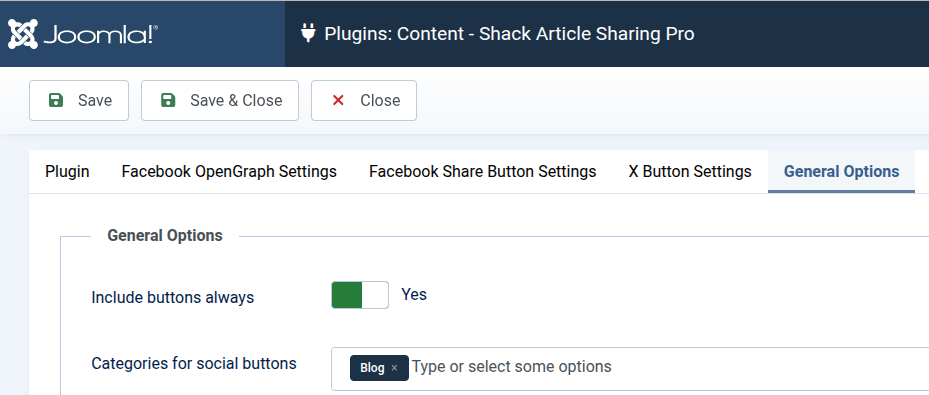
- Now, when you go to view your blog post, you can see those links for sharing those posts in social media:
![]()
What's Next?
Save $1,000's when you sign up for Joomlashack's Everything Club.
You will get your hands on our extensive range of over 20 extensions, plus legendary support!
Click here to join the Everything Club
About the author