![]() This tutorial will show you how to download and install TortoiseGit, which we will use in subsequent tutorials to test and create patches.
This tutorial will show you how to download and install TortoiseGit, which we will use in subsequent tutorials to test and create patches.
TortoiseGit is not the only software that you can use to test and create patches, but it's easy to use, so that's why we decided to use it for our tutorials on patches. TortoiseGit is only available on Windows. I will be posting a Mac tutorial later today.
1) Download the latest version of TortoiseGit
Go to https://code.google.com/p/tortoisegit/downloads/list and download the latest version of TortoiseGit.
Note: Make sure you download the 32/64 bit version that matches your computer's system. Click here for a help guide if you're not certain.
2) Install TortoiseGit
Double click the downloaded file to begin the installation process.
If you receive a pop-up stating, "Do you want to run this file?", click "Run".
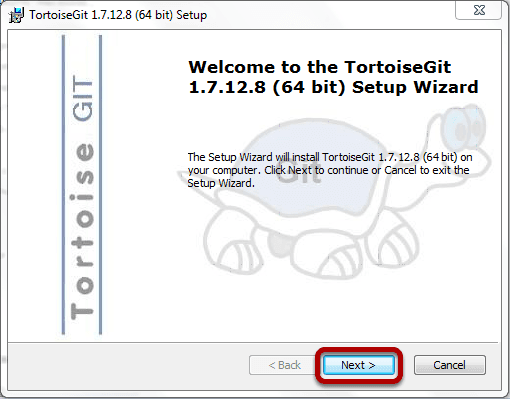
Click "Next" on the initial screen.
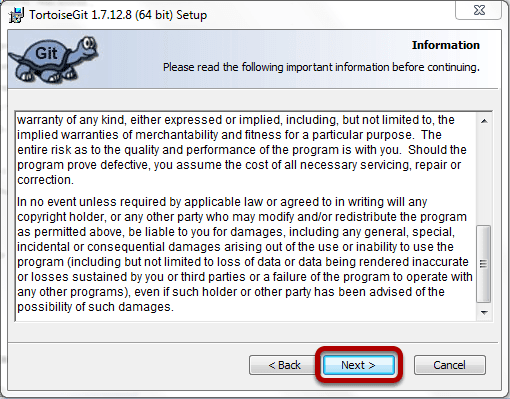
Read the information on the screen, and if you agree with it, click "Next" to continue.
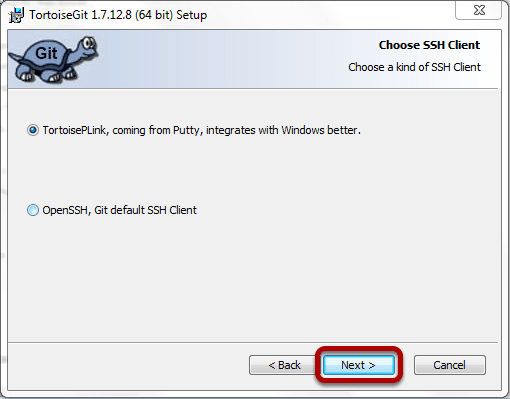
Select your default SSH Client (leave it as the default if you're not sure), and then click "Next" to continue.
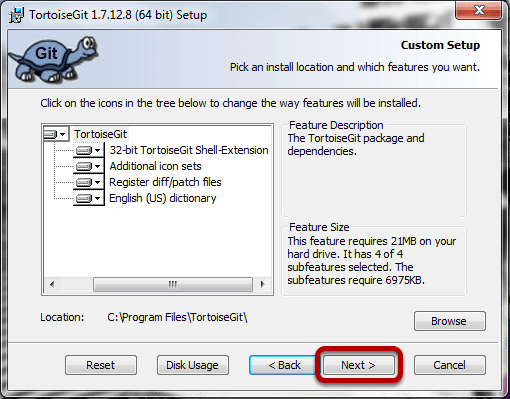
Read the information and then click "Next" to continue.
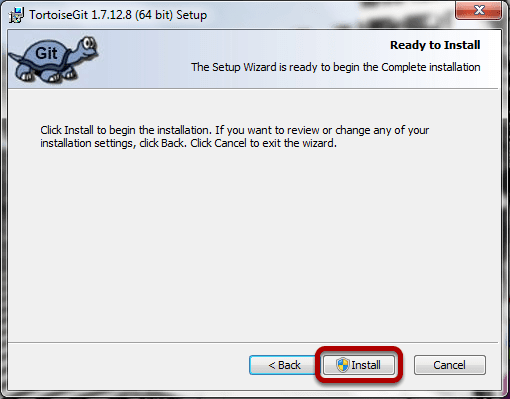
Read the information and then click "Install" when ready. Afterward, you might get one more pop-up prompt asking for permission to install.
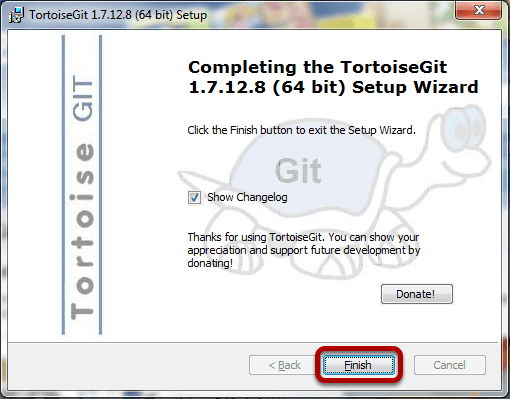
Finally, click "Finish".
Congrats! You've just installed TortoiseGit. Now onto the fun stuff! Click here to go to the next tutorial in the series.