![]() jFusion is one of the best and most reliable ways to share users between Joomla and other software.
jFusion is one of the best and most reliable ways to share users between Joomla and other software.
jFusion allows you to share Joomla user accounts with a long list of other software including WordPress, Magento, Mediawiki, Moodle, Os Commerce, PHBB, SMF, Vbulletin, Docuwiki, Efront, Gallery2 and more.
In this tutorial, we're going to show you how to install jFusion and use it to integrate WordPress and Joomla user accounts.
Step 1. Getting ready
In this example, we're going to have a Joomla site in the main directory and a WordPress site in a subdirectory. We're going to use JFusion to allow users to have the same login for both sites.
Here's how to get ready to use jFusion:
- Ensure that you have both a Joomla site and a WordPress site.
- Understand that if you have anything valuable on either site, YOU MUST BACKUP EVERYTHING FIRST! jFusion will make changes to the database tables on both sites.
- Manually add one user to both the Joomla installation and the WordPress installation. You will need this to test the connection in a later step.
Step 2: Install JFusion
- Download jFusion from https://www.jfusion.org.
- Install jFusion into Joomla using the Extemsion Manager.
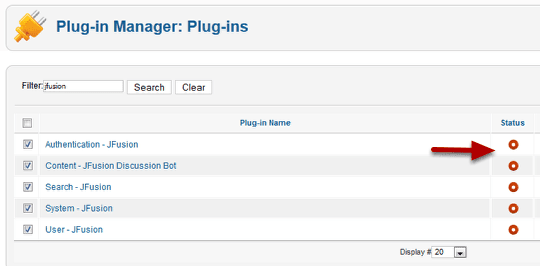
- Go to the Plugin Manager and make sure all the jFusion plugins are enabled. Change any red circles to green by clicking on them.
Step 3: jFusion for Joomla
- Access the jFusion Control Panel by going to Components > jFusion.
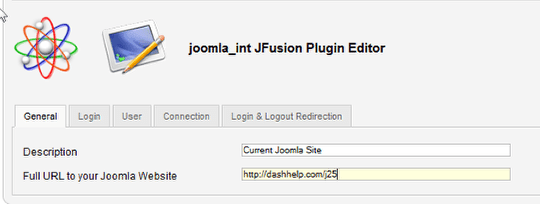
- Click the Joomla Setup icon.
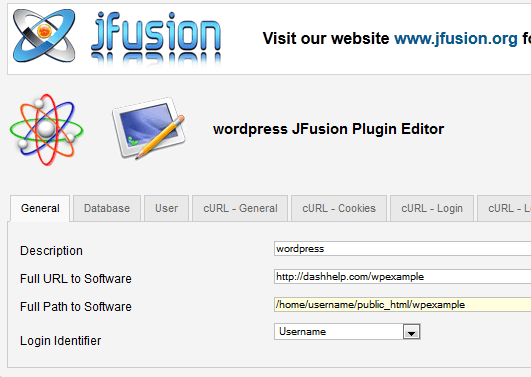
- Under the General tab, add the full URL to your Joomla site.
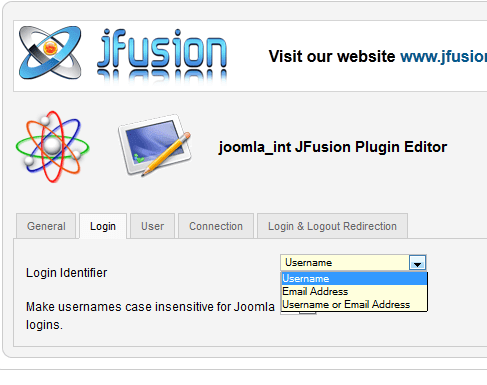
- Choose the correct login identifier. Some applications, like Magento, only use the email address as the identifier. WordPress uses Username, so we are going to leave it at Username.
- If you are linking to a site that has existing users, choosing Username or Email Address will allow existing users to login.
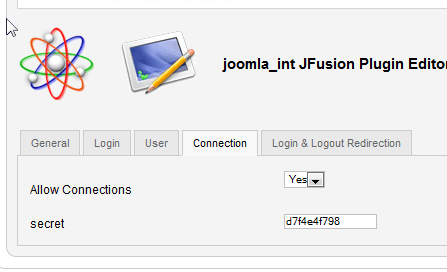
- Under the Connection tab, choose Yes for Allow Connections. We choose this because we'll be connecting to an external site.
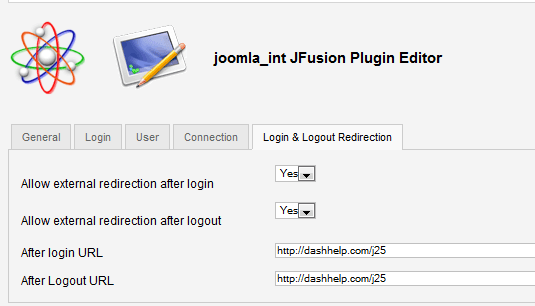
- Go to the Login & Logout Redirection tab.
- Because this is in a subdirectory, the After login URL and After logout URL options need to be specifically redirected. Choose Yes in both dropdowns and specify the actual URL for each case.
- If Joomla is in your main directory, you won't need to specify this here, because you can set it in the login module when you activate it on the front end.
Step 4: jFusion for the other site
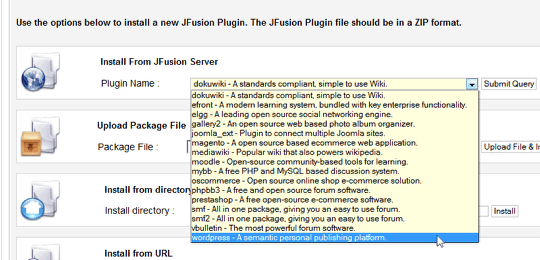
- jFusion will offer you wide range of plugins. You will need the plugin for the connection you're trying to make.
- Select the plugin from the dropdown menu.
- Click Submit Query.
- Installation is automatic.
- The plugin list will show you whats installed and the status of the configuration.
- Click the Not Confgured link to go to the configuration panel.

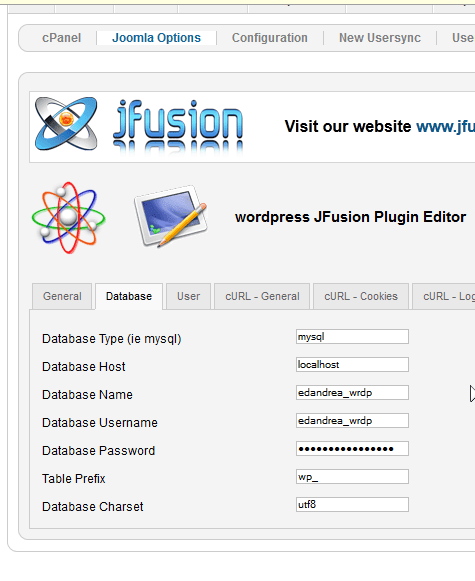
- Move to the Database tab and enter the database connector information for your WordPress site.
- Fill out the required database information. If you don't know what this is, look inside the wp-config.php file for your WordPress site.
- Save these changes.
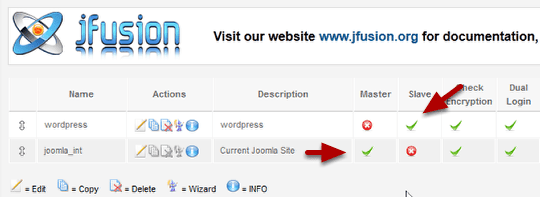
Step 5: Set up the Master-Slave relationship
Every time you use jFusion, you will need to specify one site as the master site and the other one as the slave. The master site is the one that will control the user accounts. If Joomla is the master, someone who registers in Joomla can log in to both Joomla and WordPress. However, someone who registers on WordPress can not log into Joomla.
- To choose which is which, click the red circle in the Master colum and it will toggle to a green check. The other columns will be enabled automatically.
- In this example we chose Joomla as the master site and WordPress as the slave.
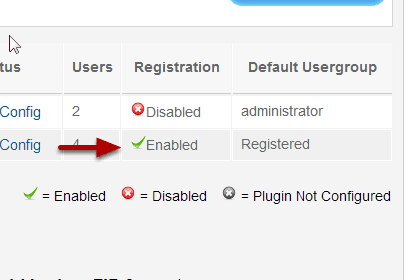
- As in the image below, the master site needs to have Registration enabled. You don't need to enable it in the slave.
Part 6: Test the connection
Now let's test the connection between the sites and see if it's working:
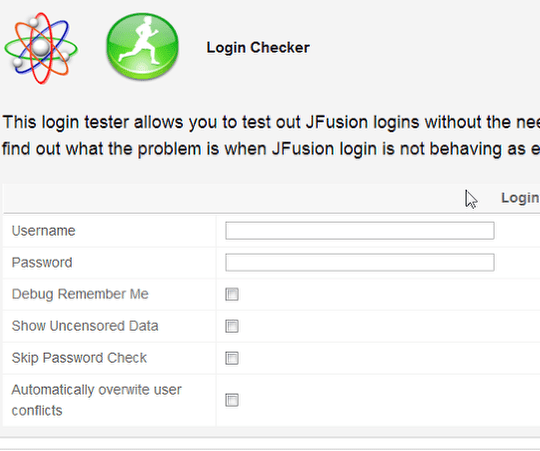
- Find the Login Checker tab and go to that section.
- Enter the username and password of the test user you created on both sites.
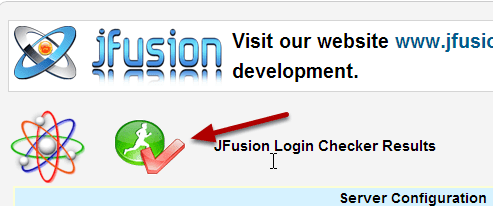
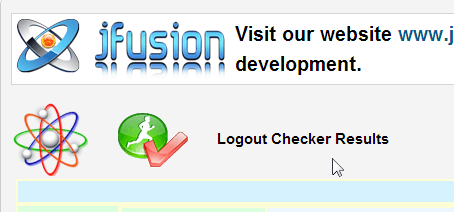
- Look to the top right of the page for the Check Login icon and click it.
- If all is well, you'll get a red check as in the image below:
- Now scroll all the way to the bottom of the page and check the logout function.
- You'll find a button Debug the Logout Function. Click it.
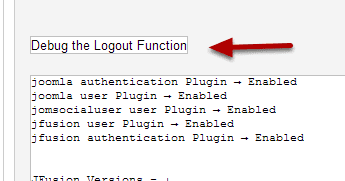
- You will get another red check if everything is working.
Part 7: Synchronize the users
Now that we now everything is working, we can synchronize the users.
Before you do, MAKE SURE YOU HAVE A BACKUP OF EVERYTHING. I know we said that before, but a reminder can't hurt. This is the part of the process that will actually modify your user databases.
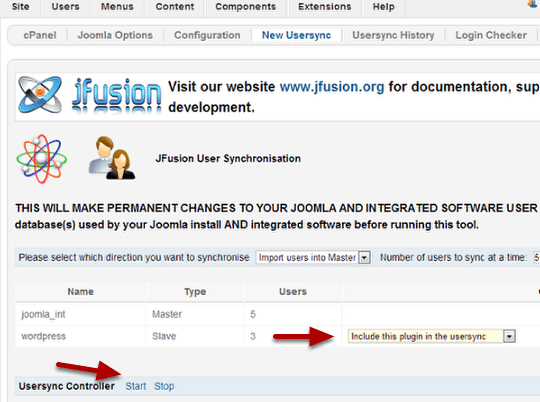
- Go to the New Usersync tab.
- Choose the plugin to include from the dropdown box.
- Click the Start link.
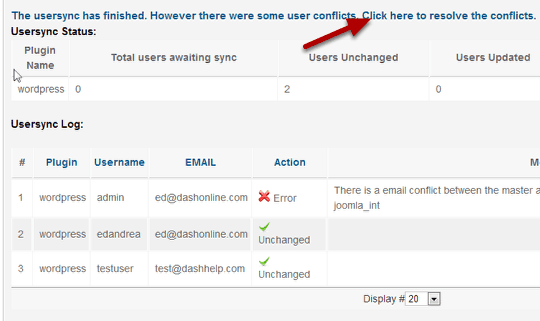
- After you've run the check you'll see the log as in the image below.
- If you see errors, use the link to resolve conflicts.
Part 8: Set up the Joomla jFusion login module
- Go to Module Manager.
- Add New.
- Choose the Jfusion login module.
- Configure the module.
- Publish the module in a module position on your site.
- Register a new test user and check to see if everything is working. Test their login on both the Joomla and WordPress site.
- If everything works then celebrate, because you have successfully linked your sites using jFusion!