This tutorial will show you how to create a local version of the Joomla github repository, which houses the latest code base for Joomla.
Note: This tutorial assumes that you are already running a localhost environment such as WAMP, XAMPP, or another one of your choice. We provide a video lesson of how to set up WAMP at the end of our Joomla Beginner class within the "Local Installation on a PC" tutorial. If you're not a member at OSTraining, you can use the following free lesson from our Joomla Explained site by clicking here.
Note: This tutorial also assumed that you've installed TortoiseGit already in the previous tutorial. If you haven't, click here for the tutorial.
1) Create a project folder in your localhost environment

Go to your localhost's directory and create a folder within it. Within the above example, I'm using WAMP and my web root is the "www" folder. Within the "www" folder, I've created a folder named "aprojectfolder".
2) Git clone the CMS repository
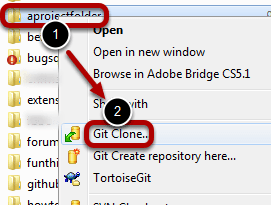
Next, we have to clone the git repository into our project folder. Right-click your folder, then select Git Clone.
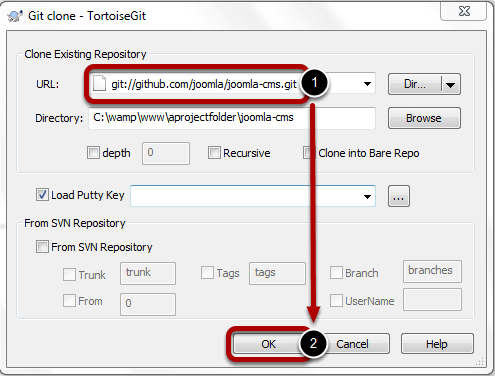
For the URL, enter git://github.com/joomla/joomla-cms.git then everything else should be left as the default to match the above screen. Click OK once ready.
Note, what TortoiseGit is doing for us is it's downloading all the files from https://github.com/joomla/joomla-cms to a folder, "joomla-cms", within our project folder. https://github.com/joomla/joomla-cms has the latest version of Joomla, including all the latest bug fixes, new features, etc, that haven't officially been released yet. Thus, we end up with an exact copy or clone of the latest development of Joomla.
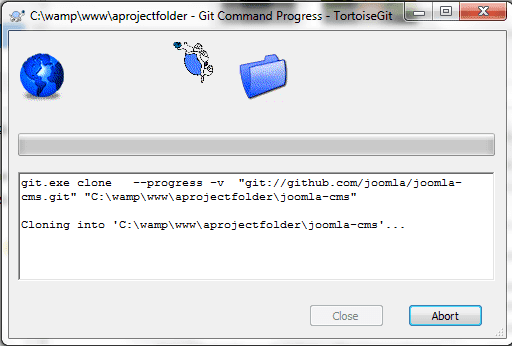
After clicking OK, TortoiseGit will start cloning. This may take a while, depending on your internet speed, so be patient.
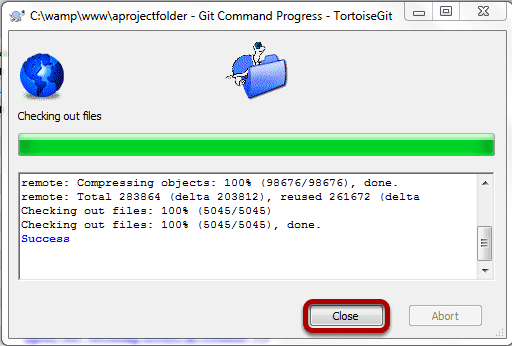
Click Close once it has completed.
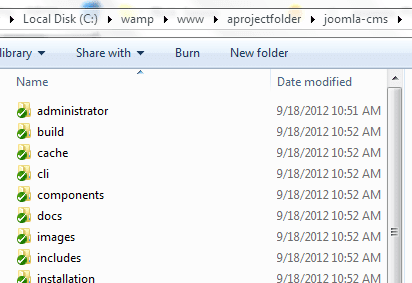
Now, when you navigate to your project folder, you will see a "joomla-cms" folder, and within it you will see the latest files for Joomla.
You can go head and install Joomla as you regularly would on your localhost. Please do this now. In the above example, I would go to https://localhost/aprojectfolder/joomla-cms/ and the Joomla installation would begin for me.
Note: The only differences between this and a regular Joomla installation are that we are using the latest development files of Joomla and the TortoiseGit links our installation with the Joomla github repository. Even though our installation is linked to the Joomla github repository, we will have to tell TortoiseGit to update to the latest revision when we are ready. We will learn how to do this in a subsequent tutorial.
Note: One other thing to point out is that since this is a test site, the "installation" folder remains there to make it easier to retest the installation if needed. In that case, all you would have to do is rename the configuration.php file or delete it, and you can reinstall again.
Click here to go to the next tutorial in the series.