![]() OSDownloads is the Joomla downloads extensions designed to allow you to collect emails in exchange for the download.
OSDownloads is the Joomla downloads extensions designed to allow you to collect emails in exchange for the download.
This is useful if you want to notify users about updates or changes. This also means that you don't have to force someone to register simply to get the download. OSDownloads is designed to work with MailChimp.com.
Here's how to install and configure OSDownloads:
Step 2. Install
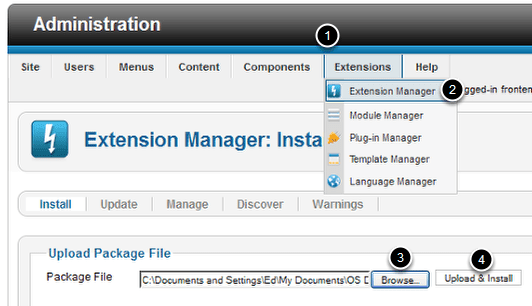
Go to Extensions > Extension Manager. Browse for the file you downloaded then click Upload & Install.
Step 3. Access the component
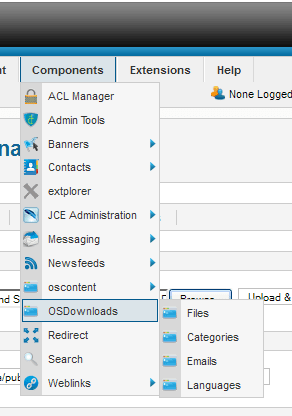
Go to Components > OSDownloads to access the controls for the component.
Step 4. Add categories for your downloads
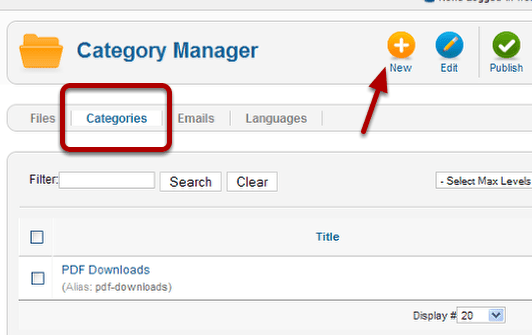
You can arrive at this page by going to Components > OSDownloads > Categories Or if you are already in the control panel for OSDownloads click the Categories tab.
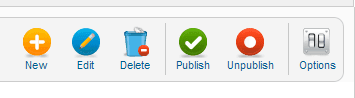
Click New to start adding Categories.
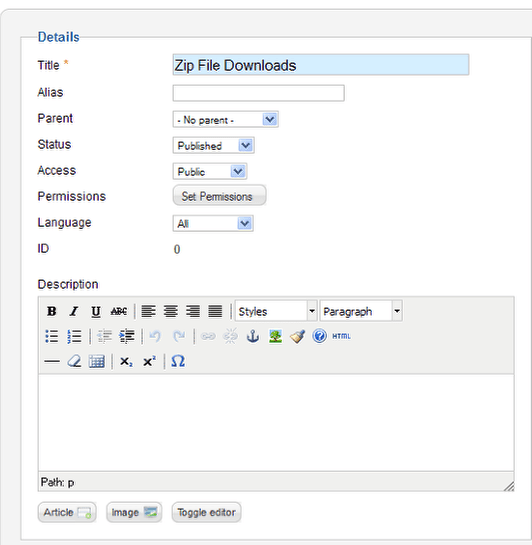
You will find the entry form to be exactly like the one used for content categories. Give your category a title and fill in the rest of the information required.
The categories you enter here will not be a part of the content categories, they only apply to your downloads.
Save each category you create.
Step 5. Add the files to your download archive
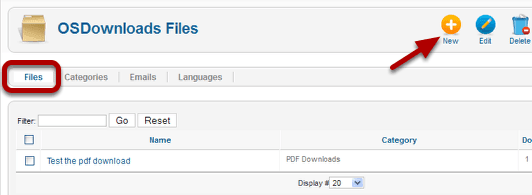
Click the Files tab, then the New button to start adding files.
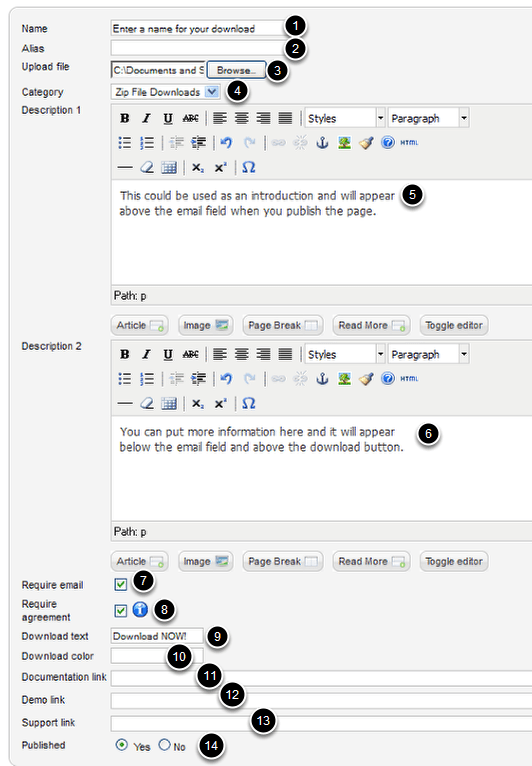
- Name - the name of your download
- Alias - will be automatically created from the title unless you fill in a custom alias.
- Upload the File - Browse your local computer to find the file and add it here.
- Category - The categories you entered will be in this drop down box. Choose the correct one.
- Description 1 - Appears in the short description in a list of downloads and above the email field on the page (sample below)
- Description 2 - Appears below the email field on the page (sample below)
- Require email - Check to require an email address before you allow the download
- Require agreement - If you require a software agreement check this box and you will see required box on the page.
- Download text - The text that appears on the download button
- Download color - the color of the download button
- Documentation link - Link to help documentation. You can use an internal link or if it's an external page use https:// when you create it.
- Demo link - link to a working demo if applicable. Can be internal or external link.
- Support link - link to help desk or forum
- Published - Yes or No
Sample: The download list

If you make link to the list type menu, Description 1 shows up as the introduction. Description 2 and all the rest of your information will be available from the Read more link.
Sample: the download page
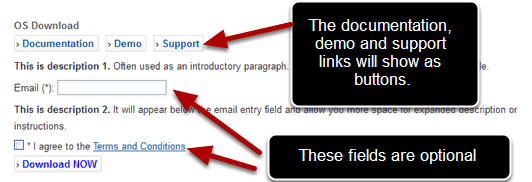
Here is what the page will look like on your site. If you leave Documentation, Demo and Support Links blank, you will not have the buttons at the top that you see here. This shows you what is included in a full display when you check all the boxes and fill in all the link fields.
Step 6. Create a link to the download page by creating a menu item.
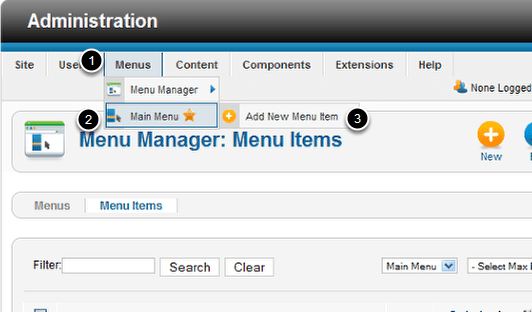
Go to Menus > Main Menu > Add New Menu Item
You don't need to put it on the main menu. You could create a menu just for downloads or place it on any other menu you've created. The process will be the same.

Click Select to choose a Menu Item Type
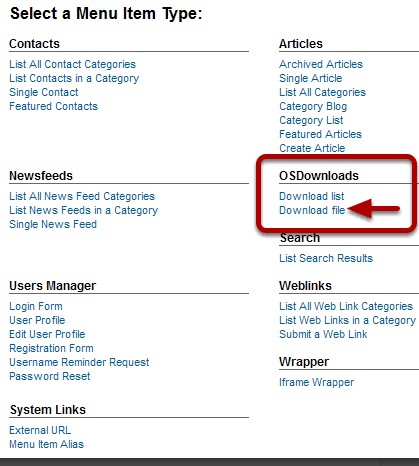
You now have a new menu item type under OS Downloads. You can create a link to a list of all downloads or to a single download file.
- Download list will be menu link to a page to every download available in a single category.
- Download file will be a menu link to a single downloadable item.
For this tutorial we're going to choose a single file. The process is the same for a list view of the downloads. You might want to create a menu item for All Downloads and then have the individual files as sub menu items. The process is identical to creating categories and articles, except in this case, the articles are a unique type for downloads.
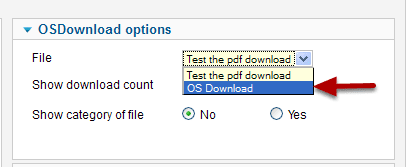
You'll be returned to the menu manager, at the right you will see the download options. Choose the correct file from the drop down menu. (Or correct category if you are creating a download list) Finish filling in any other fields you want and save your work.
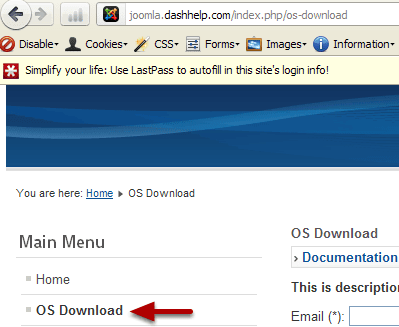
At this point you will have added a menu item to your menu, that is linked to the page for downloading the file.
Step 7. Check to see who downloaded
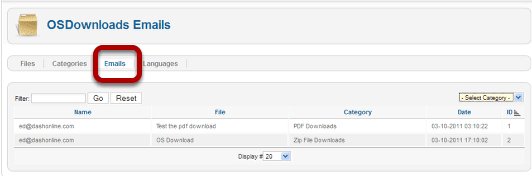
Go to Components > OSDownload > Email from the main menu and you will see the list of emails from visitors that have downloaded your files under the Emails tab.
Step 8. Add these to your email list in MailChimp

Return to the Files tab and click on the Options button.
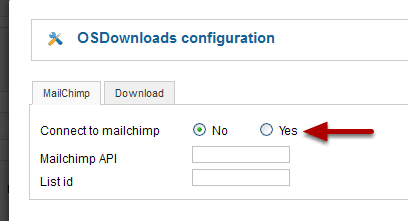
Enter the MailChimp information required
Click Save or Save and Close at the upper right hand corner of the screen.
Step 9. Adjust the labels and language
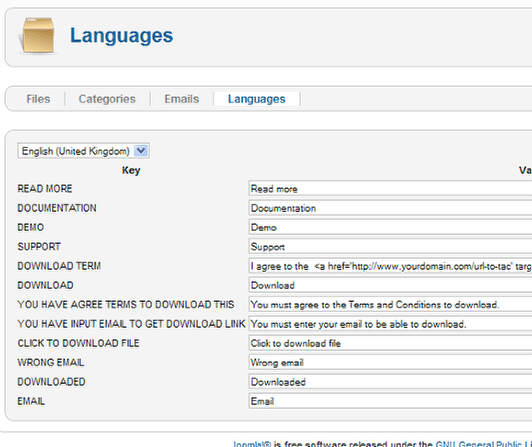
You can change the labels on the the buttons, the link to the terms, and other language specific to this component by going to the Languages tab when you are in the dashboard for OS Downloads.
Step 10. Create a Thank You page
Click the options button at the top of the File or Category tab.
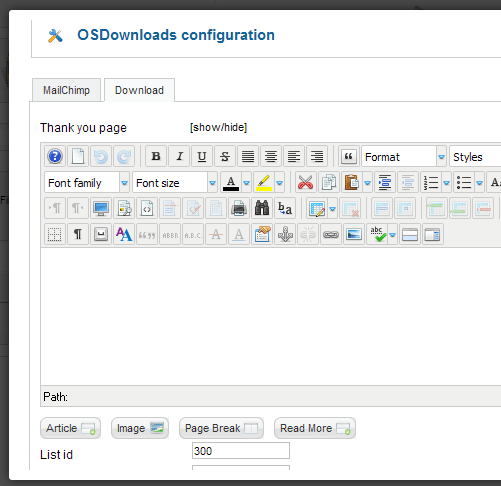
Select the Download tab in the popup window and create your thank you page.