 For years sh404SEF has been an important SEO extension for Joomla. It handles your URLs, your metadata and has even started to add features such as security, analytics and QR codes.
The purpose of this tutorial is to get you started with a quick setup and enough skill to manage sh404SEF successfully. A note before we start: this is a commercial extension.
CAUTION: BACKUP FIRST. If you have an existing site that is already using the built in SEF, activating this extension may change all of your URLs. Please test this extension first before using on a live site and also ensure that your live site is backed-up.
Step 1: Create Useful Accounts
As we go through the process of setting up sh404SEF, here are two account details that will be useful:
1) Google Analytics: Get your Google Analytics account Web Property ID. It's the number that looks like: UA-XXXXXX. If you've never used Google Analytics, you can learn all about it and sign up here https://www.google.com/analytics/.
2) Spam Protection: Visit https://projecthoneypot.org and register your site and get an access key.
Step 2: Install sh404SEF
You can purchase and download the plugin from https://anything-digital.com/downloads.html
It's a commercial extension and there is no free version of it.
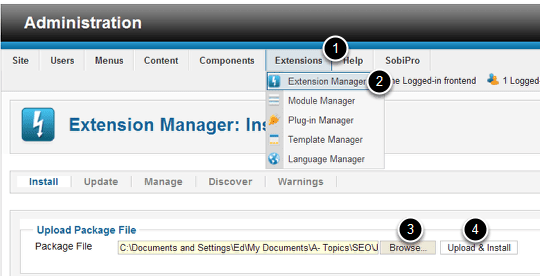
Install it in the Joomla Administration by going to:
- Extensions
- Extension Manager
- Browse to upload
- Upload & Install
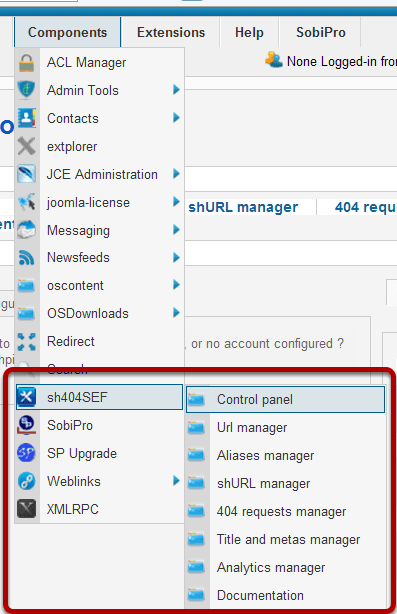
To get to the control panel choose the link you want from the Components Menu.
There's not a lot to configure, but it can be confusing. These directions will get you up and running right away. Once it's configured, we'll show you how to use the most essential features.
Step 3: URL Rewriting Mode
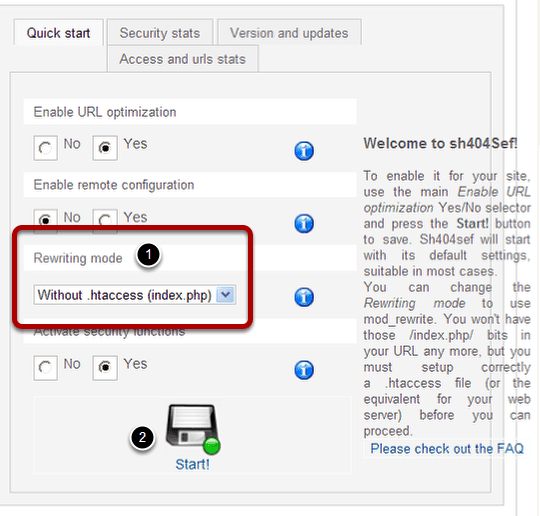
On the control panel page
- Choose the Rewriting mode
- Click Start
How do you know which rewriting mode to choose? This could be complicated, but to keep it simple start with the Without .htaccess
Click Start
Preview your website.
- If you chose the correct one, you will see your homepage and all your menu links will work.
- If you chose the wrong one, you will see your homepage, but you will get a page not found error if you click any links.
- If you chose the wrong one, change it back.
There are instructions on writing the .htaccess file, and contacting your web host to have mod_rewrite turned on, and technical support to help you change the method. If you're a perfectionist or have a really good reason why you want to change this you can. But if you want to start learning it today, stick with what works.
Step 4: Configuration
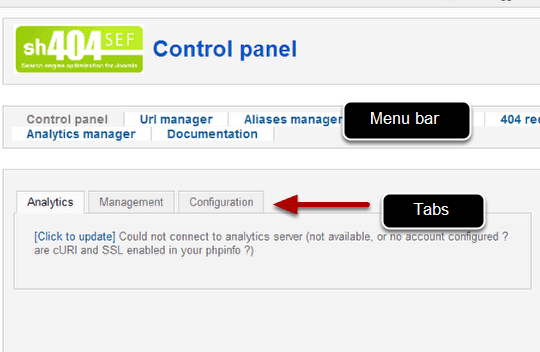
On the left side of the control panel you will see three tabs, Analytics, Management, Configuration.
You'll be setting up the Analytics connection as you go through configuration.
The Management Tab has the same links as the menu bar at the top, and is just an alternate way to navigate to the same sections.
The Configuration Tab needs to be dealt with at this point.
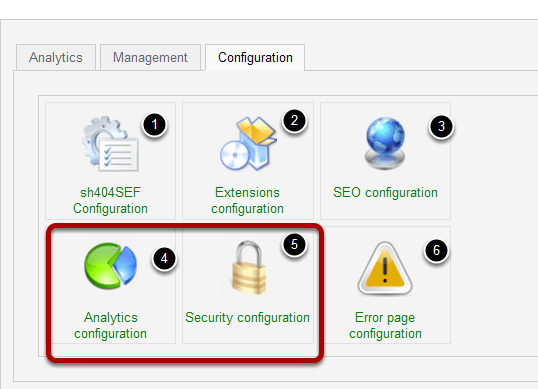
There are quite a few things you can configure here, but the defaults will work perfectly. You can always tweak these as you learn more. A couple of them need to have access information entered and you'll need to get the information so they will work now.
1. sh404SEF Configuration - The defaults will work
2. Extensions Configuration - The defaults will work.
3. SEO configuration - The defaults will work, but there is a new feature for switching the template to a mobile device template you might want to visit.
4. Analytics configuration - You will need your Google Webmaster and Analytics information to enter here
5. Security configuration - You need your Project Honeypot id to enter here
6. Error page configuration - The defaults will work. But you might want to read the default message to see if it fits your style.
Step 5: Mobile configuration

Go to SEO Configuration on the menu. On the Mobile configuration tab in the pop-up window, you can choose to have the template switched for easy reading on mobile devices.
Enable the template, add the name of the template and Apply if you're using a mobile template.
Step 6: Configuration for Extensions
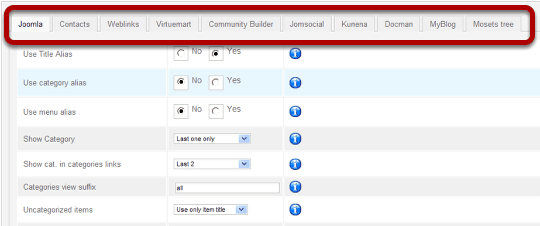
There are tabs across the top for each extension that sh404SEF is integrated with. They each have their own parameters set. You only have to set these for the ones you are using.
The defaults will work well, so if you are a beginner, just leave them as they are. If you want to know what anything does, mouse over the blue 'i" icon, and you will get a tool tip with a fairly thorough explanation.
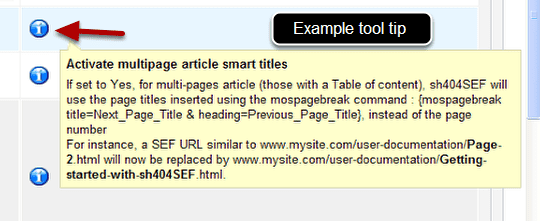
Mouse over any icon for tool tips. This is true throughout the control panel
Step 7: Analytics
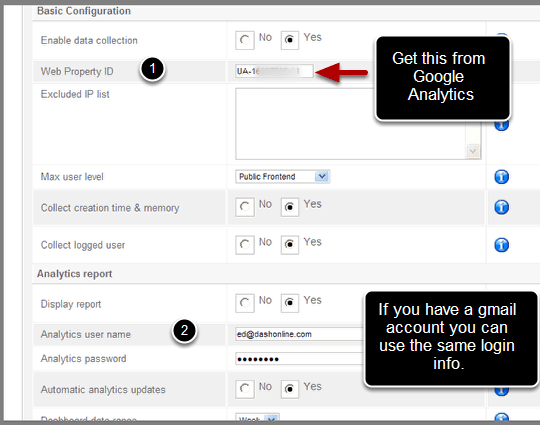
From Google Webmaster Tools get your:
- Web Property ID
- Username and password
At the top of this configuration page is a link to an instructional video on using Google if you need to watch it. If you already have gmail, or another analytics account you don't need to create a new one.
Step 8: Security
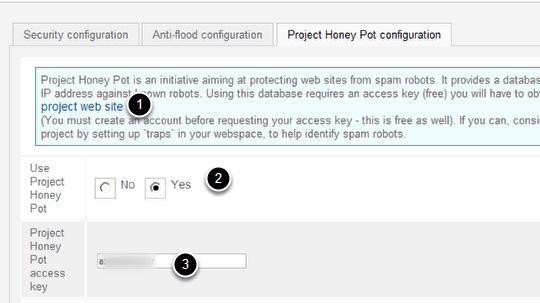
The important tab on this panel is the Project Honey Pot configuration.
- Use the link to get your access key from the project website.
- Choose Yes to activate it
- Put your access key into the key field.
Project Honeypot does a great job of stopping sign-up spam and comment spam. You don't need it to do SEO, but you will probably want it. You can read all about it and register at https://projecthoneypot.org.
Step 9: The URL manager
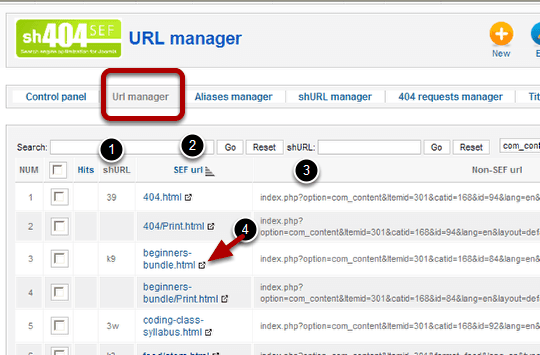
- The short URL (shURL)
- SEF url - this was created by the program and is the one that the search engines will find
- The Non-SEF url - The original url (if you didn't have shSEF404 this is what the url would look like)
- Page preview icon - click this to see the actual page.
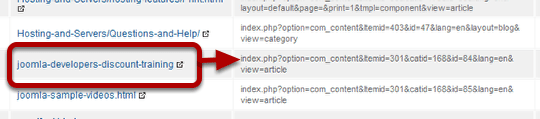
If you are really good at SEO you may want to change the url that was created by the program to something you feel will do better than the auto-generated one. To edit the SEF url, click the blue link and you will open a pop up with the facility to make changes.
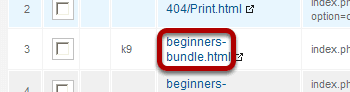
For example, if I click on beginners-bundle.html, I will get this.
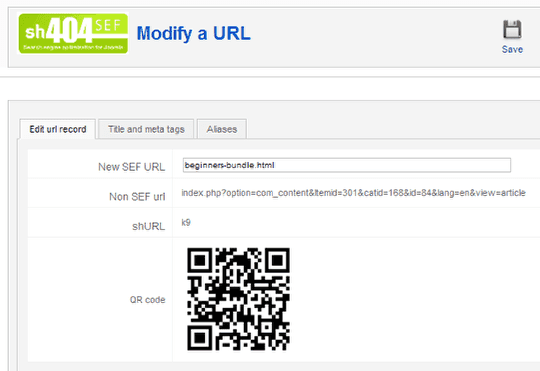
If I wanted to use a different, keyword-heavy URL I could change this to joomla-developers-beginner-bundle.html and that is what the search engines would see. You can not only have a "friendly" url, but you can customize it to say what you want for maximum SEO.
An additional feature is the QR code. A QR code (abbreviated from Quick Response code) is a type of matrix barcode (or two-dimensional code) first designed for the automotive industry. To learn more about it read the Wikipedia entry and check the documentation you get access to after you purchase sh404SEF.
You can create the title and meta tags from the Title and meta tags tab.
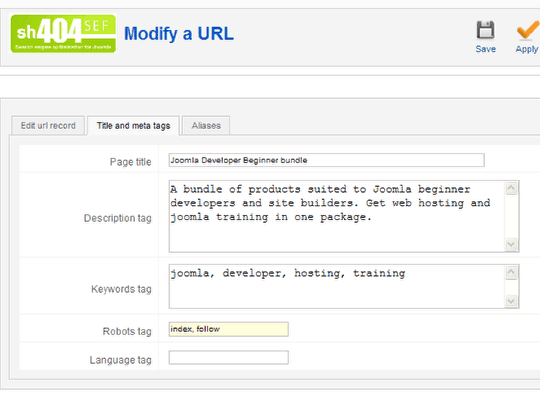
For maximum optimization, you need to do this for every page in your website. It's not the only thing you need to do, but it's really the heart of optimization, and the place you should start. It's a big job if you already have a lot of pages, but not hard to keep up with if you do it as you add new articles.
You can do this one page at a time, but if you have an existing site with content, use another tool provided by sh404SEF, the Titles and Meta Manager.
Step 10: Title and metas manager
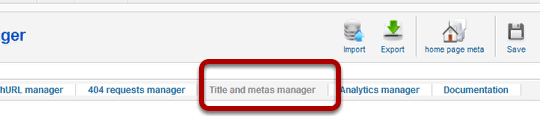
Click the TItle and metas manager on the menu bar at the top of the page.

On the Title and Meta manager, all the urls are shown in a list format, and there are editing boxes for the title and the description so you can go down the list and make change all at once. This is a very handy time saver. You can preview the pages by clicking on their titles in the URL list for reference to help you modify the titles and descriptions.
When you have all these done, you've completed your first major SEO task.
Step 11: Aliases
In an earlier step I suggested you could change a url in the URL manager. If you do this, you also need to manage the alias for the URL and redirect the old one to the new one. Someone may have bookmarked the old one, or it's already indexed, and you want to make sure that if someone uses the old link, they end up at the new page. Otherwise they get the "404 Page Not Found" error.
Here's the procedure.
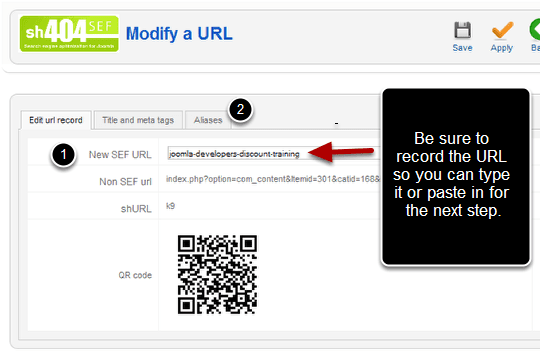
Go to URL manger and click the name of the link you want to change.
Enter the new url in the New SEF URL field.
Click the Aliases tab.
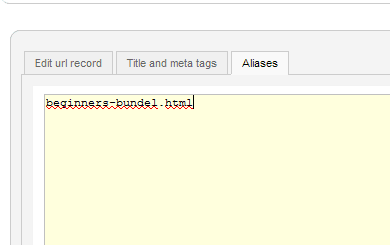
Type or paste the old url into the text box.
Just one per line. If you change this more than once, you will need to do it for every change, so you could build up a list. You want all the old urls aliased to the newest one.
Be sure to Save.
When you return to the URL manager you will now see the new URL in the list, and that it's pointing to the Non SEF url.
Click the preview button if you want to make sure you got it right.
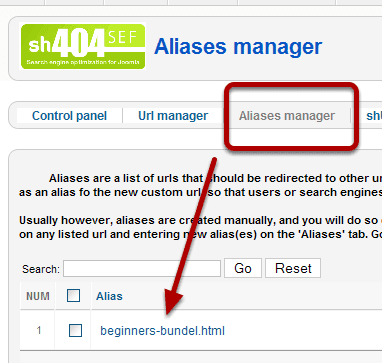
The change you made also appears in the Aliases manager. Clicking the Alias title will take you to the url editor for this entry. This gives you quick reference to any urls you are tweaking and changing more than once.
You're ready for the heavy lifting
I didn't discuss the Analytics Manager or the shURL manager. Analytics is an entire new topic, and once it's set up, you can view the analytics and refer to Google's help for how to interpret and use the information.
The purpose here is to get you started, and, unless you are already well versed in SEO, you'll have enough to do. The shURL topic may become important to you later, but it is well covered in the documentation and the processes are similar to the ones I've shown you here.
You should be completely set up at this point, and have enough mastery over the plug-in to roll up your sleeves and start doing the heavy lifting.