Simple Caddy is a simple yet powerful shopping cart solution for Joomla 1.5 (They are working on an upgrade to 1.7 be published soon).
It uses standard content to show the products' details and a small plugin on that page to present the "Add to Cart" functionality.
A component is used and the admin section of the component will administrate your products and set your personal configuration.
SimpleCaddy currently proposes two ways of checkout: by simple mail (not needing payment) or PayPal (needing payment)
A module is provided to display the "Show Cart" with cart contents on every page you desire.
1. Download and install Simple Caddy
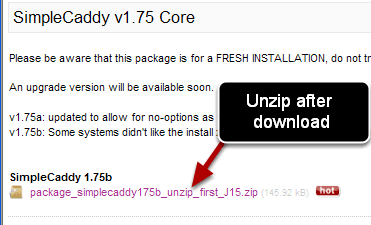
Download the plugin from this link. This downloads a zip file that will need to be uncompressed before you can install it. Unzip the file and install the component, the plugin and the module.
2. Upload the files
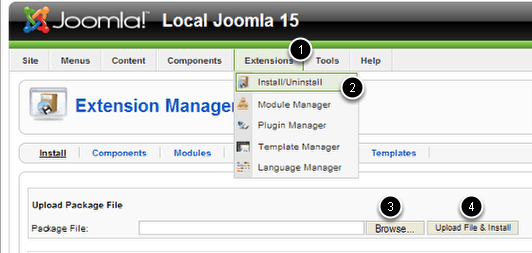
Go to Extensions > Install/Uninstall Browse to the files, click Upload File & Install
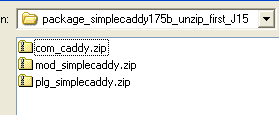
After unzipping you will have three files to upload. Upload all three to your Joomla installation.
3. Enable the extension in the Plugin Manager
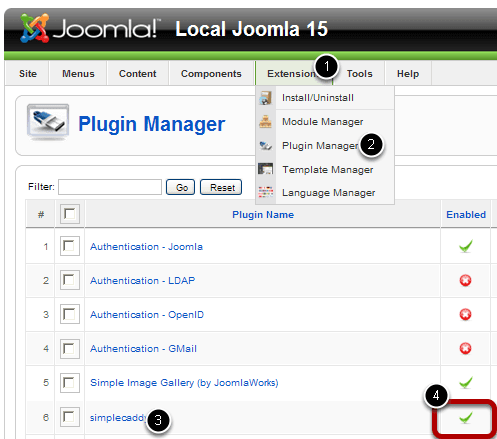
Go to Extensions > Plugin Manager and find the SimpleCaddy plugin and make sure it is enabled.
4. Configure SimpleCaddy
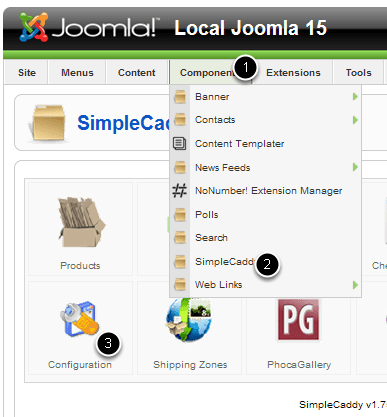
Go to Components > SimpleCaddy > Configuration to enter your information. This isn't a complicated cart so there isn't too much to set up that's not logical. I'll hit the highlights here to make sure the most important things get attended to.
5. Configure Communications
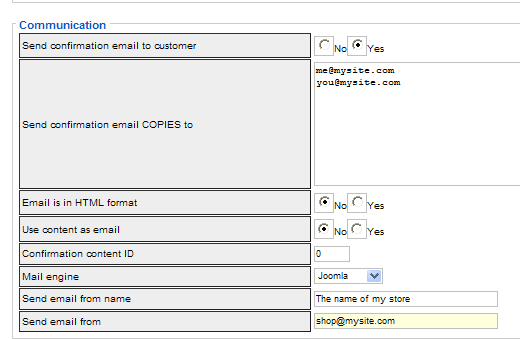
Confirmation copies: Who gets a copy of the order. Definitely you want one to come to you. You may also want one to go to a drop shipper or bookkeeper.
Send email from name: In the email that is sent out this will show. You could use the name of your store, or something like "Order Department". Just plain language is what's called for.
Send email from: this will be the email address that shows who sent out the email to you and your customer. This will also be the reply address if someone responds directly to a notification email.
This is an example. Check the complete list and make sure everything is set up correctly. You can find more details on the complete configuration in the Quick Start Guide on the SimpleCaddy website.
6. Set up PayPal
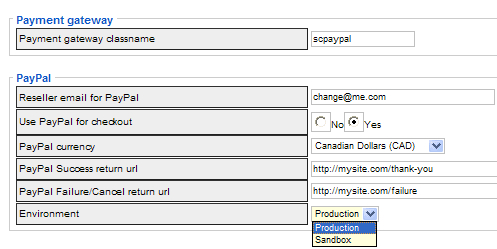
If you are going to use PayPal, you can set up the payment information in the configuration section under Payment gateway. The Payment gateway classname will be filled in for you.
Reseller email for checkout: the address you use to login to your PayPal account.
PayPal Success/PayPal Failure return url: You can create custom pages on your site for these, or use the PayPal defaults.
Environment: In Production mode, the sales will be charged to PayPal. But if you want to test it, you should be in Sandbox mode. This will submit sample sales without actually doing any billing or charging. You an set up in this mode and switch it when you're ready to go live.
To use Sandbox mode you will need to go to PayPal and set up a Sandbox Account. You don't need to be a PayPal customer to set up a sandbox. Anyone can do it with no commitment to PayPal.
7. Set up a PayPal Sandbox
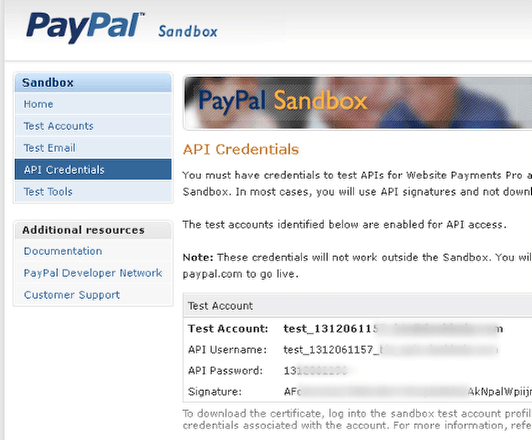
You don't need an actual PayPal® account to setup a sandbox (which is strictly a test environment so you can see if everything is working.)
Go to https://developer.paypal.com and set up an account and create two test accounts:
- Merchant Test Account
- Customer Test Account
After you have those, go to the API Section and write down the API Information so you can use it later if you need it.
8. Create product categories
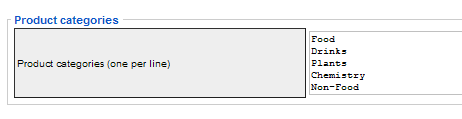
This is an essential step to take before you start adding products. Enter the names of your categories each on a single line.
9. Create a product
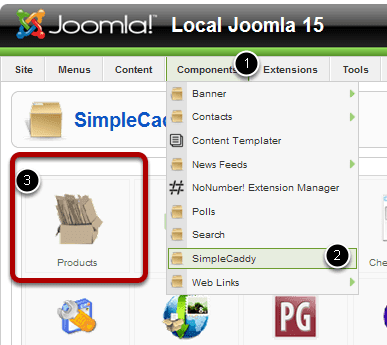
Go to Components > SimpleCaddy and click on the Products icon.

Click New to add products.
10. Give your product a unique product code
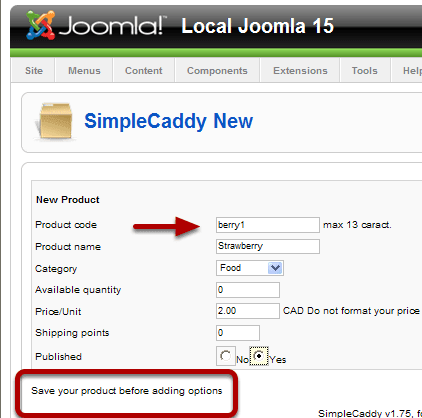
The product code is going to be used to create the buy now buttons. Make sure each product has a unique code.
It will help you if you work out a sequential scheme for numbering your products. It will make it easier to enter the product code later. In this example I used berry1 for Strawberry. I might use berry2 for Cherry, etc.
Click Apply or save before you start adding options. After you click apply you will get an additional control for adding your options.
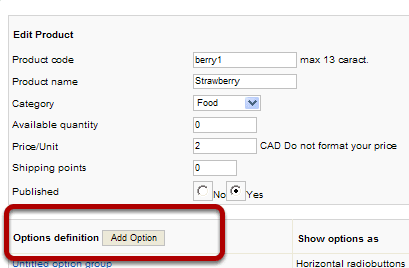
Quick options. If you it's not obvious how to do it, consult the Quick Start guide.
11. Add your short code to an article.
Create an article and write anything you want about the product. You can include pictures, videos, sound galleries, anything you would put on a normal page.
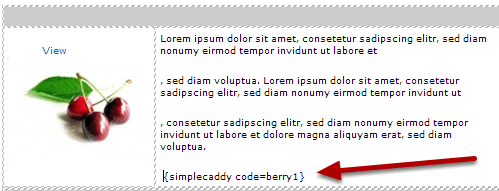
Insert this code where you want the Add to Cart buttons and order form to show up.
Example: {simplecaddy code=berry1}
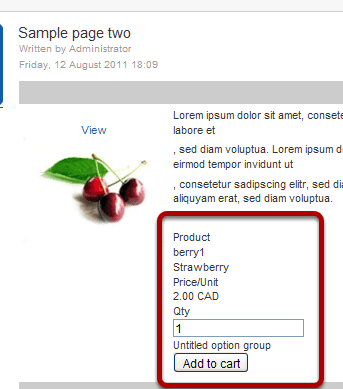
Your product information and Add to cart button will be added to the page.
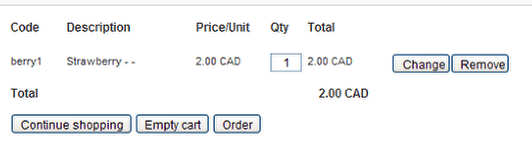
Clicking Add to cart button will take you to your shopping cart for quick checkout.