One of the questions from our customers this week was how to create an online events site with JCal Pro.
JCal Pro is the best Joomla extension for managing calendaring events. It offers simplicity, flexibility, a robust feature set, and gorgeous templates to fit virtually any Joomla site.
Creating an online events Joomla site with JCal Pro takes four steps:
- Install JCal Pro.
- Create required JCal Pro events.
- Enable events registrations.
- Set the events display.
Let's take a look at these steps in more detail.
Step #1. Install JCal Pro
- Visit this page and log into your Joomlashack Customer Dashboard.
- On the right side of the screen, find "Your Account Menu" and click "Your Extensions" link:
- Find the JCal Pro listing and click "Download" to download JCal Pro to your hard drive:

- In your Joomla administrator panel, go to "Extensions" > "Manage".
- Install JCal Pro to your Joomla site:
Good job! You are now ready to start creating online events for your Joomla site.
Step #2. Create online events
By default, JCal Pro creates events in a category called "Uncategorized". For online events, it makes sense to rename this category. Since we are creating an online events Joomla site, it will be only fitting to call this category "Online Events".
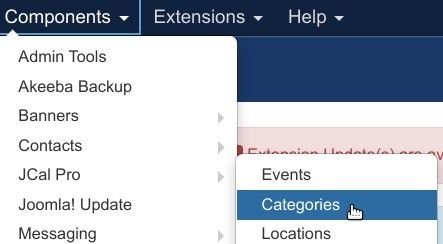
- Go to "Components" > JCal Pro > "Categories":
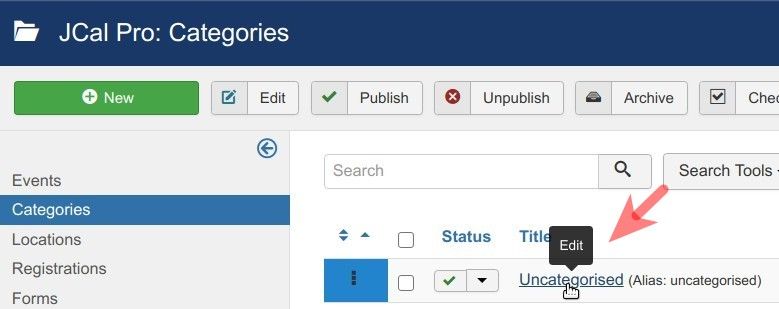
- You will be taken to the "JCal Pro: Categories" screen, listing the "Uncategorized" category. Click on the category name to open its settings:
- Change the category name inside the "Title" field. I changed it to "Online Events".
- Change the alias in the "Alias" field.
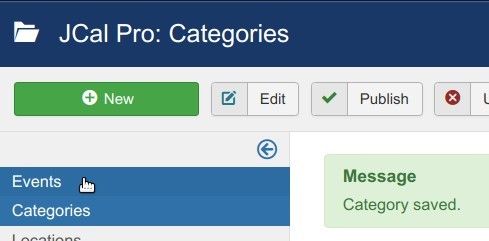
- Click "Save & Close":

Good job! You've just created a container for your JCal Pro events. You are now ready to start creating your online events.
- In the left navigation panel, click "Events":
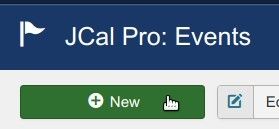
- You will be taken to the "JCal Pro: Events" screen. In the top left corner, click "New":
This will bring you to the "JCal Pro: New Event" administrative page. Create your first online event using these steps:
- On the "Event Details" tab:
- Title: Enter your event title.
- Alias: Leave empty. JCal Pro will fill in this field for you automatically.
- Enter the event description into the editor box.
- On the right side of the screen, locate the "Primary Category" option, and select the event category you created a few minutes ago:

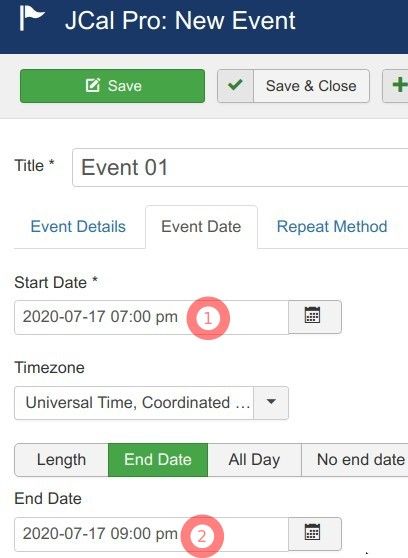
- Click the "Event Date" tab and set the Start and End dates/times for your event:
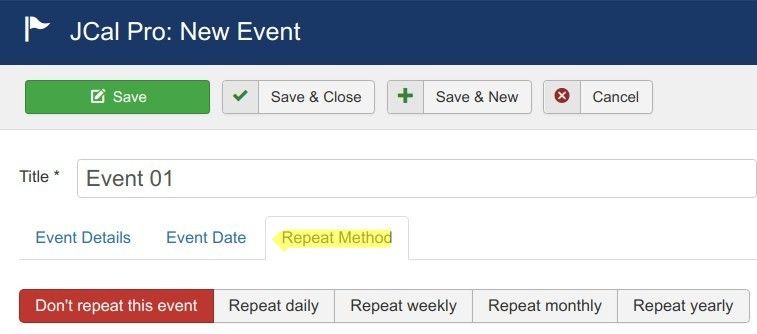
- If required, use the "Repeat Method" to set this event as recurring:
- At the top of the screen, click "Save & Close" if you finished creating events. Otherwise, click "Save & New" to create more events.
Excellent! You created your required online events. Now would be a good time to enable their registrations.
Step #3. Enable events registrations
JCal Pro allows to register event participants in two ways:
- Via the admin area. Site administrators create the registrations via the JCal Pro: Registrations page in Joomla administrator panel.
- Via the front end. People can register themselves from the event's frontend page.
For step-by-step instructions on how to register a user for an event from JCal Pro: Registrations administrative panel, please see the JCal Pro Registrations guide.
To enable your site visitors to register for JCal Pro events, you enable events registrations in the component's global settings. Then you enable events registrations individually for the concerned events themselves. And lastly, you need to slightly tweak JCal Pro registration permissions. Let's look at these steps in more detail.
Enable events registrations globally
- In your JCal Pro control panel go to Options:

You will see the JCal Pro Configuration page.
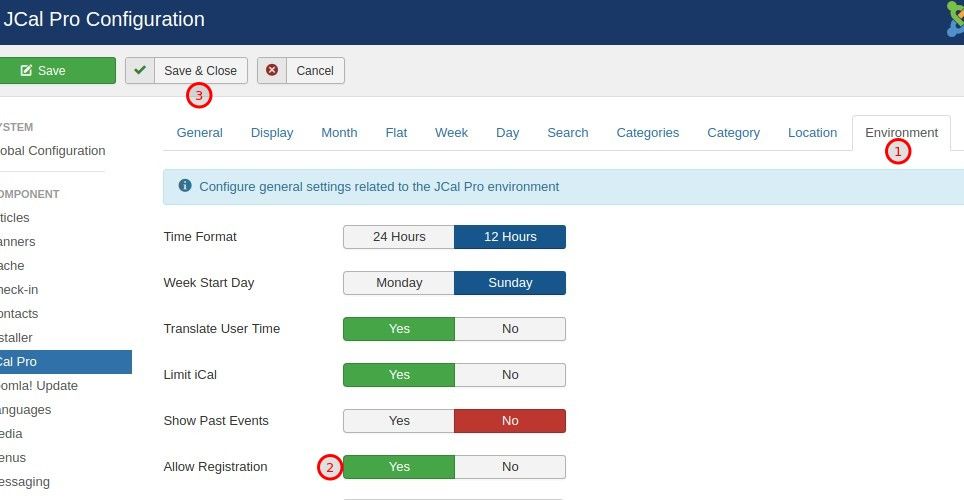
- Click the Environment tab
- Set the Allow Registrations to Yes
- Click Save & Close
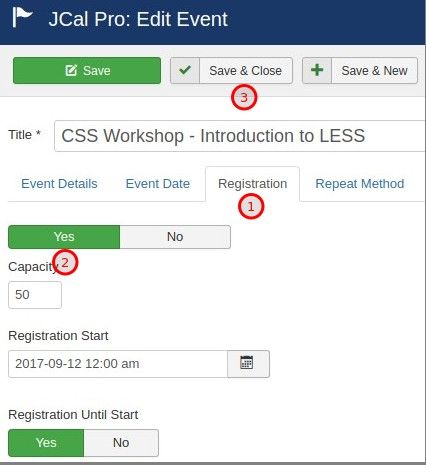
Enable registrations in specific events
- Open a selected event for editing and click the Registrations tab
- Click Yes
- Click Save & Close
Set who can register for events
Our next step is to tweak the component's Access Control List. This will determine who can register for events.
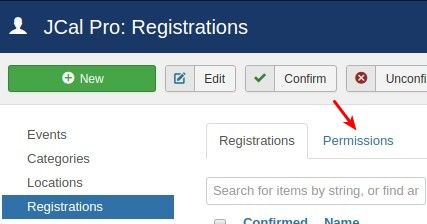
- Click the Registrations menu item.
- Click the Permissions tab.
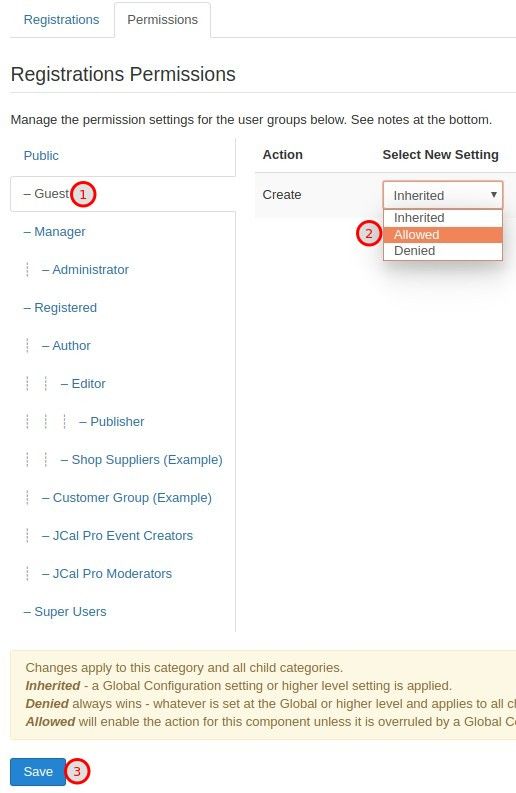
- Click the Guest tab.
- Select Allowed setting for the Create action.
- Click Save.
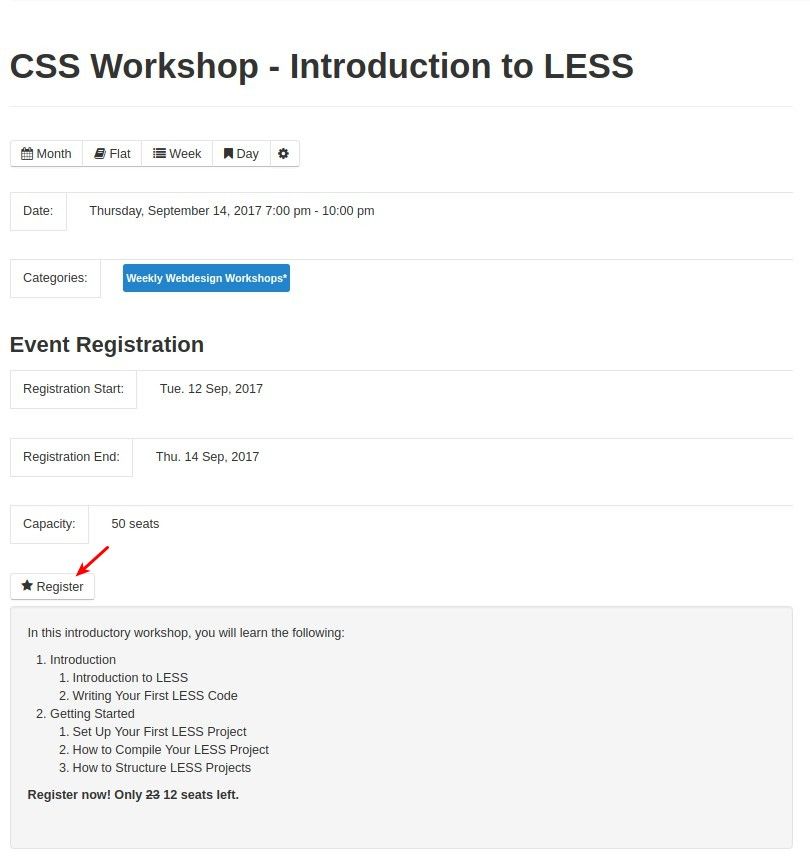
Now visit the event's page. You should see the Register button displayed underneath the event details:
Excellent! At this point, you are ready to display your JCal Pro events to the audience of your Joomla site.
Step #4. Set the events display
JCal Pro offers you several ways to display events to your Joomla site visitors:
- In a calendar
- In a module
- In a Joomla article.
Let's take a look at all three of these options one by one.
Display events in a calendar
To display JCal Pro events in a calendar view, you need to create a relevant Joomla menu item.
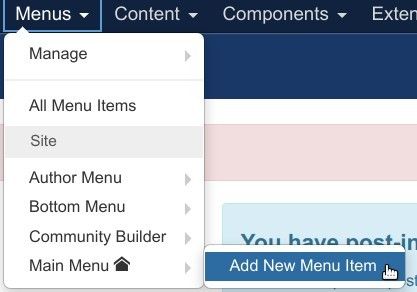
- In your Joomla administrator panel, go to "Menus" > [menu-of-your-choice] > "Add New Menu Item". For my demonstration, I will go to "Menus" > "Main Menu" > "Add New Menu Item":
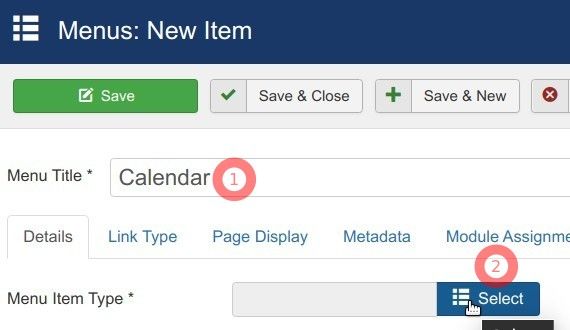
- You will see the "Menus: New Item" screen. In the "Menu Title" enter the title of your new menu item for JCal Pro monthly view. For my demonstration, I entered "Calendar".
- Click "Select":
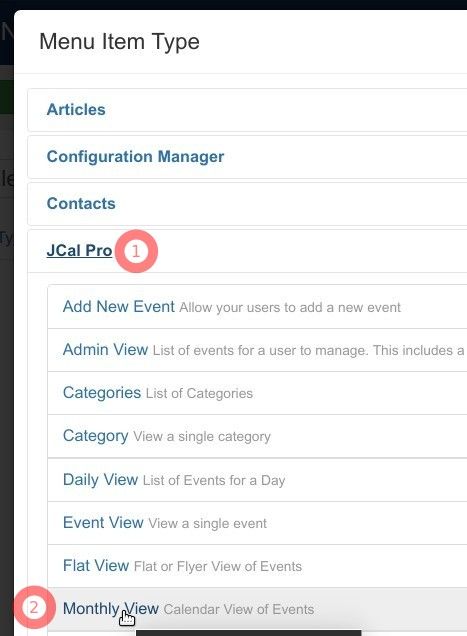
- You will see the "Menu Item Type" box. Click "JCal Pro" > "Monthly View":
- Click "Save & Close".
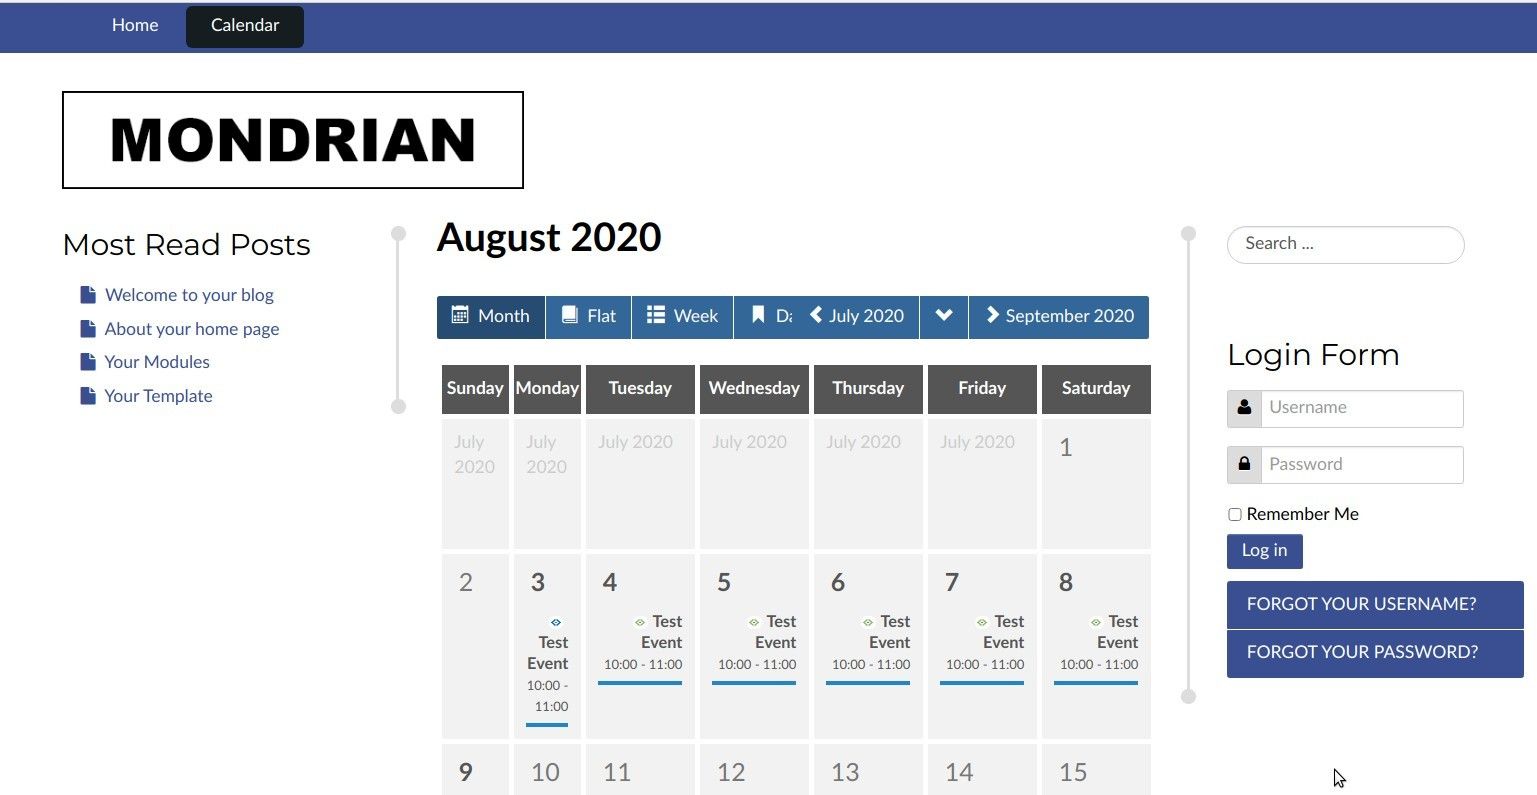
- Visit the frontend of your Joomla site and click on this new menu item. You should see your JCal Pro events displayed in a monthly calendar view:
Display events in a module
You also have an option to display events in your Joomla site in a compact way, as a module. JCal Pro installs the "JCal Pro Events" module by default.
You just need to make sure it is enabled, assign it a required page or pages and select where to position it.
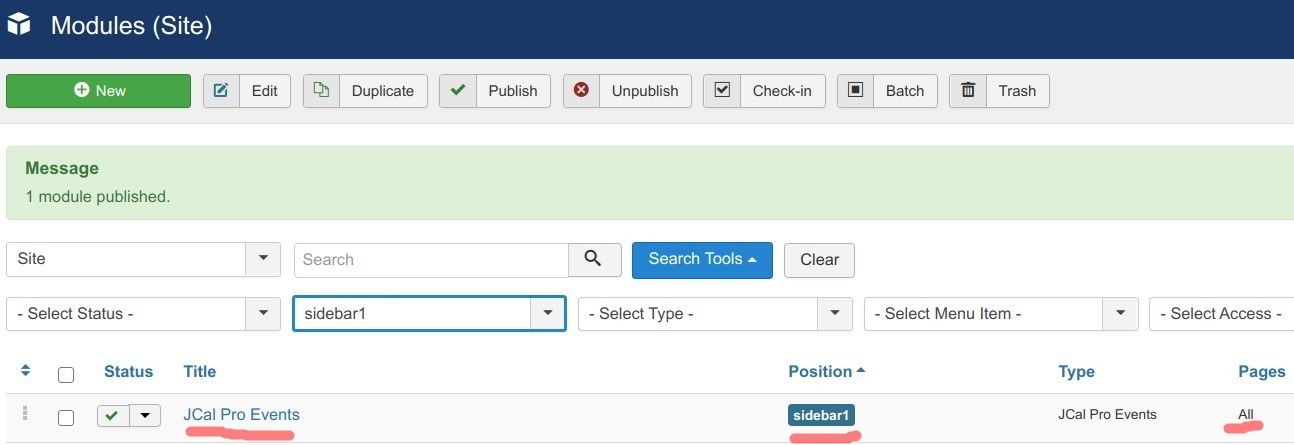
For my demonstration, I set my "JCal Pro Events" module to display on all pages. I positioned it on the "sidebar-1" positions of my "Mondrian" template:
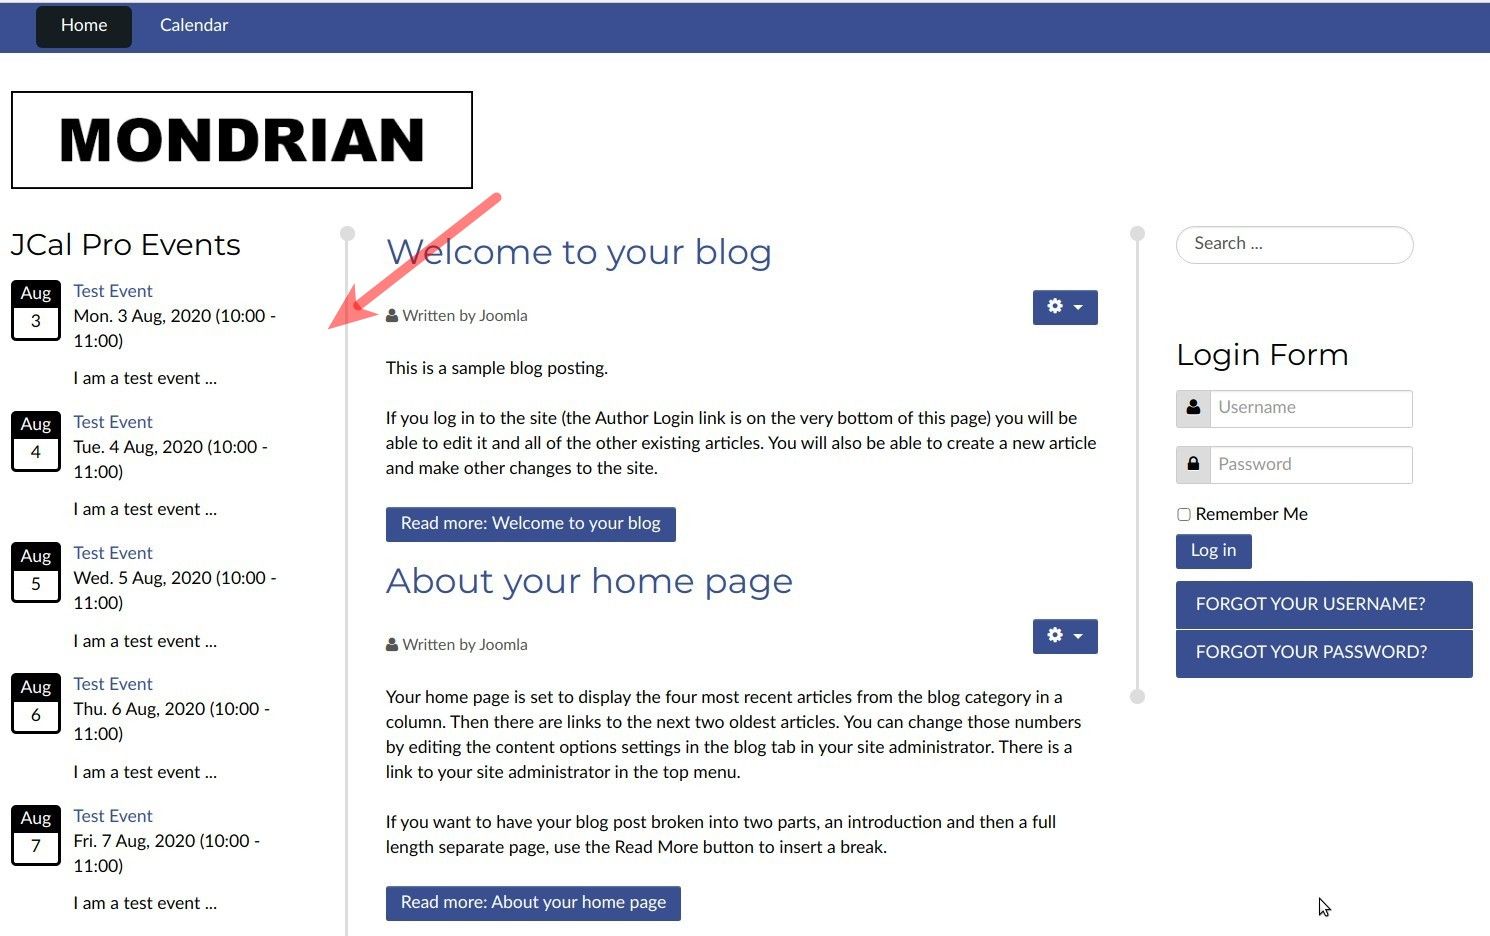
- Here is the view of the "JCal Pro Events" module from the frontend of my Joomla demo site:
Display a single event as a link in a Joomla article
You also have an option to display a single JCal Pro event as a link on the same page with a Joomla article.
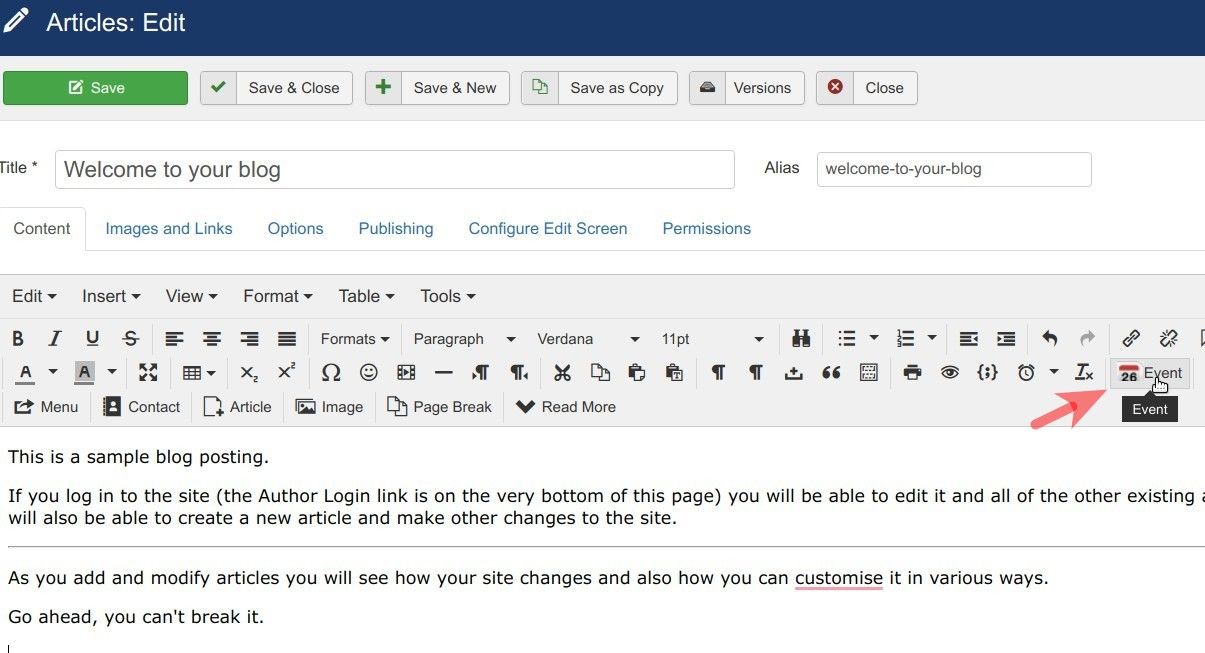
- Open a required Joomla article for editing. For my demonstration, I opened the "Welcome to your blog" article, as you can see on the screenshot below.
- Click with your mouse within the article where you would like to embed a link to a JCal Pro event. Click the "Event" icon:
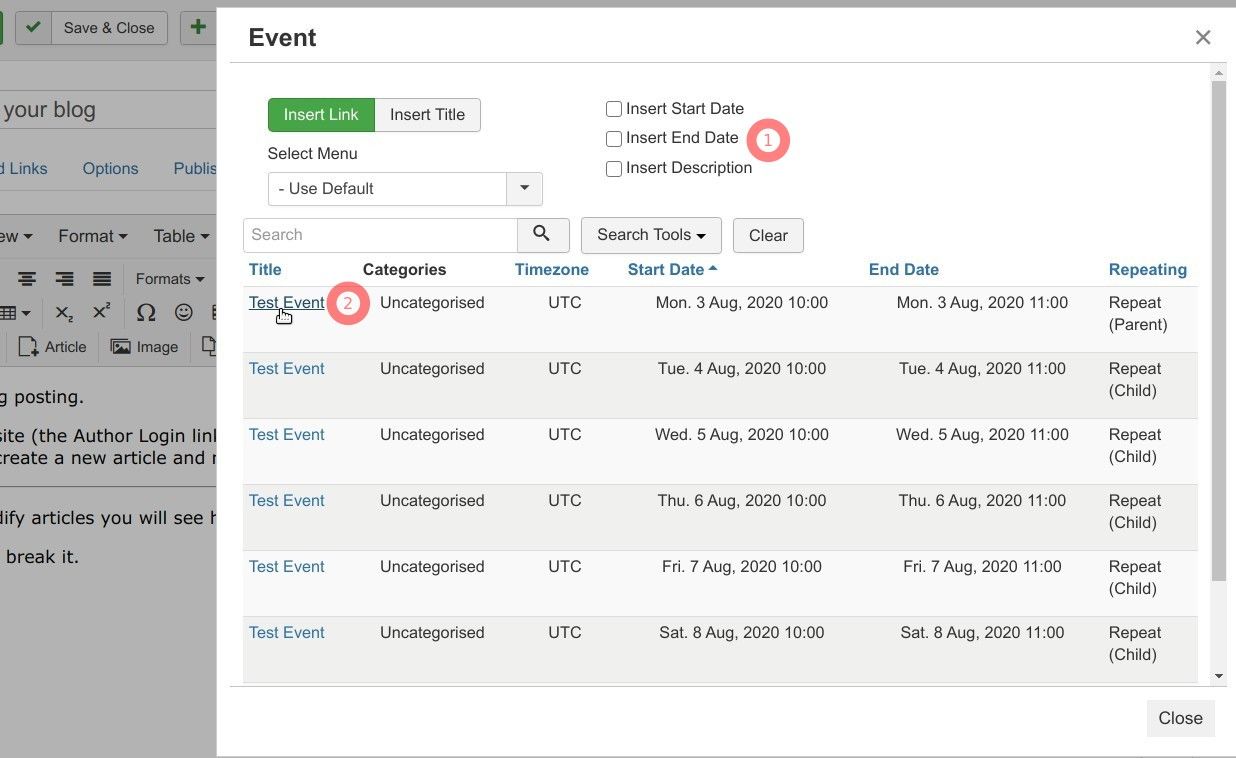
- You will see the "Event" box, as shown in the image below. Optionally, tick the "Insert Start Date", "Insert End Date", and "Insert Description". Click on the required event:
- You will see the name of the event as a link embedded in your Joomla article:
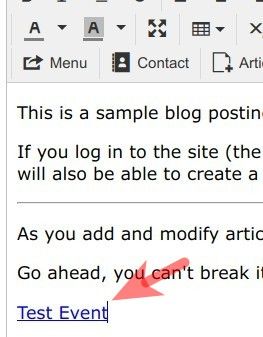
- Click "Save & Close".
- When a visitor opens this Joomla article, they will see the link:
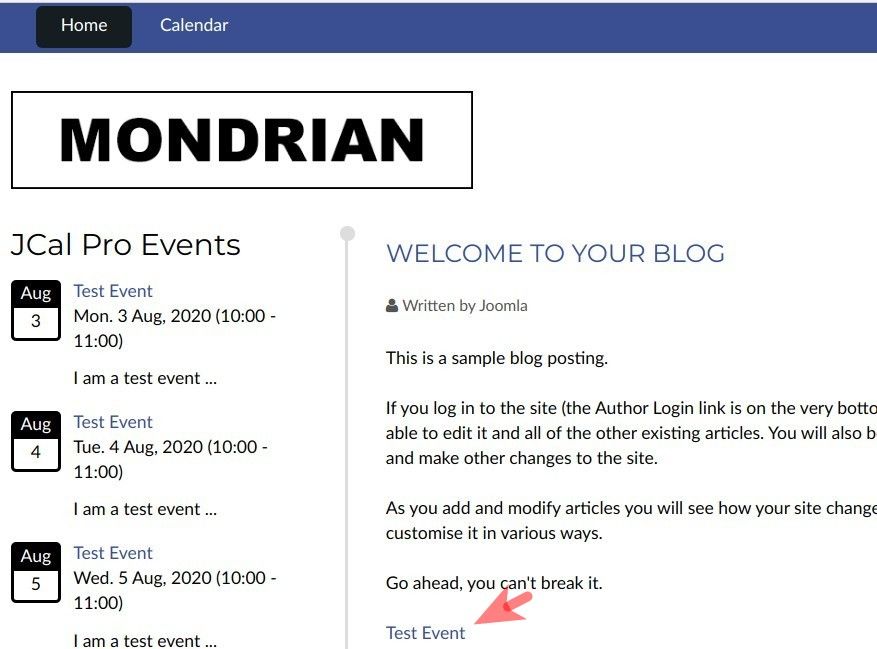
- When they click on this link, they will see the page with the event:

What's Next?
Save $1000's when you sign up to Joomlashack's Everything Club.
You will get access to all our 31 extensions, templates, and Joomla training.