
This week one customer asked how to offer a student an OSCampus course only after they finished another course. The idea was to give students access to courses one after another one instead of to all of them.
OSCampus doesn't offer such functionality. However, if you have only a handful of courses you can do the job by manually deploying Joomla's core Access Control List:
- Create new user groups, for example, "Class 01", "Class 02", etc
- Create a new access level for each of the new group, for example, access level named "Class 01" for the user group "Class 01", access level "Class 02" for the user group "Class 02" etc
- Assign required access levels to the required classes
- Assign required students to access required classes when needed.
Now to allow student access to their next class, all you will have to do is assigning the student to the user group assigned to this next class.
Let's take a look at this process in more detail.
Step #1. Create new user groups
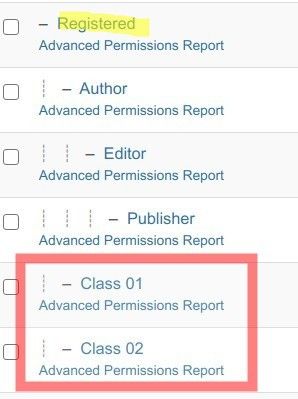
In this step, you will create as many new user groups, as many OSCampus classes you have. For the purpose of this tutorial, I will create two new user groups: "Class 01" and "Class 02" (both having the "Registered" as their Parent group):
Let's get started.
- In our Joomla administrator panel, go to "Users" > "Groups" > "Add New Group":

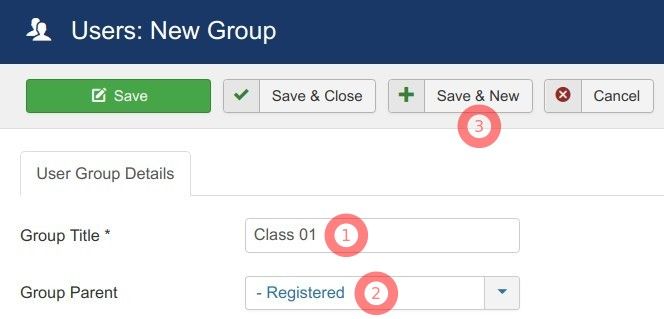
- You will be taken to the "Users: New Group" screen. Create a new user group:
- Enter the group title. For my demonstration, I entered "Class 01".
- Select "Registered" in the "Group Parent" list of Joomla user groups.
- Click "Save & New".
- Repeat these steps and create as many groups as many OSCampus classes you have.
Good job! You created new user groups. Now is a good time to create their associated access levels.
Step #2. Create a new access level for each of the new group
In this step, you will create as many new access levels, as many OSCampus classes you have. For the purpose of this tutorial, I will create two new access levels - "Class 01" and "Class 02":
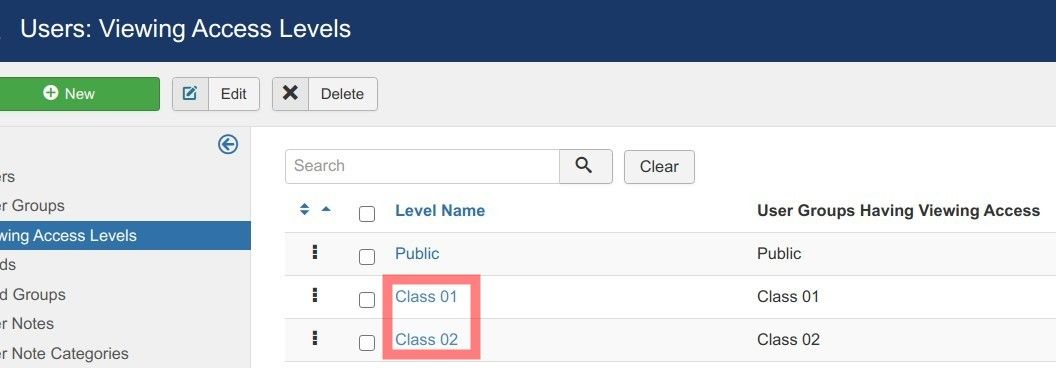
To each of the new access levels, you will assign a corresponding user group you created in Step #1. For my example, I assigned user group "Class 01" to my new access level "Class 01", as you can see on my screenshot above.
Let's get started.
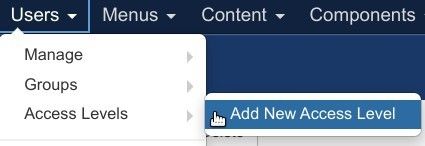
- Go to "Users" > "Access Levels" > "Add New Access Level":
- You will see the "Users: New Viewing Access Level". Create a new access level:
- Enter the access level title. For my demonstration, I entered "Class 01".
- Under the "User Groups Having Viewing Access" select the corresponding user group. For my demonstration, I selected "Class 01" user group:
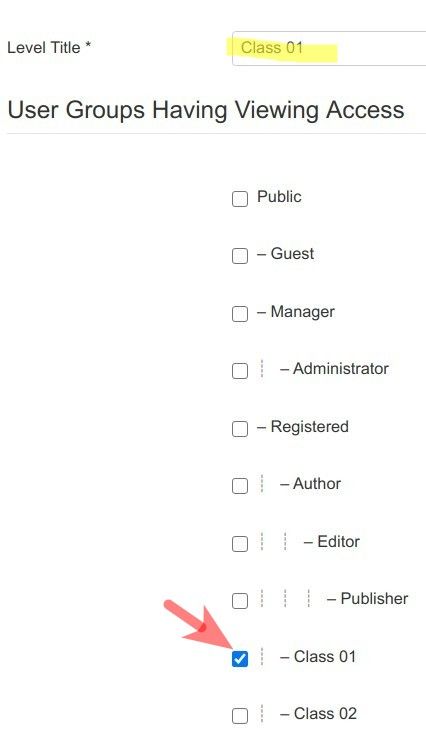
-
- Repeat these steps and create as many access levels as many OSCampus classes you have.
Excellent! At this point, you have created user groups and their access levels for your OSCampus classes.
You are now ready to assign to each of your OSCampus classes its own access levels.
Step #3. Assign courses required access levels
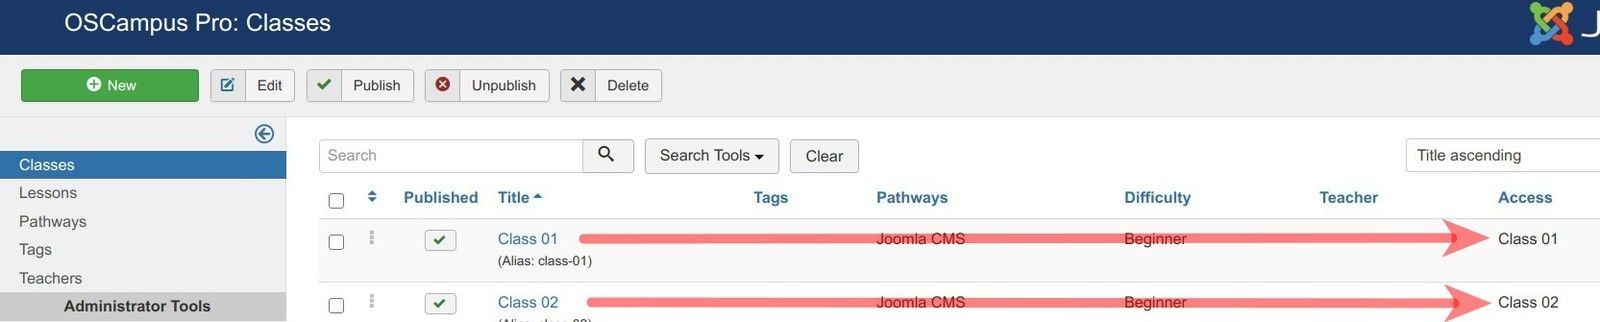
- Open up each of your OSCampus classes and assign to them required access levels. For my demonstration, I assigned the "Class 01" access level to my OSCampus "Class 01". I then assigned the "Class 02" access level to "Class 02":
Good job! At this point, you are all set. You can now start assigning required student access only to the required classes.
Step #4. Assign students to the user groups of the required courses
At this point, you can start assigning students to the required classes. You will do that by using Joomla ACL with your new user groups and their corresponding access levels.
Let's say, you have a Student A. You would like to assign him access only to your "Class 01".
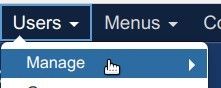
- In your Joomla administrator panel, go to "Users" > "Manage":
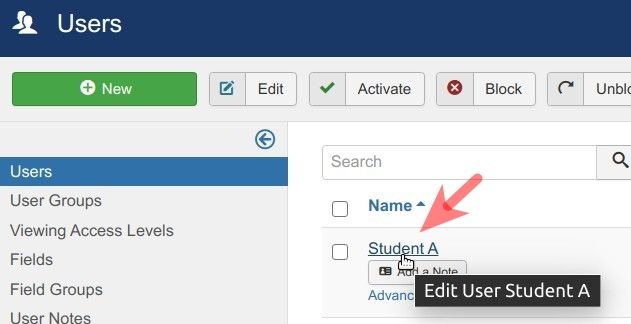
- You will see the "Users" screen listing your existing users. Click on the name of the required student. For my demonstration, I clicked "Student A":
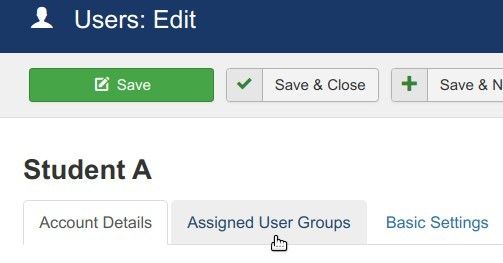
- This will bring you to the "Users: Edit" screen with options to edit the profile of this user. Click the "Assigned User Groups" tab:
- Click inside the checkbox of the required user group. For my demonstration, I clicked inside the "Class 01":
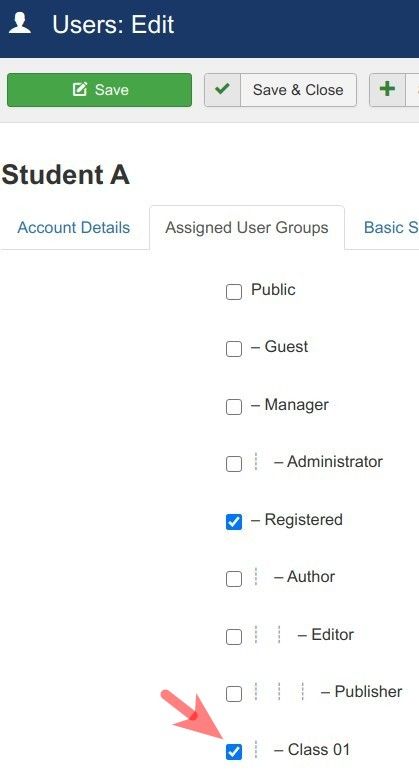
- Click "Save & Close".
Good job! Now if you log in to the frontend of your Joomla site as Student A, you will see that from the two of your existing OSCampus classes they have access only to "Class 01":
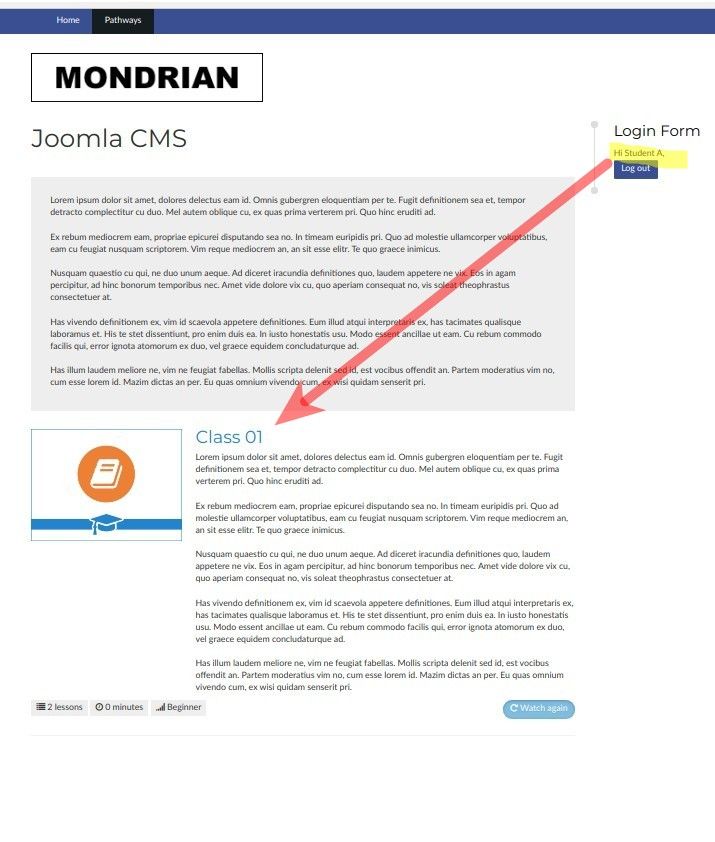
Once this student completes "Class 01", repeat this step to give them access to "Class 02".
What's Next?
Save $1000's when you sign up to Joomlashack's Everything Club.
You will get access to all our 31 extensions, templates, and Joomla training.