
One of our students was having trouble installing Joomla using cPanel, so we created this tutorial for them.
This tutorial will cover setting up the database, the files, and the configuration of the Joomla install.
Step #1. Log into cPanel
- Go to yourdomain.com/cpanel.
- Log in with the username and password. Hosting companies usually send an email with this info when you first sign up with them.
Step #2. Set up the database

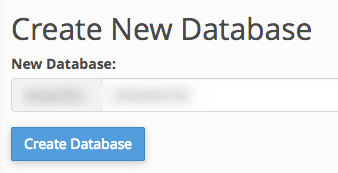
- Click on the "MySQL Databases" icon.
- Create a new database:
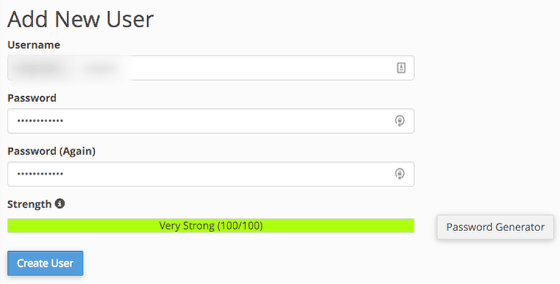
- Scroll down and create a new database user. Use the password generator for a good secure password. Save this password in a secure place. We'll use it for an upcoming step.
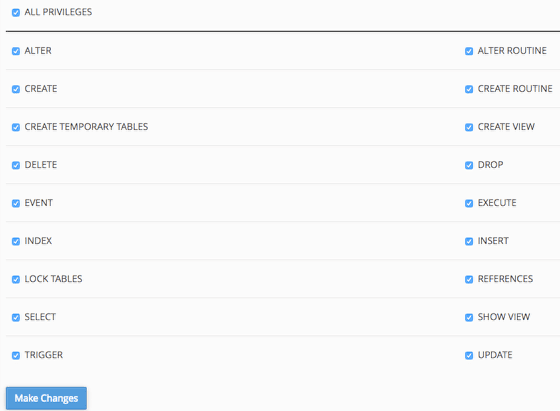
- Assign the database user to the database:

- And give it all privileges:
- Go back to the cPanel home page.
Step #3. Set up the files
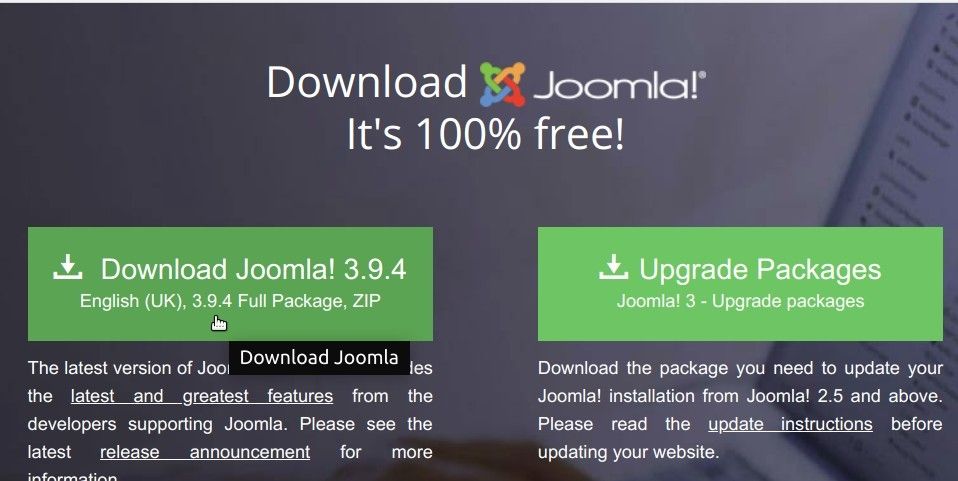
- Visit https://downloads.joomla.org/ and download the latest Joomla installation package:
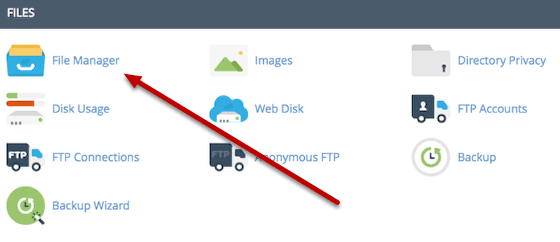
- In your cPanel, access the File Manager:
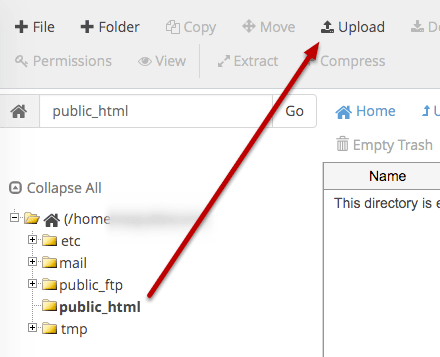
- Access the /public_html folder and click the Upload button.
- Or if needed, access a subfolder of the /public_html folder if you're setting up a test site and/or if another site is in the /public_html folder.
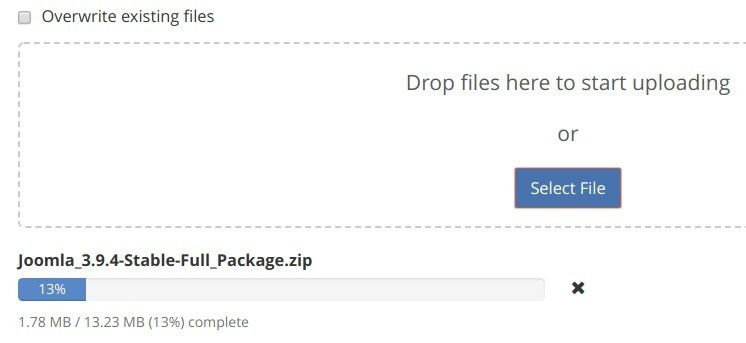
- Upload the Joomla installation package that you downloaded previously:
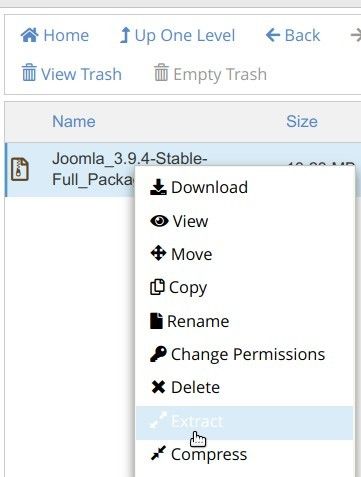
- Point your mouse to the package, right click on it and in the drop-down menu click Extract:
Step #4. Install Joomla
- Visit the domain of the website. If you upload the files to a subfolder, add the subfolder name to the end of the domain.
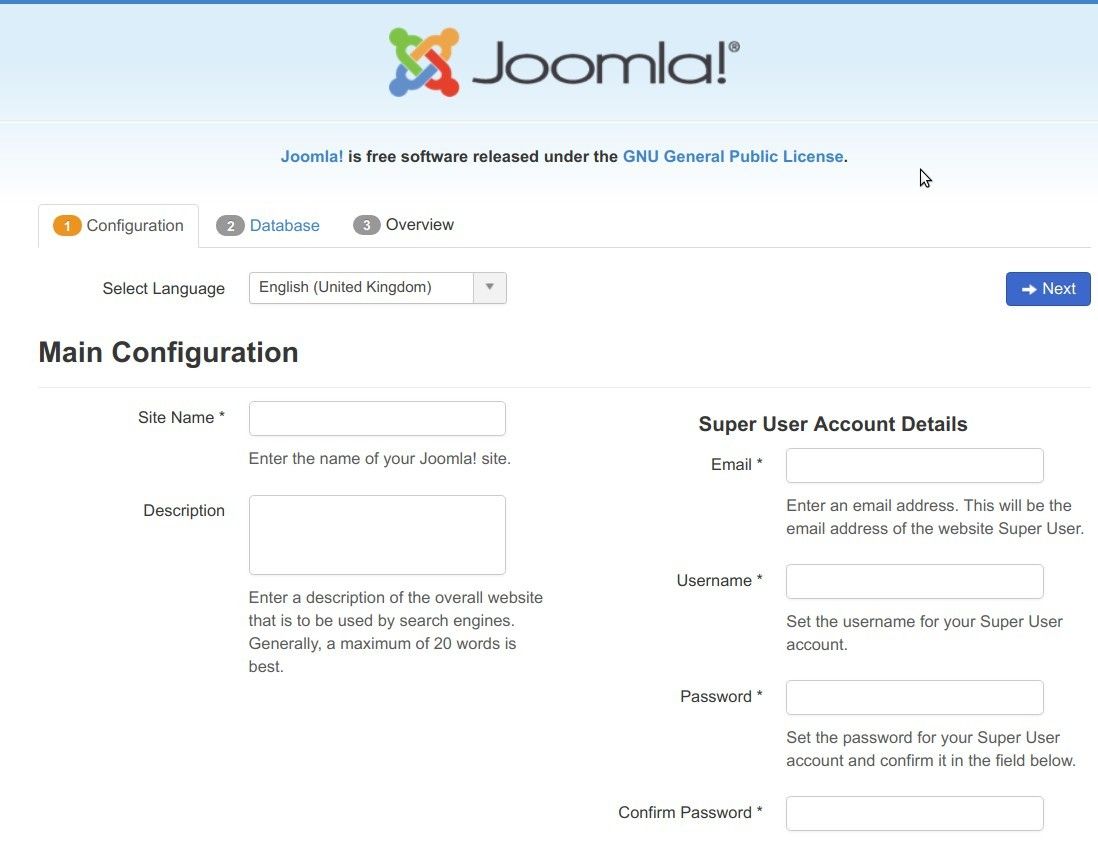
- You'll see the Joomla installation screen open.
- Fill in the required fields, then click the blue "Next" button.
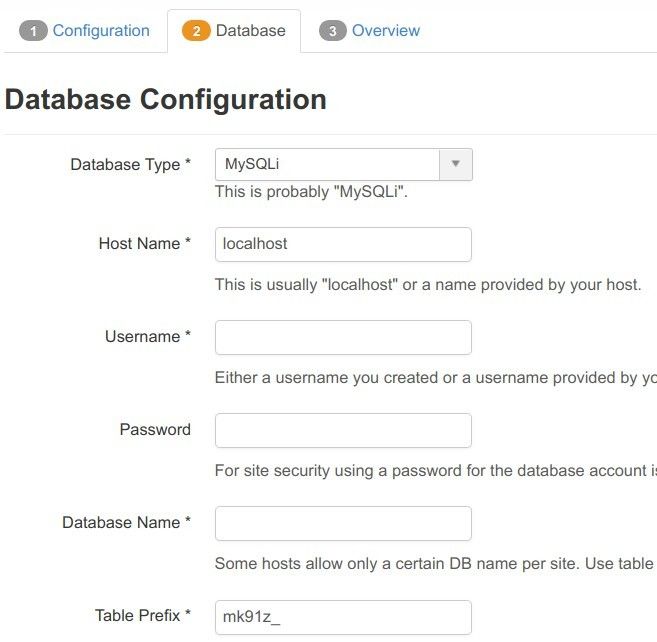
- Fill in the database user and user password that you created in step 1 of this tutorial.
- Fill in the database name as well.
- For both of the above, be sure to copy the full name (including the account prefix - i.e. the part before the underscore).
- The rest of the fields can be left at their defaults. If a connection can't be made, ask your web host if any of these should be changed. In most cases, the default will work well though.
- Click Next when ready.
- It's usually best to not install sample data.
- Click Install when ready.

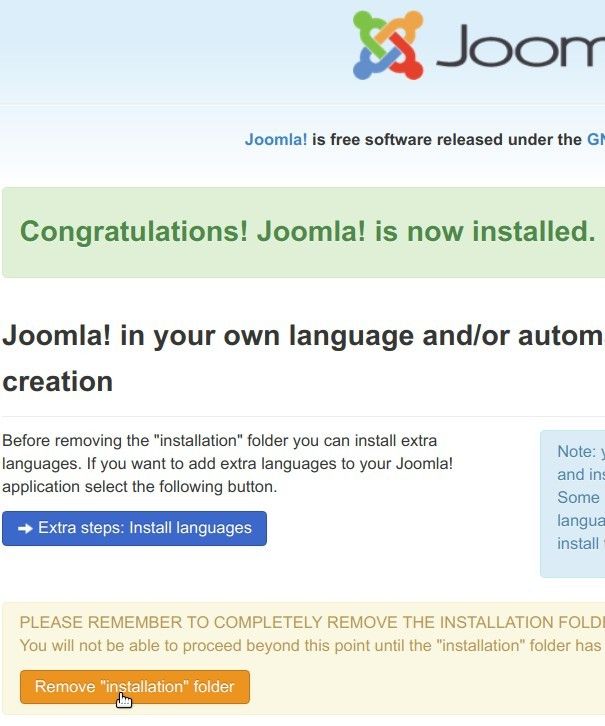
- Congrats, you've just installed Joomla!
- If you're setting up a multi-lingual site, use the "Extra steps: install languages" feature.
- Finally, click the "Remove installation folder" button when done:
That's all there is to it!
Now you can access your site at your domain. You can access the admin area at yourdomain.com/administrator.
What's Next?
What's Next?
Save $1,000's when you sign up for Joomlashack's Everything Club.
You will get your hands on our extensive range of over 20 extensions, plus legendary support!
Click here to join the Everything Club
About the author