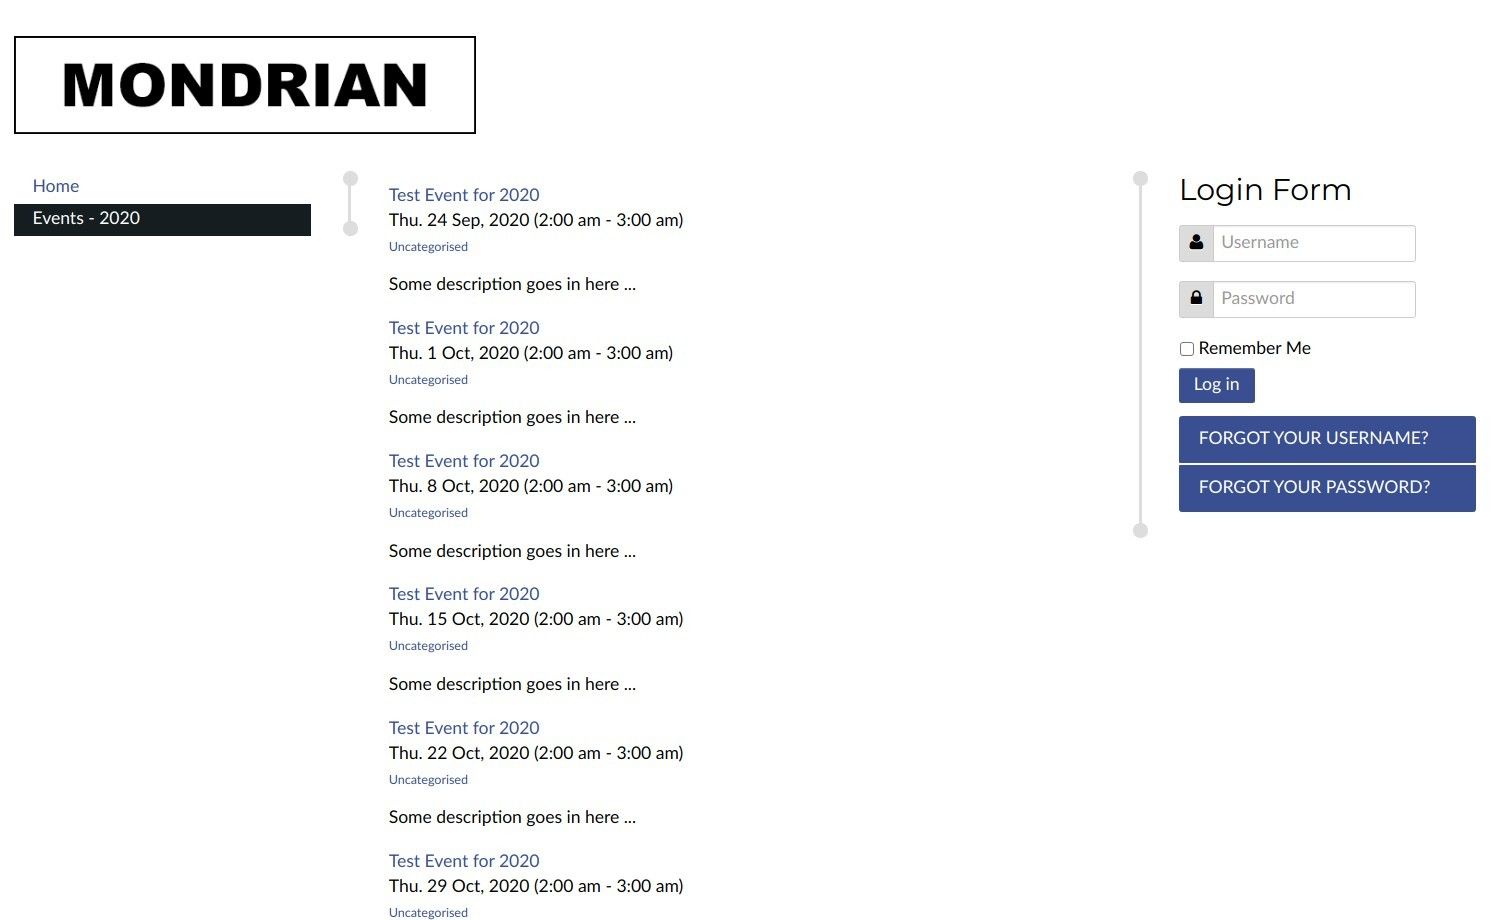
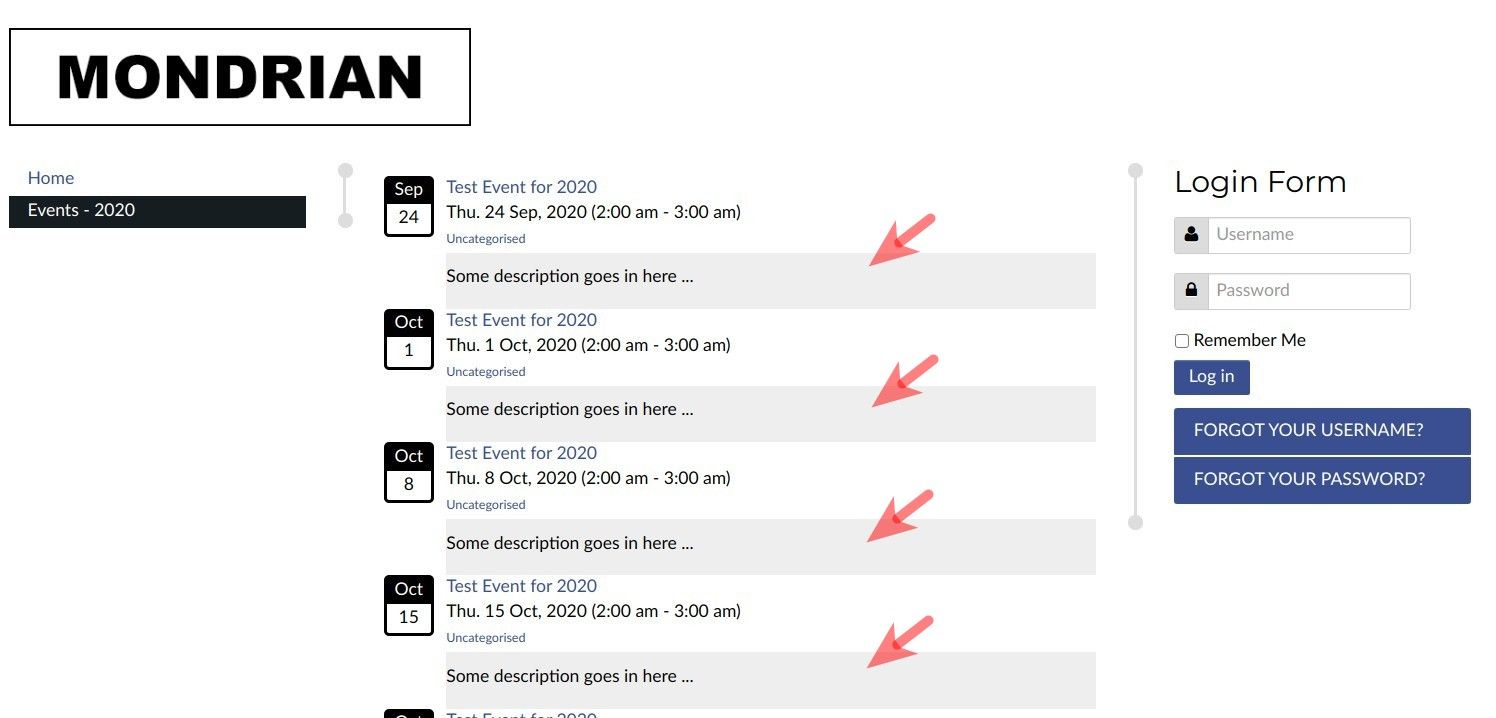
In some use cases, you may want to display a flat list of all the JCal Pro events for a particular year,. You can see this kind of annual list in the next image:
This can be done with the "JCal Pro Events" module.
Achieving this is a five-step process:
- Set the "JCal Pro Events" module to display events of a year.
- Insert this module into a Joomla article.
- Create a frontend menu item to display this Joomla articles to your site visitors.
- Assign the module to display only on the page of your Joomla article.
- Customize the feel and look of the list.
Let's take a look at this process in more detail.
Step #1. Set the "JCal Pro Events" module to display events of a year
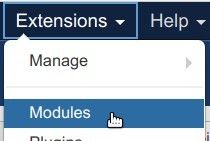
- In your Joomla administrator panel, go to "Extensions" > "Modules":
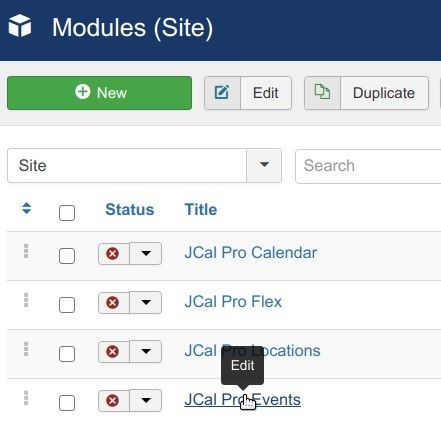
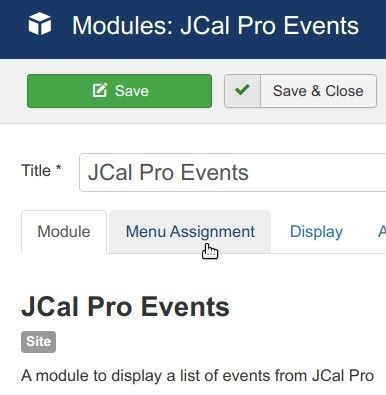
- You will be taken to the "Modules (Site)" screen. Locate the "JCal Pro Events" module, as you can see in the next image, and click on its title to edit it:
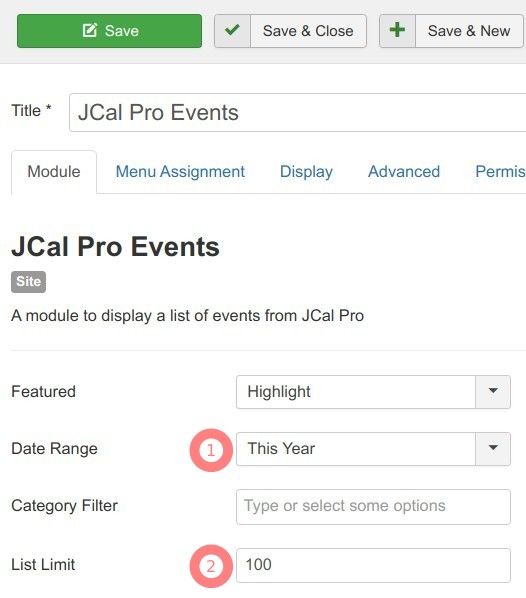
- On the "Module" tab, set the "Date Range" parameter to "This Year" and enter a required number of events to display by the list in the "List Limit" field:
- Click "Save & Close".
Excellent! You are finished with setting this module for now. Later on, in Step #4, you will get back to it to tell it on what pages you would like it to display.
Step #2. Insert this module into a Joomla category
- Go to "Content" > "Articles" > "Add New Article":
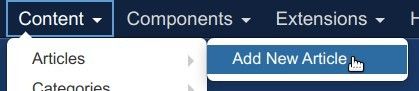
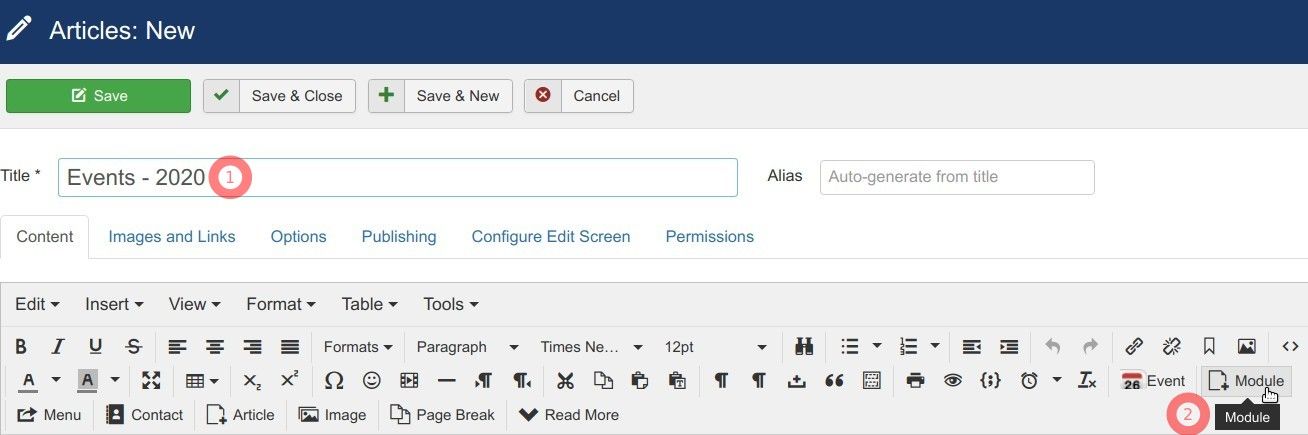
- You will see the "Articles: New" screen. Enter a title in the "Title" field and click "Module", as you can see in the next image:
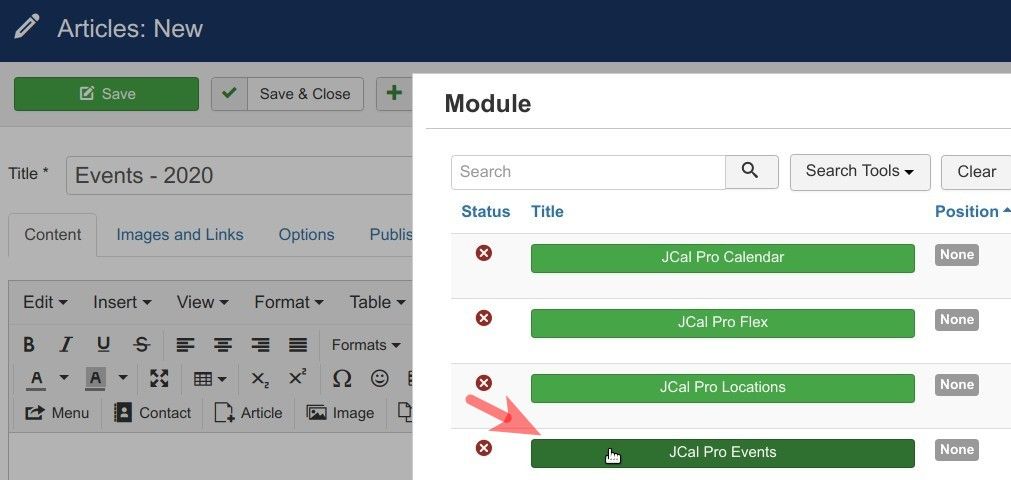
- You will see the "Module" screen. Click on the button with the "JCal Pro Events" module you set in the previous step:
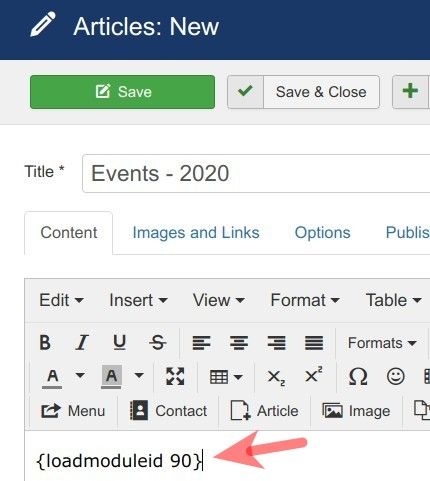
- You will see the module's tag inserted into your Joomla article, as you can see in the next image:
- Click "Save & Close".
Good job. At this point, you have a Joomla article to display a flat list of JCal Pro events of a year. Now would be a good time to create a frontend menu item for this article.
Step #3. Create a frontend menu item to display this Joomla articles to your site visitors
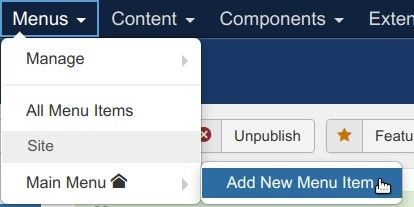
- Go to "Menus" > [menu-of-your-choice] > "Add New Menu Item". For my example, I will select to work with the "Main Menu", as you can see in the next image:
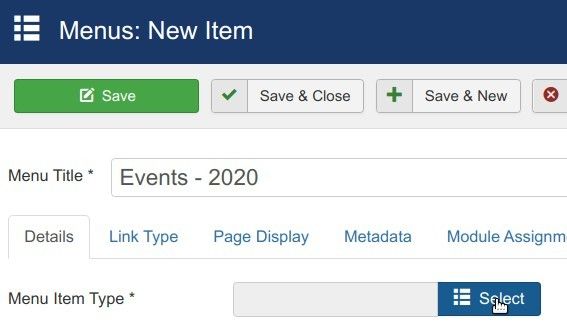
- You will see the "Menus: New Item" screen. Enter a title into the "Menu Title" field and click "Select":
- You will see the "Menu Item Type" screen. Click "Articles" > "Single Article":

- Click the gray "Select" button:
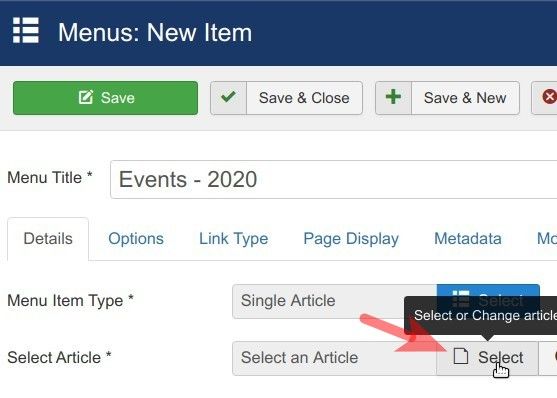
- This will bring you to the "Select or Change article" screen, as you can see in the next image. Click on the title of the Joomla article you created in the previous step. For my example, I will click on "Events - 2020":

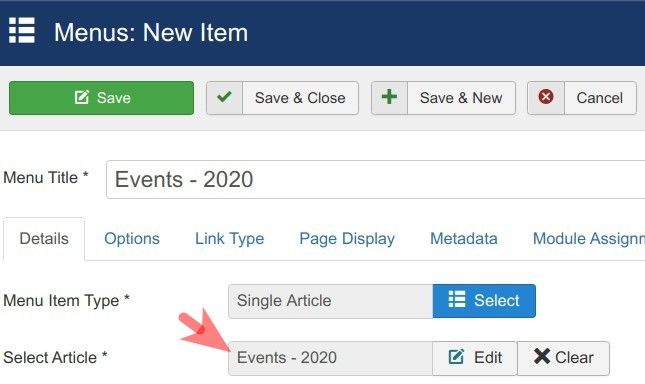
- You should see the title of your Joomla article inside the "Select Article" field, as shown in the next image. Click "Save & Close":
Great. You nearly finished. In the next step, you will set the module to display only on the required page.
Step #4. Assign the module to display only on the page of your Joomla article
- Open up your "JCal Pro Events" module for editing.
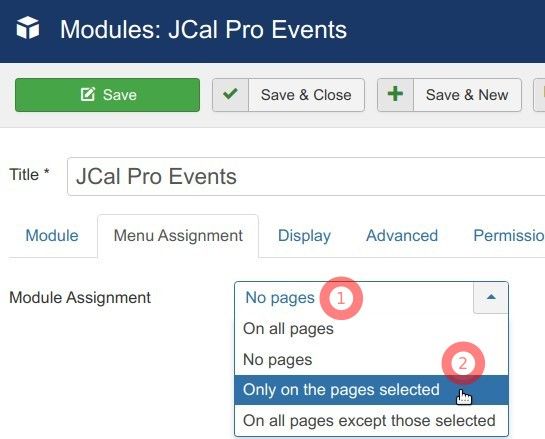
- Click the "Menu Assignment" tab:
- Click "No pages" and in the dropdown list click "Only on the pages selected":
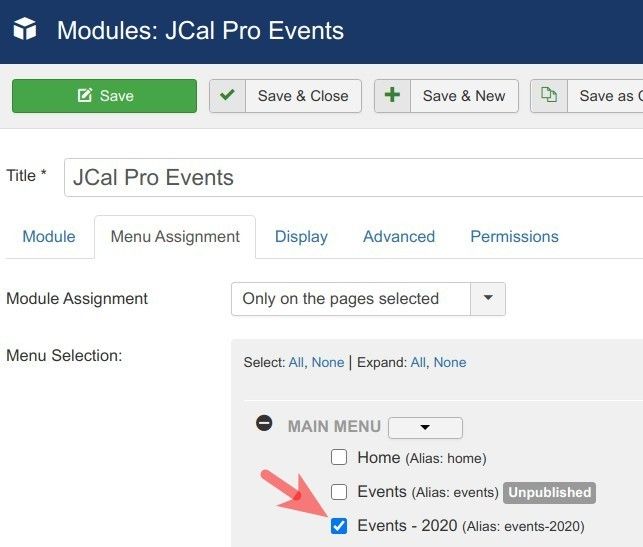
- You will see your Joomla menu items displayed. Check the box next to the article menu item you created in Step #3, make sure the module is published and click "Save & Close":
- Now visit the frontend of your Joomla site and click on the menu item of the Joomla article with the module. You will see the flat list of your JCal Pro events of the year, as you saw in the image at the beginning of this tutorial.
Step #5. Customize the feel and look of the list with CSS
You may be happy with the out-of-the-box spartan feel and look of your flat list of events. That's fine.
But what if you wish to jazz it up? Let's take a look at a few examples demonstrating how to customize the design of the events list.
Example #1. Add a calendar icon in front of the event title
![]()
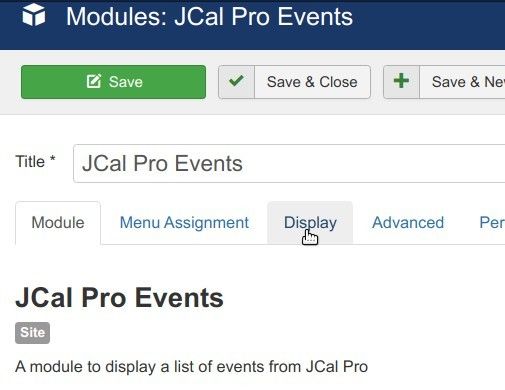
- Open up your "JCal Pro Events" module for editing. Click the "Display" tab:
- Set the "Show Calendar Icon" parameter to "Yes":
![]()
- Click "Save" or "Save & Close".
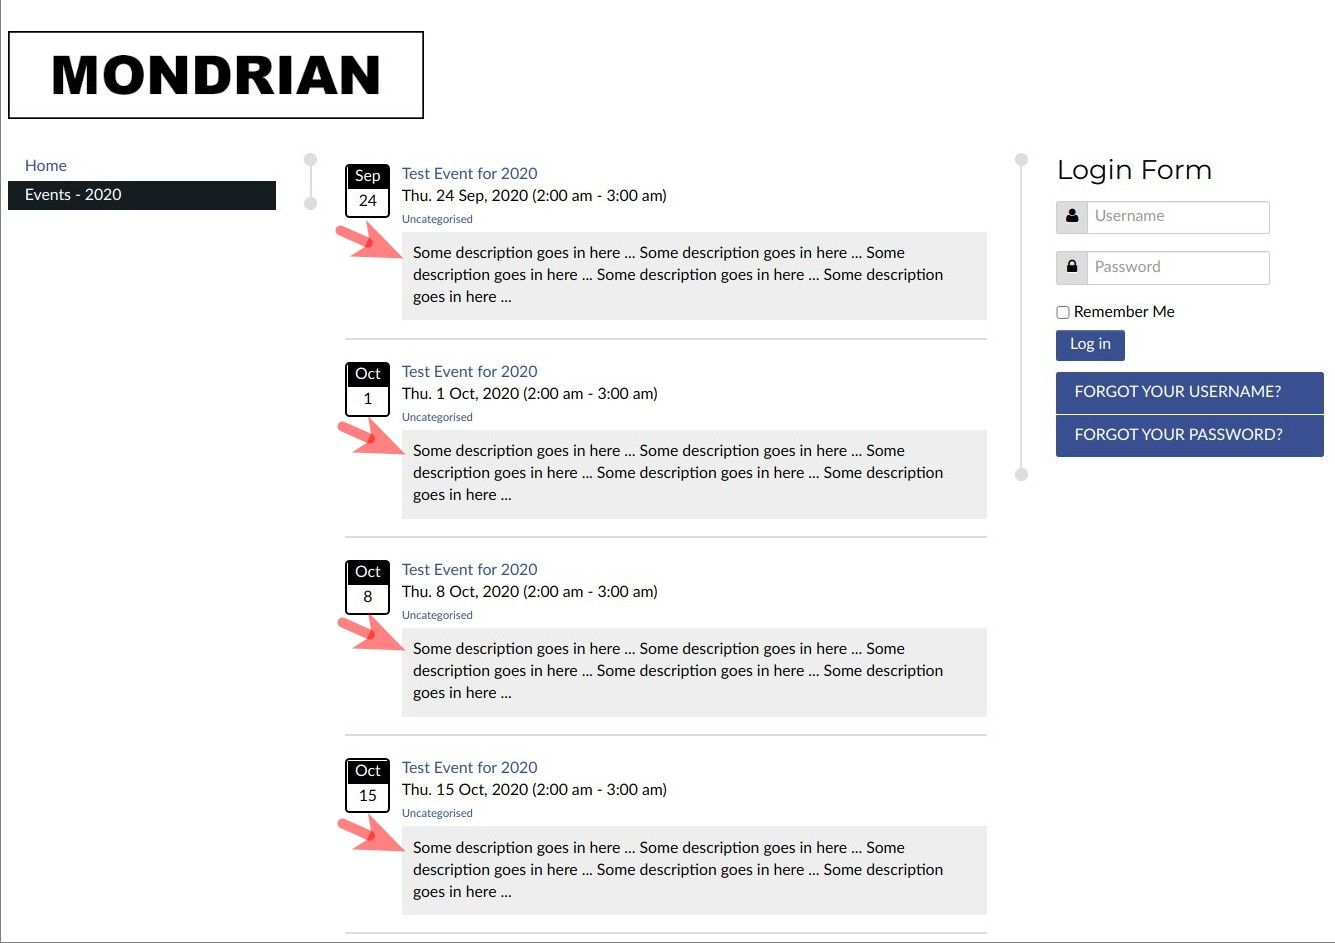
Example #2. Add a background color to the event description
- Install and enable the "Add Custom CSS" Joomla plugin and create a custom.css file anywhere within the file structure of your Joomla site. See this post for detailed instructions if you need help.
- Add into your custom.css file the following CSS code:
.jcalpro_events_description {
background-color: #eee;
}
Example #3. Add padding to the event description
- Add to the
.jcalpro_events_descriptionclass the following code:
padding: 10px;
So, your custom.css file will look like follows:
.jcalpro_events_description {
background-color: #eee;
padding: 10px;
}
Example #4. Add a horizontal bar at the bottom of the event description
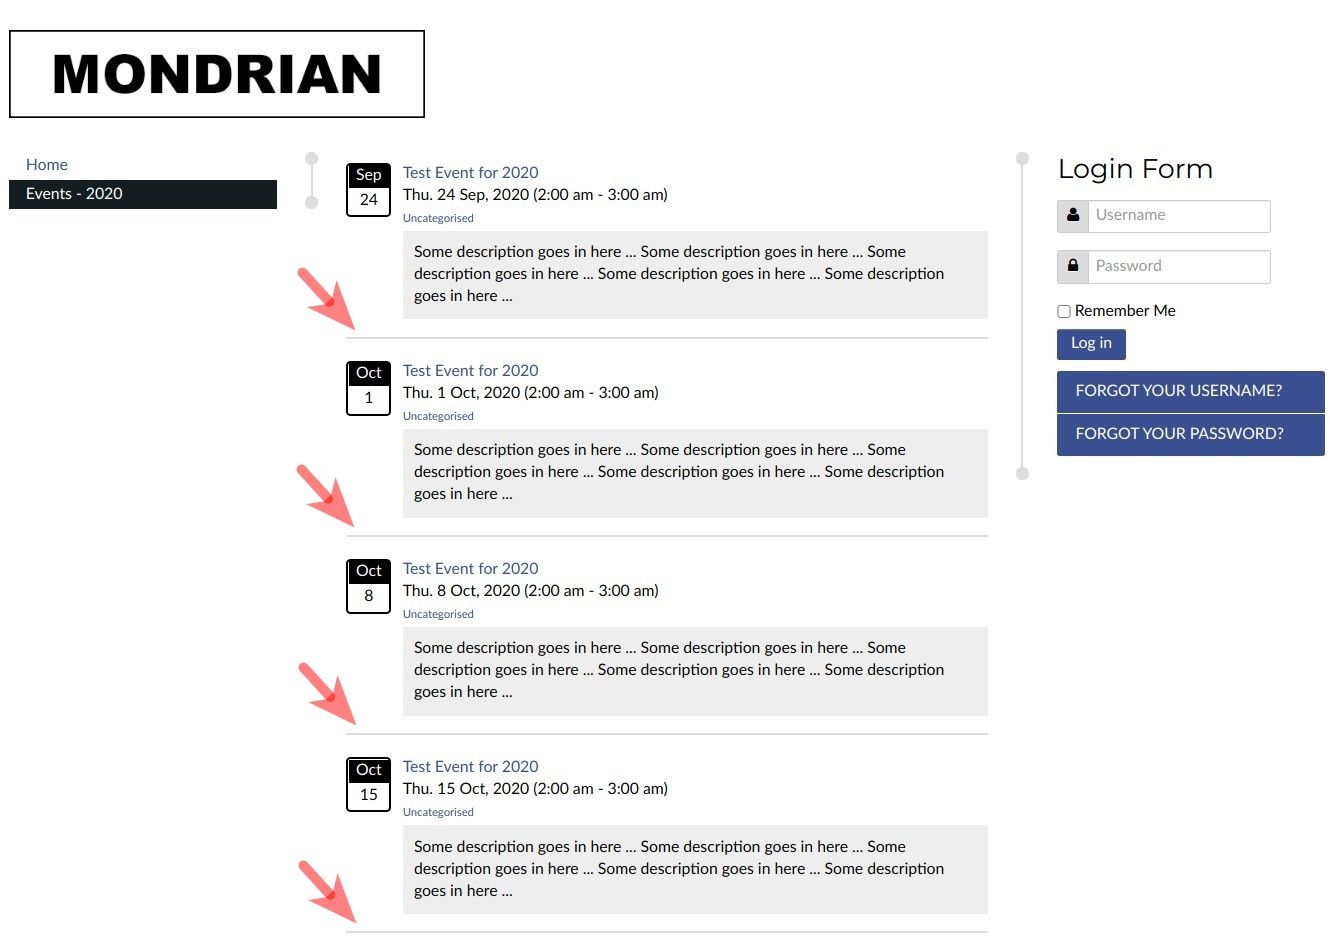
- Add into your custom.css file the following code:
ul.jcalpro_events > li:not(:last-of-type)  {
    border-bottom: 2px solid #ddd;
    margin-bottom: 20px;
    padding-bottom: 15px;
}
So, now your whole custom.css file with the examples we covered here will look like follows:
.jcalpro_events_description {
background-color: #eee;
padding: 10px;
}

ul.jcalpro_events > li:not(:last-of-type)  {
    border-bottom: 2px solid #ddd;
    margin-bottom: 20px;
    padding-bottom: 15px;
}