This guide outlines the steps to move your OSCampus Pro data from an old Joomla site (source site) to a new one (destination site) using cPanel's phpMyAdmin and File Manager tools.
⚠️ This process assumes you have already installed the OSCampus Pro extension on the destination site.
Preparation: Get Your Database Prefixes
You need the unique table prefix for both your databases to perform the migration correctly.
- Log in to the Joomla dashboard for your source site and destination site.
- Go to System → Global Configuration.
- Click the Server tab.
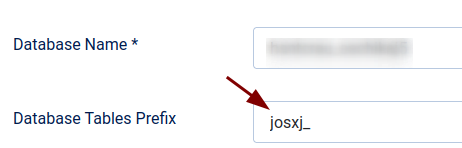
- Note the value next to Database Prefix for both sites.
- Example source Prefix:
josxj_ - Example destination Prefix:
j4u_
- Example source Prefix:
Part 1: Exporting Data from the source site
Step 1: Access phpMyAdmin on the source site
- Log in to your source site's cPanel.
- Find the Databases section and click the phpMyAdmin icon:
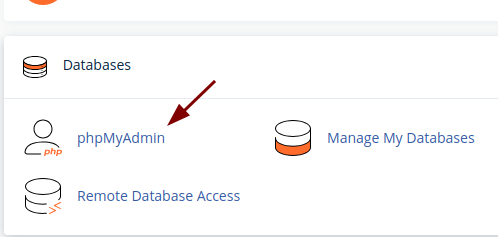
- In the left sidebar, click the name of your source site's database.
Step 2: Select and Export OSCampus Tables
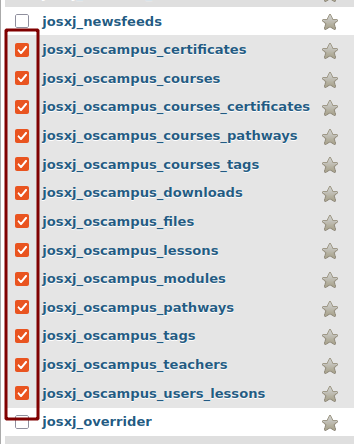
- Locate and check the box next to all tables that start with your source site's prefix followed by
oscampus_. Example:jos_oscampus_classes,jos_oscampus_lessons, etc.
- With the tables selected, find the dropdown menu at the bottom labelled With selected: and choose Export:
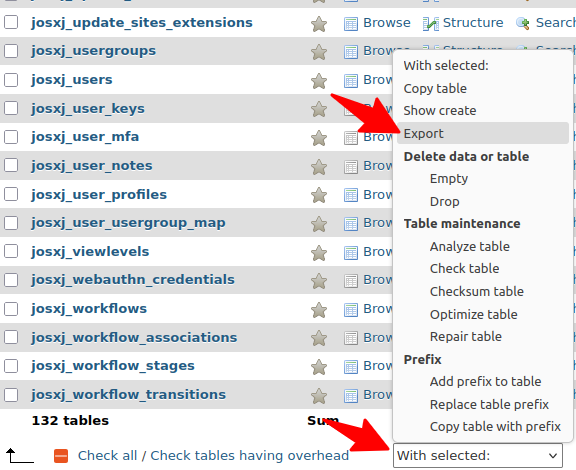
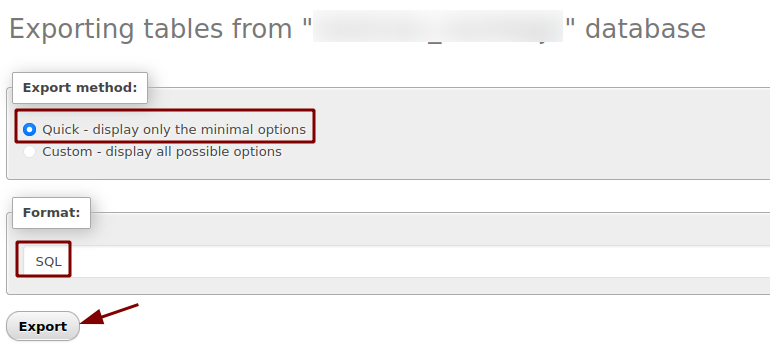
- On the Export screen, ensure the method is Quick and the format is SQL.
- Click Export. This will download the
.sqlfile to your computer:
Part 2: Modifying the Exported Data
Step 3: Edit the SQL File to Change Prefixes
- Open the
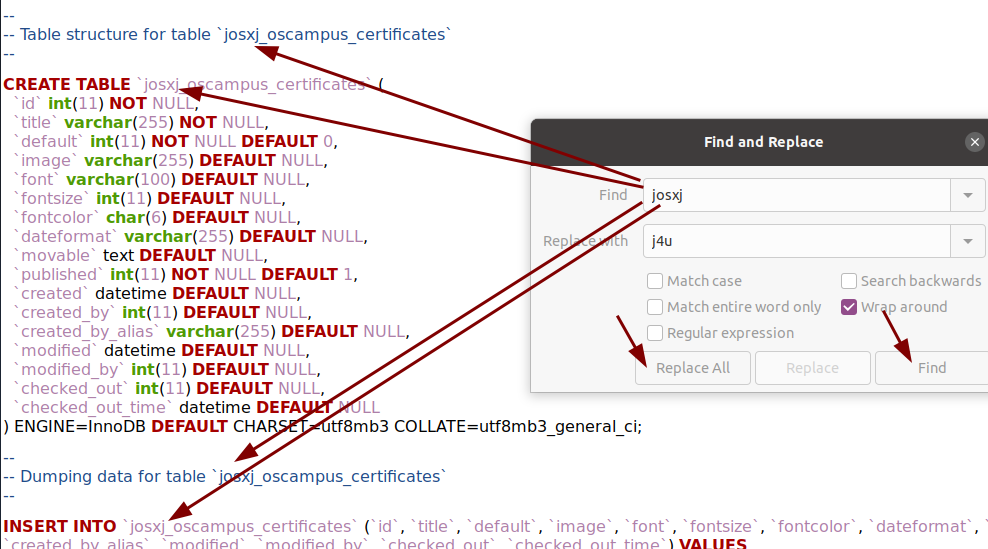
.sqlfile you downloaded using a plain text editor (e.g., Notepad++, VS Code). - Use the text editor's Find and Replace function.
- Find: Enter the source site's Prefix.
- Replace with: Enter the destination site's Prefix.
- Click Replace All to update all table names in the file.
- Save the modified
.sqlfile.
Part 3: Importing Data and Migrating Files
Step 4: Delete Existing OSCampus Tables on destination site
- Log in to your destination site's cPanel and open the phpMyAdmin tool.
- Click the destination site's database name on the left.
- Locate and check the box next to all tables that start with the destination Prefix followed by
oscampus_. - At the bottom, choose With selected: and select Drop.
- On the next screen, click Yes to confirm the operation.
Step 5: Import the Modified SQL File
- While still in the destination site's database in phpMyAdmin, click the Import tab:

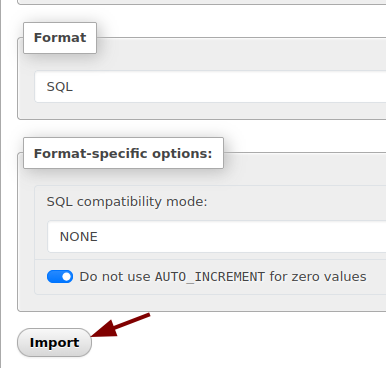
- Click Browse... and select the modified
.sqlfile from your computer. - At the bottom of the screen, click Import:
Excellent! Your old OSCampus data has just been transferred to the new database.
Step 6: Migrate Course Media Files (Crucial)
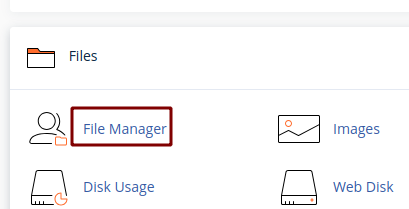
- Log in to your source site's cPanel and click File Manager:
- Navigate to your Joomla root folder (e.g.,
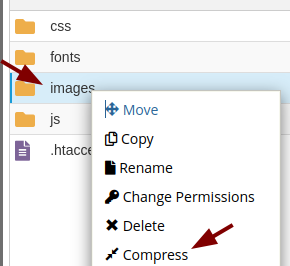
public_html). - Compress the entire
media/com_oscampus/imagesfolder to create an archive file (e.g.,oscampus.zip):
- Download this zip file to your computer.
- Log in to your destination site's cPanel and click File Manager.
- Navigate to the same location (e.g.,
public_html/media/com_oscampus/images). - Click Upload and upload the
oscampus.zipfile. - Right-click the uploaded zip file and choose Extract to unpack the files into the correct folder.
Part 4: Final Check
Step 7: Clear Joomla Cache
- Log in to the destination site's Joomla dashboard.
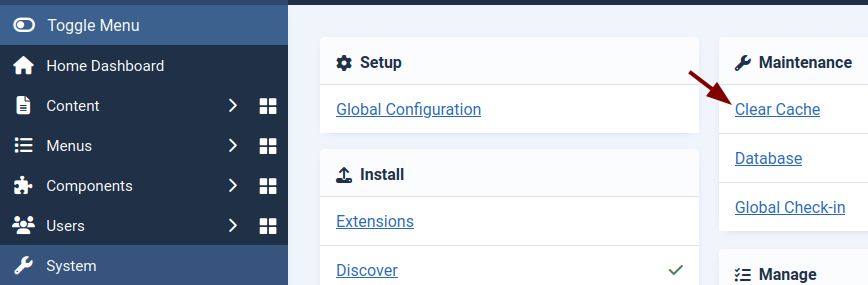
- In the left sidebar, click System.
- Under the "Maintenance" section, click Clear Cache:
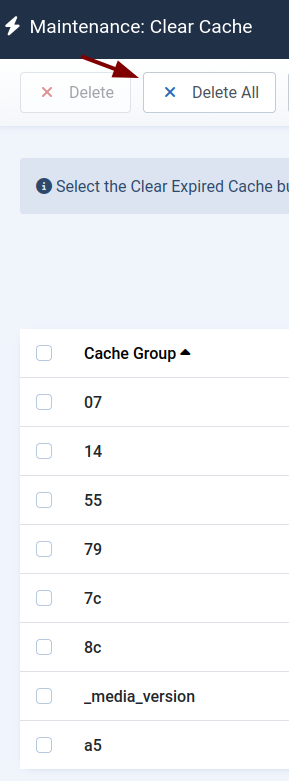
- Click the Delete All button at the top to clear all cached data.
Good job! Your migration is complete! Check the Components → OSCampus Pro section and the frontend to verify that all courses and media are functioning properly.