Documentation for Joomla 6
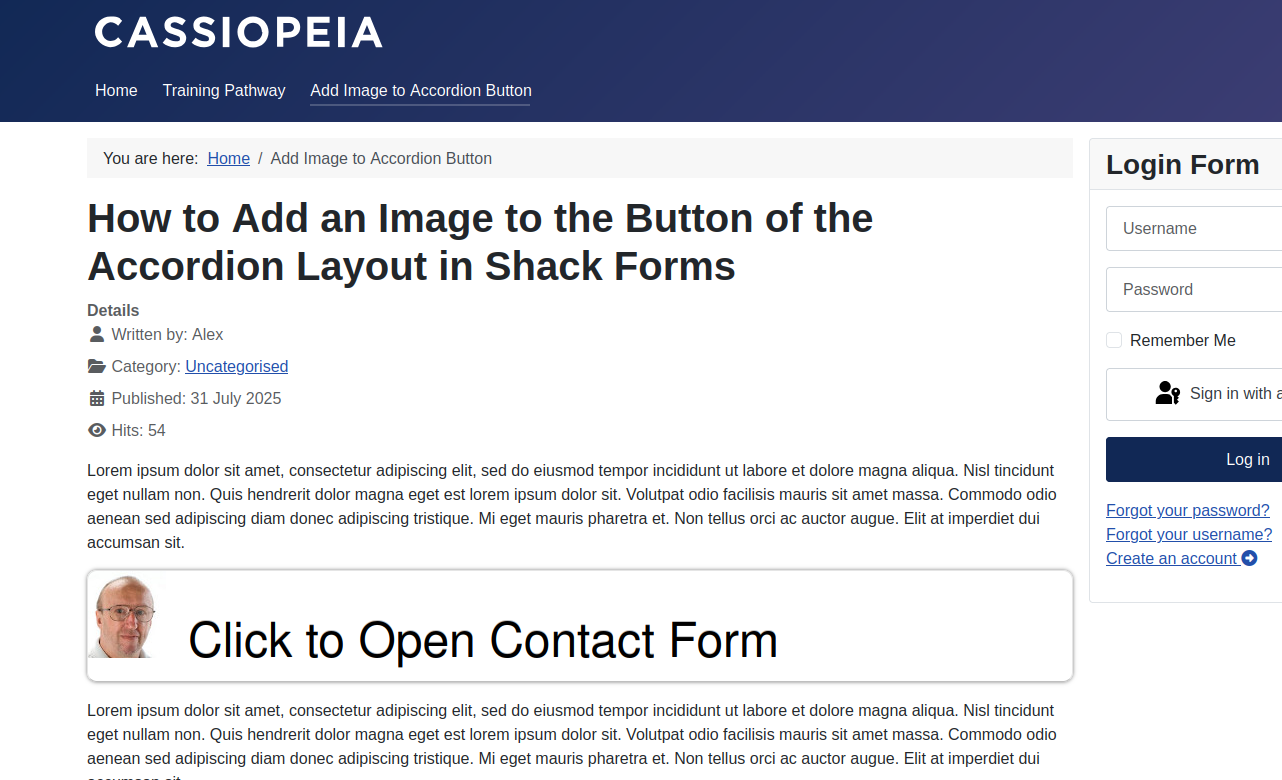
In some cases, you may want to add an image to the button of the "Accordion" layout in your Shack Forms Pro form module.
By default, the button displays only text:

But what if you want to make it more eye-catching with an image?
You can achieve this in just three steps:
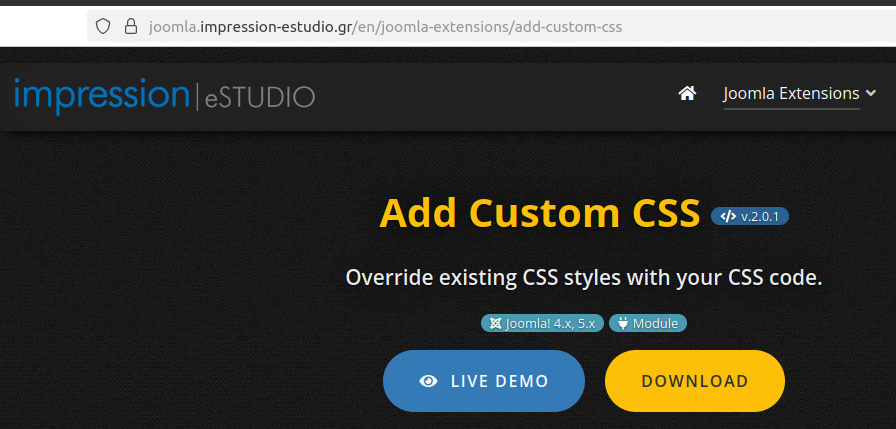
- Install the "Add Custom CSS" module.
- Upload your chosen image.
- Add the custom CSS code with the image URL to the module.
Let's break down each step.
Step #1. Install the "Add Custom CSS" module
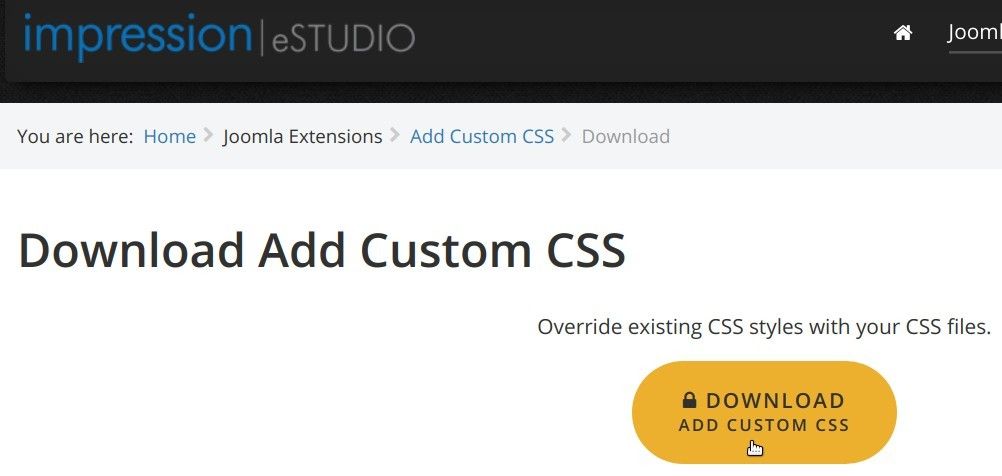
- Visit the Impression eStudio website here.
- Download the "Add Custom CSS" module:
- Install and enable the module on your Joomla 6 site.
Step #2. Upload the image to the Media library
- In your Joomla 6 admin dashboard, go to Content > Media.
- Upload your image to the Joomla Media library.
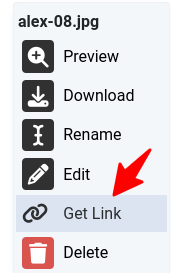
- Click the Manage Item icon for the image:
![]()
- Click Get Link:
- In the "Share the File" pop-up, click the green Get Link button:
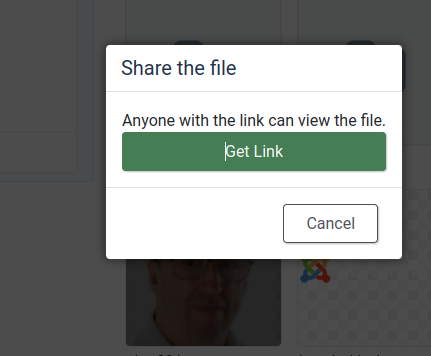
- Click the Copy to clipboard icon to copy the image URL:
![]()
Great! You’re ready to add this image to your Shack Forms Pro accordion form button.
Step #3. Add custom CSS code to the module
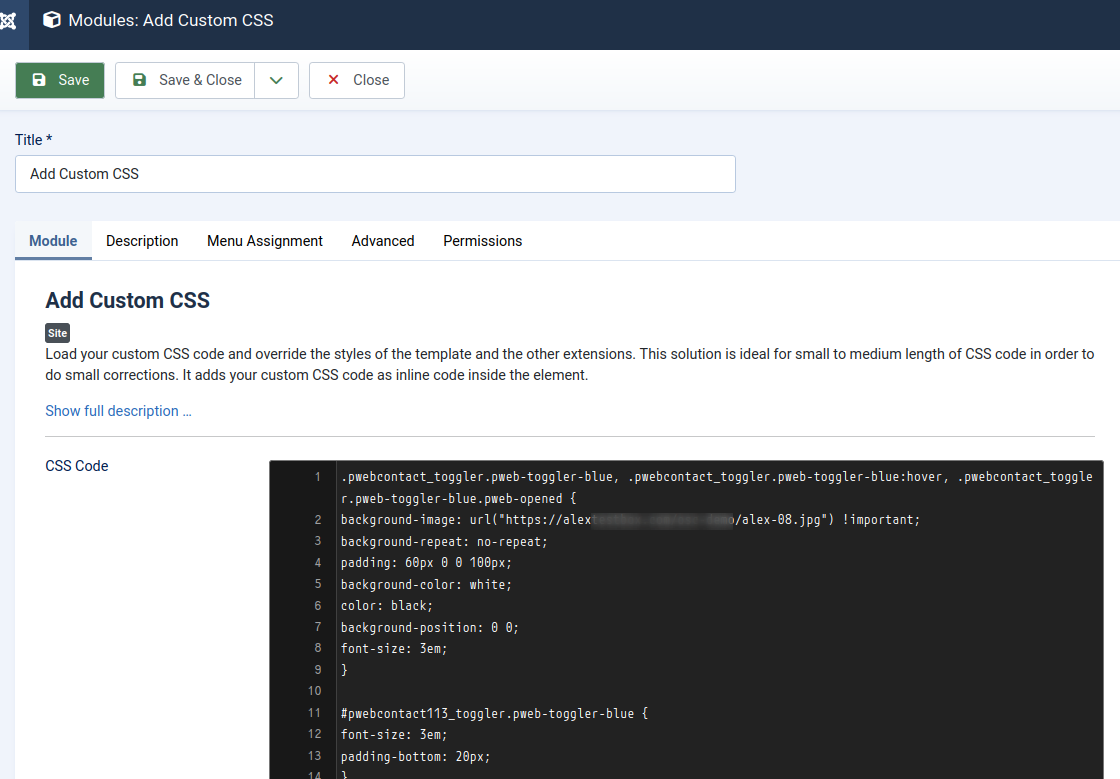
- Open the "Add Custom CSS" module.
- Insert the following CSS code into the CSS Code box:
.pwebcontact_toggler.pweb-toggler-blue, .pwebcontact_toggler.pweb-toggler-blue:hover, .pwebcontact_toggler.pweb-toggler-blue.pweb-opened {
background-image: url("url-of-your-image-goes-here") !important;
background-repeat: no-repeat;
padding: 60px 0 0 100px;
background-color: white;
color: black;
background-position: 0 0;
font-size: 3em;
}

#pwebcontact113_toggler.pweb-toggler-blue {
font-size: 3em;
padding-bottom: 20px;
}
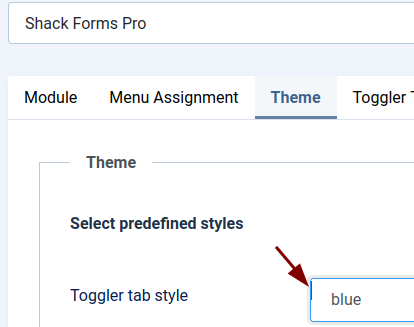
Ensure that thebluein the following CSS code:.pwebcontact_toggler.pweb-toggler-blue, .pwebcontact_toggler.pweb-toggler-blue:hover, .pwebcontact_toggler.pweb-toggler-blue.pweb-openedmatches the color selected for the Toggler tab style parameter in the Theme tab of your Shack Forms Pro module. Otherwise, the CSS will not apply:
- Adjust the CSS code if necessary.
- Ensure the "Add Custom CSS" module is published.
- Assign the module to the required page(s).
- Save your changes.
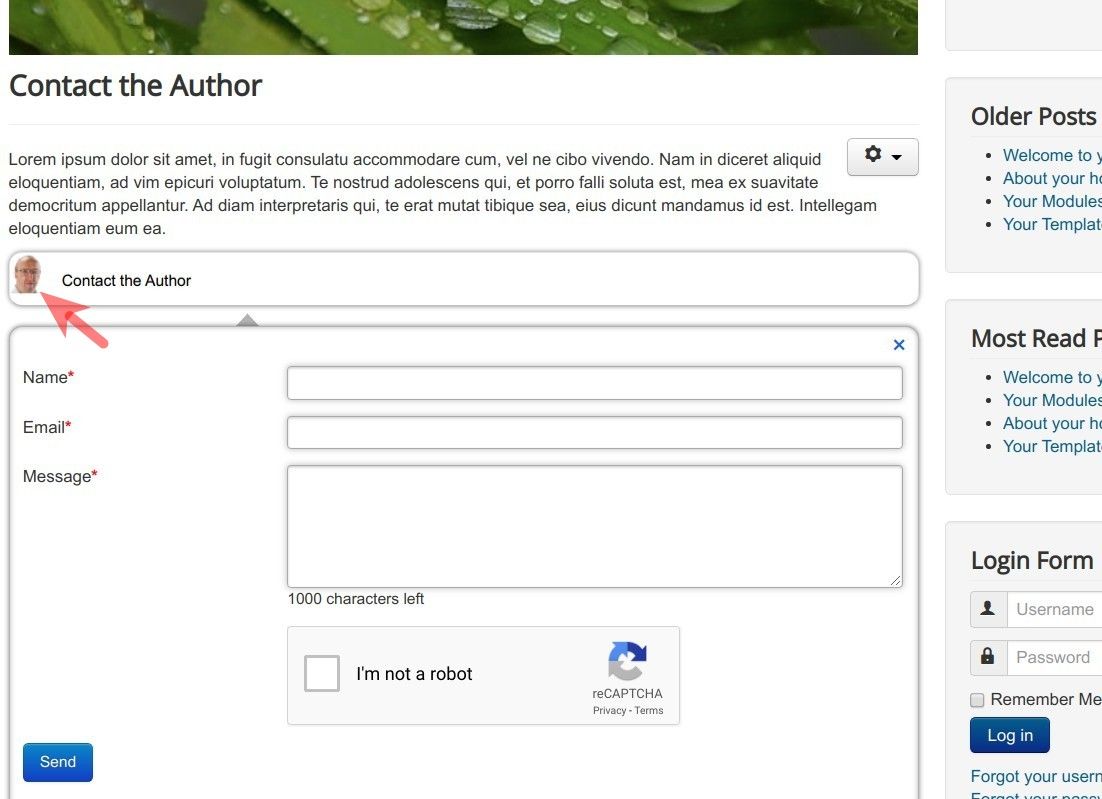
Your accordion button should now display the image!
Documentation for Joomla 3
In some use cases, you may want to add an image to the button of the "Accordion" layout of your Shack Form.
By default, the button displays only text:
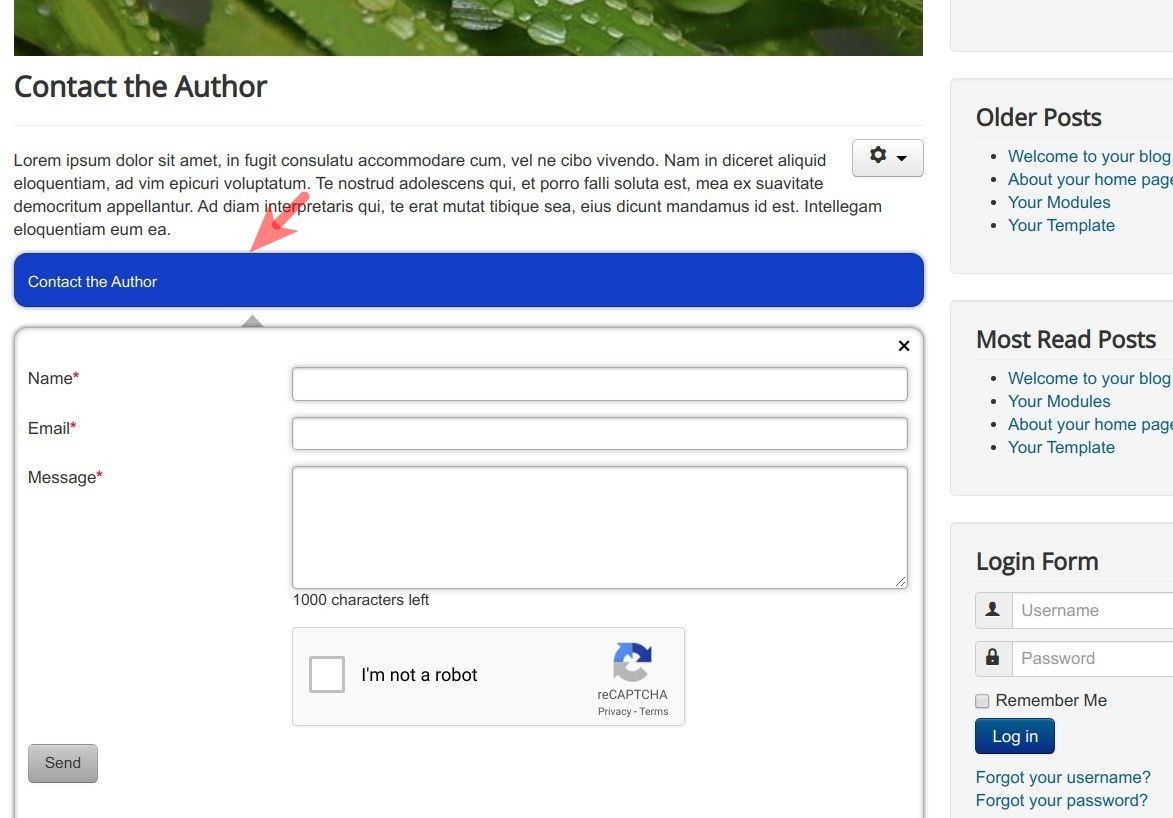
But what if you would like to spice it up with an image:
You can accomplish this in your Joomla site in four steps:
- Install the "Add Custom CSS" plugin
- Upload the required image
- Create a custom CSS file
- Add the custom CSS file to the plugin.
Let's take a look at these steps in more detail.
Step #1. Install the "Add Custom CSS" plugin
- Visit the Impression eStudio site here.
- Download the "Add Custom CSS" plugin:
- Install and enable it on your Joomla site.
Step #2. Upload the required image
- FTP to your Joomla site and within its file structure upload the required image.
Step #3. Create a custom CSS file
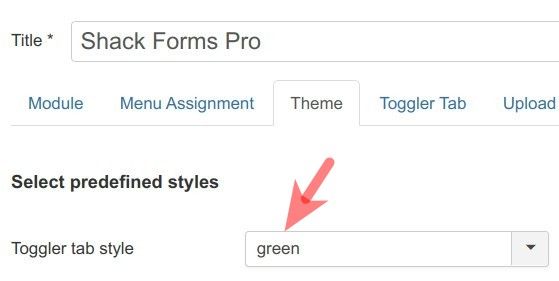
- In your Shack Form, go to the "Theme" tab and check what color the "Toggler tab style" setting has been set to:
- Anywhere within the file structure of your Joomla site, create an empty CSS file. Call this file as you see fit, as long as you end the file name with
.css. - Add the following CSS code to this file:
- In this code, replace the
bluewith the color set in your "Toggeler tab style" parameter. For example, if your "Toggler tab style" has been set to "green", your code should be as follows:
.pwebcontact_toggler.pweb-toggler-green, .pwebcontact_toggler.pweb-toggler-green:hover, .pwebcontact_toggler.pweb-toggler-green.pweb-opened {
background-image: url("alex.png") !important;
background-repeat: no-repeat;
background-color: white;
padding-left: 40px;
background-position: 0 0;
}
- Save your custom CSS file.
Step #4. Add the custom CSS file to the plugin
- In your Joomla administrator panel, go to "Extensions" > "Plugins" and find the "Add Custom CSS" plugin.
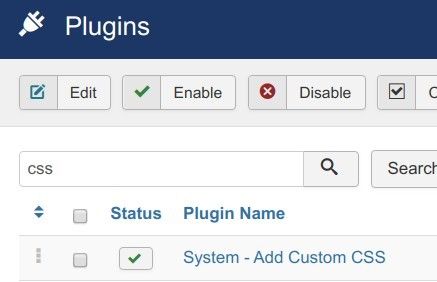
- Open this plugin for editing.
- Enter the name of your custom CSS file into the "Custom CSS File 1 Path" field:

- Click "Save" or "Save & Close"
When you check your Shack Form now, you should see that the button of your form now displays the image.