Documentation for Joomla 6
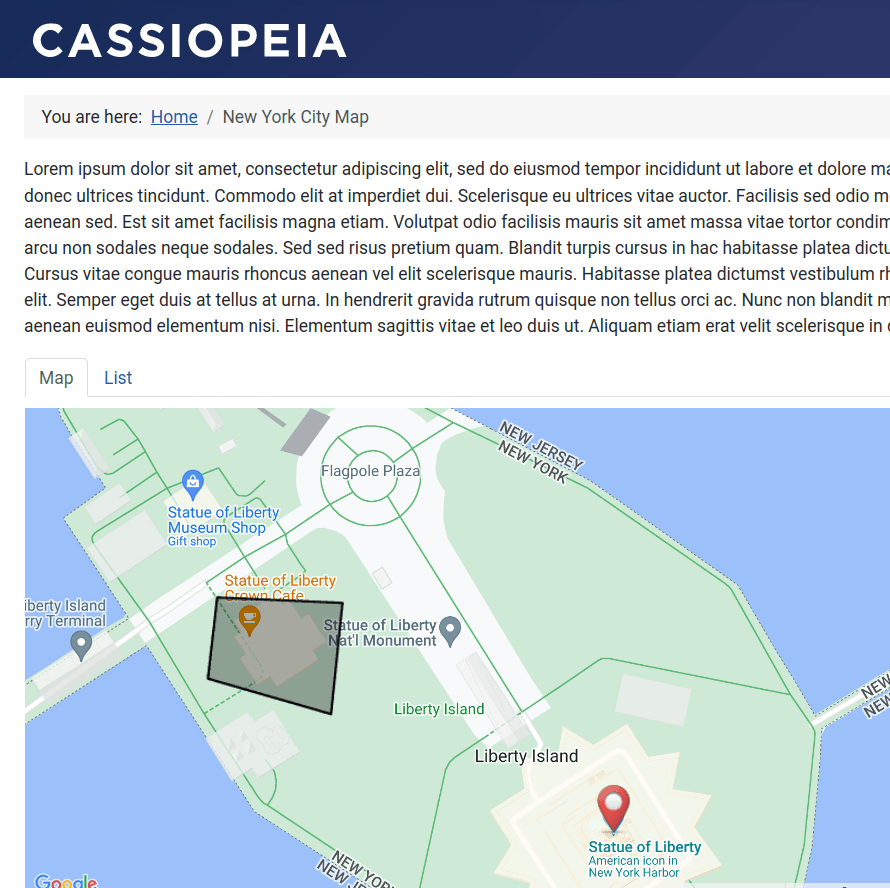
Shack Locations Pro allows you to highlight an area of a map with a graphic overlay.
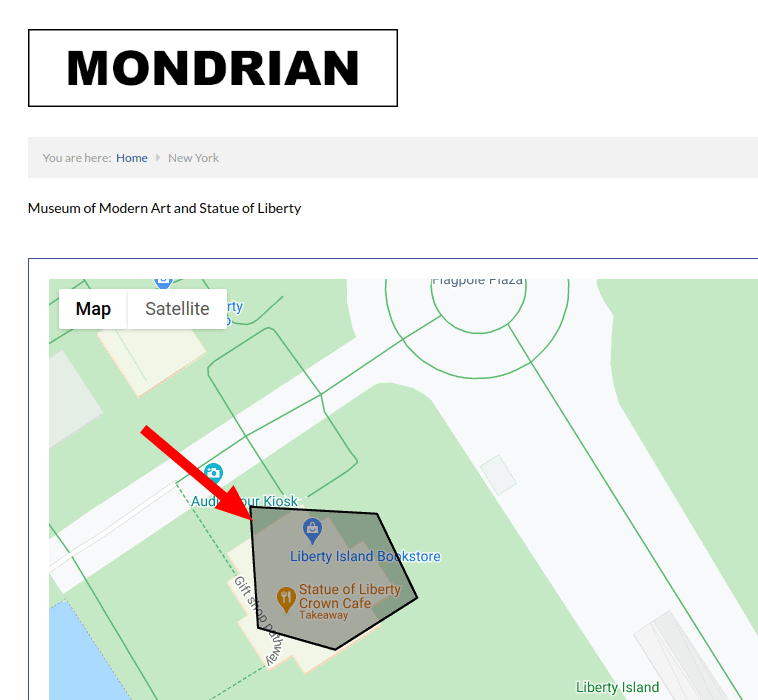
For example, here is an overlay pinpointing the "Crown Cafe" on the map of the "Statue of Liberty" National Park in New York, USA:
Creating a map overlay in Shack Locations Pro is a four-step process:
- Create a map with Google "My Maps" service
- Create a required overlay for your map in "My Maps"
- Get your "My Maps" map ID number
- Set the ID number of your "My Maps" map in Shack Locations Pro.
Let's take a look at this process in more detail.
Step #1. Create a map with Google "My Maps" service
In this step, your goal is to create a map in Google's "My Maps" free service.
This map must be a copy of your map in Shack Locations Pro, part of which you would like to overlay for your Joomla site visitors.
- Log into your Gmail account.
- Click here to open the "Google My Maps" page.
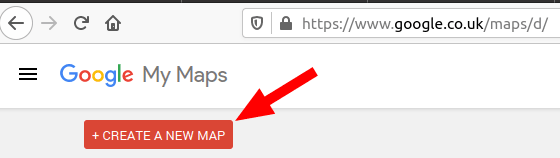
- You will see the "Google My Maps" screen, as shown in the next image. Click "CREATE A NEW MAP":
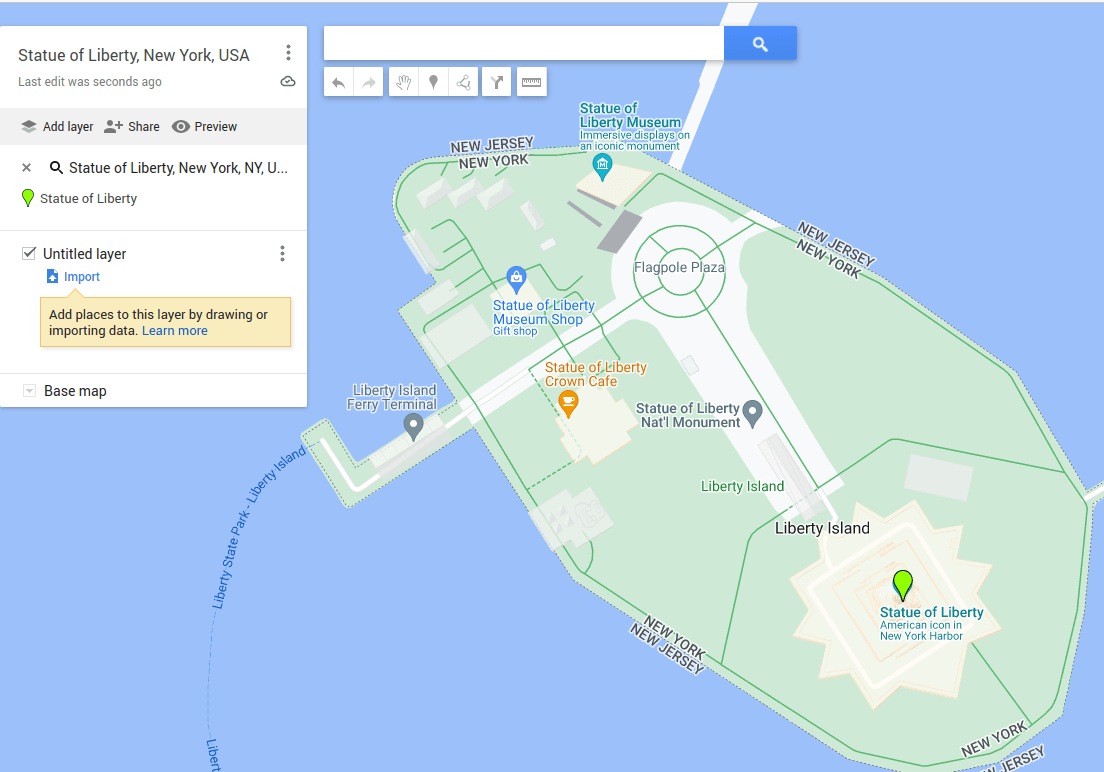
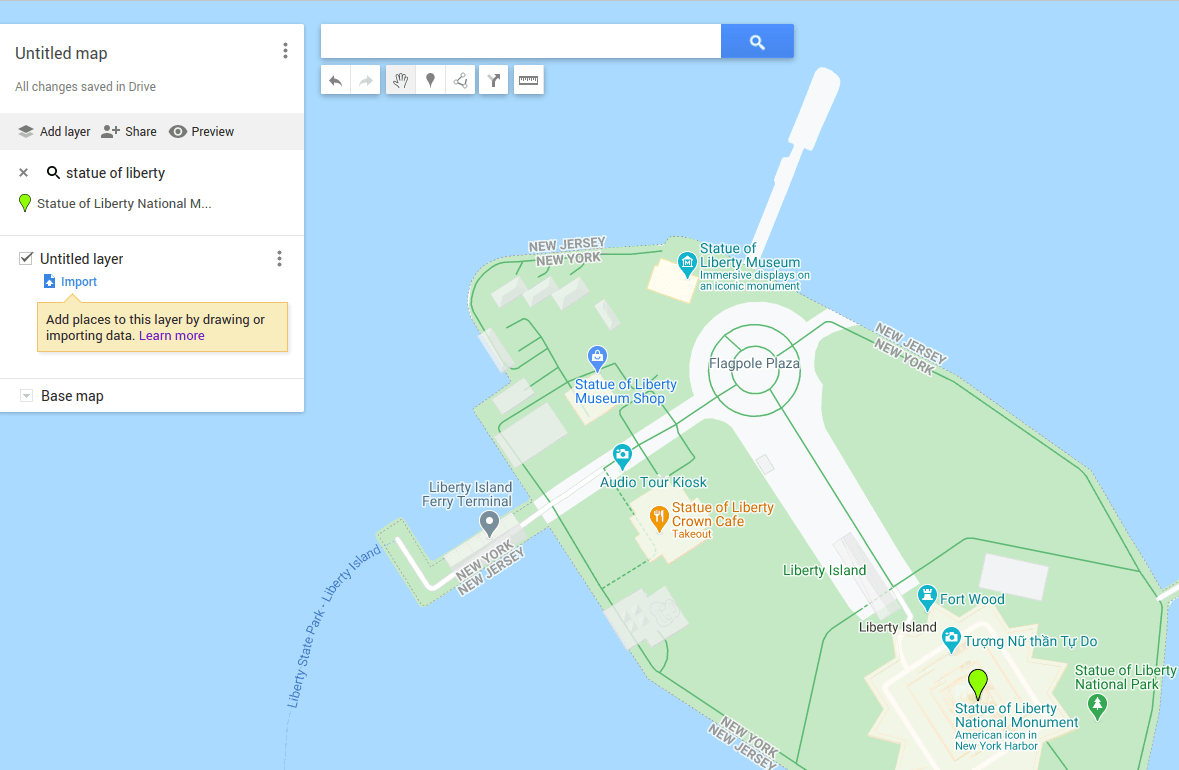
- Create here a map duplicating your chosen map in Shack Locations Pro. Please, see "My Maps Help" documentation here in case you need help with creating maps in "My Maps". For my example, I created a map of the "Statue of Liberty" National Park in New York, USA:
Step #2. Create a required overlay for your map in "My Maps"
In this step, you will draw an overlay of an area on the map you created in the previous step.
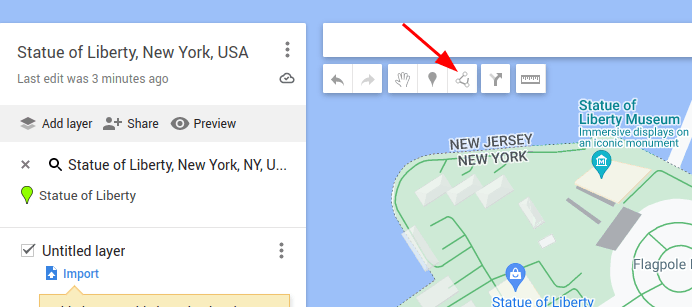
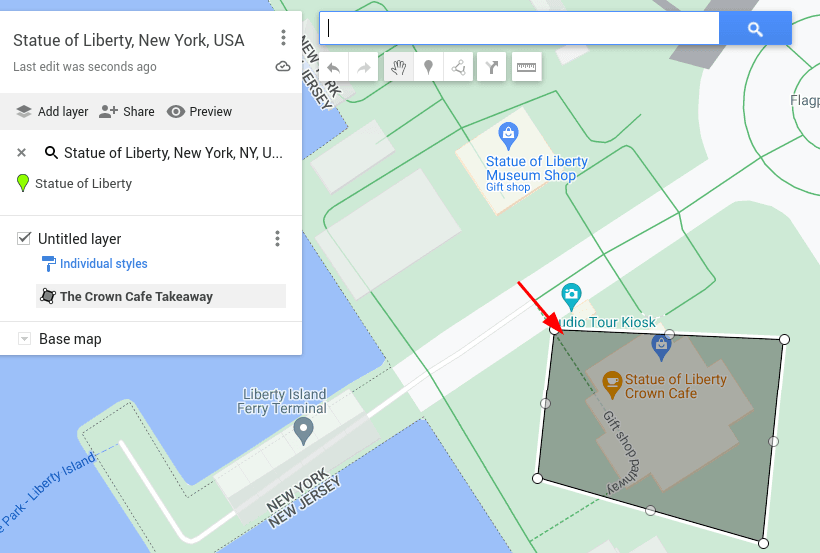
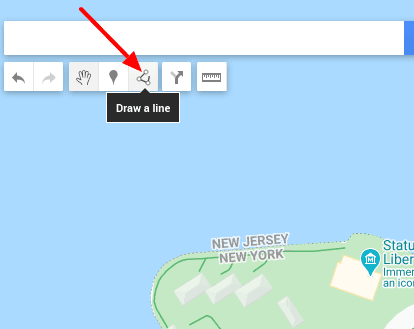
- Click "Draw a line":
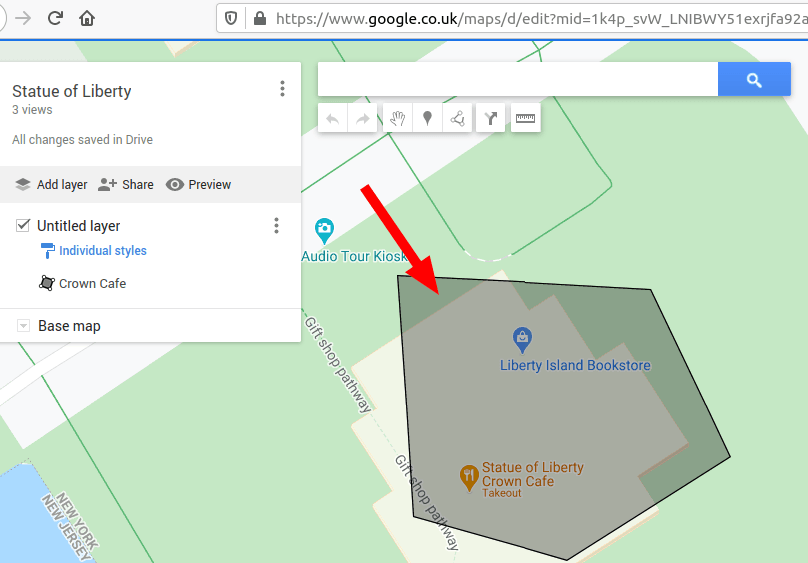
- Use lines to outline your selected area on the map that you wish to create an overlay for. Once you finish, you will see that your selected area has been overlaid. For my example, I created an overlay for the "Crown Cafe":
Well done! You are ready to move to the final step.
Step #3. Get your "My Maps" map ID number
In this step, you will get your "My Maps" map ID number.
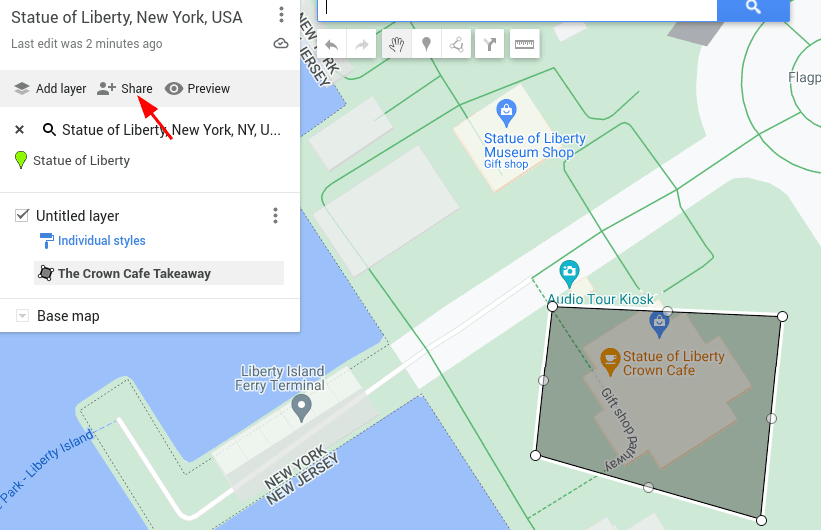
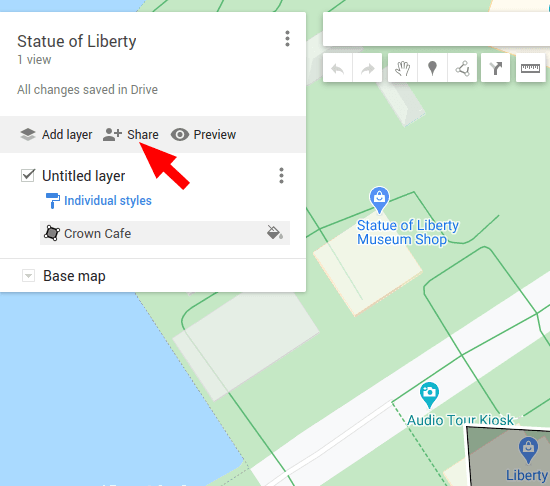
- Click "Share":
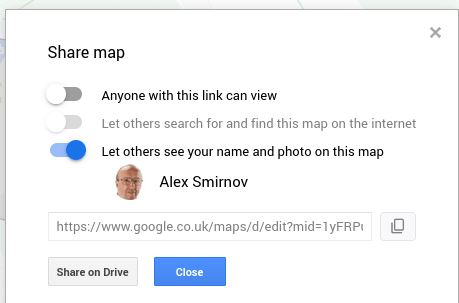
- You will see the "Share Map" box. Click inside the URL box, copy the URL and click "Close":
- Paste the URL of the map you just copied in a text editor of your choice. It should resemble the following:
https://www.google.co.uk/maps/d/edit?mid=1yFRPub_Xi0PNYcj10k_H8e8uIQzoC9k&usp=sharing
Copy the part after the "=" symbol. In my example, I will copy the following:
1yFRPub_Xi0PNYcj10k_H8e8uIQzoC9k&usp=sharing
This is the ID number of your "My Maps" map that you will need in the next step.
Good job! You are ready to move on to the final step.
Step #4. Set the ID number of your "My Maps" map in Shack Locations Pro
- In your Joomla 6 administrator dashboard, click "Components" > "Shack Locations Pro" > "Maps".
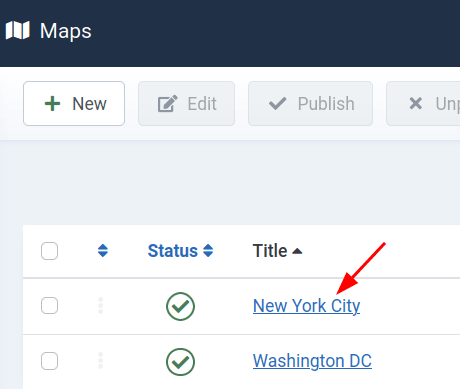
- You will see the "Maps" screen, listing your Shack Locations Pro maps. Open the required map for editing. For my example, I open the "New York City" map:
- This will bring you to the "Map: Edit" screen, as you can see in the next image. Click the "Overlay" tab:
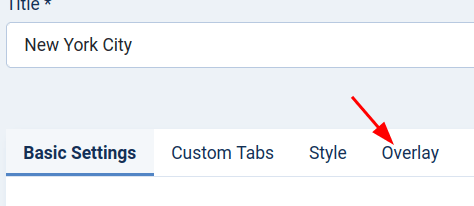
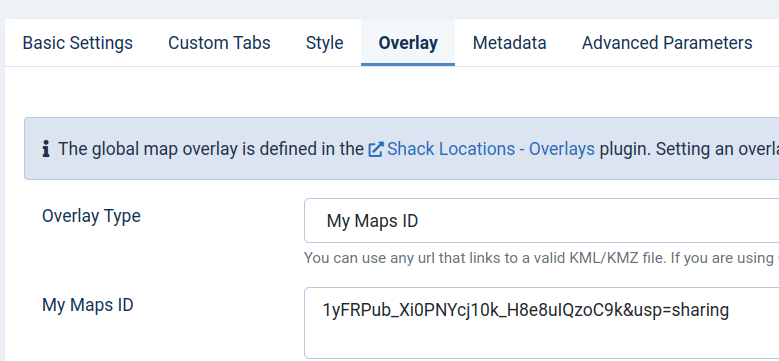
- Select the "My Maps ID" option for the "Overlay Type" parameter and paste your "My Maps" map ID number in the "My Maps ID" box:
- Click "Save" or "Save & Close".
- Visit your map at the front end of your Joomla site. You will see the map overlay at work, just as you saw at the beginning of this tutorial.
Documentation for Joomla 3
Shack Locations Pro allows you to highlight an area of a map with a graphic overlay.
For example, here is an overlay pinpointing the "Crown Cafe" takeaway on the map of the "Statue of Liberty" National Park in New York.
Creating a map overlay in Shack Locations Pro is a four-step process:
- Create a map with Google "My Maps" service
- Create a required overlay for your map in "My Maps"
- Get your "My Maps" map ID number
- Set the ID number of your "My Maps" map in Shack Locations Pro.
Let's take a look at this process in more detail.
Step #1. Create a map with Google "My Maps" service
In this step, your goal is to create a map in Google's "My Maps" free service.
This map must be a copy of your map in Shack Locations Pro, part of which you would like to overlay for your Joomla site visitors.
- Log in to your Gmail account.
- Click here to open the "Google My Maps" page.
- You will see the "Google My Maps" screen, as shown in the next image. Click "CREATE A NEW MAP":
- Create here a map duplicating your chosen map in Shack Locations Pro. Please, see "My Maps Help" documentation here in case you need help with creating maps in "My Maps". For my example, I created a map of the "Statue of Liberty" National Park in New York:
Step #2. Create a required overlay for your map in "My Maps"
In this step, you will draw an overlay of an area on the map you created in the previous step.
- Click "Draw a line":
- Use lines to outline your selected area on the map. Once you finish, you will see that your selected area has been overlaid. For my example, I created an overlay for the "Crown Cafe" takeaway:
Well done! You are ready to move to the final step.
Step #3. Get your "My Maps" map ID number
In this step, you will get your "My Maps" map ID number.
- Click "Share":
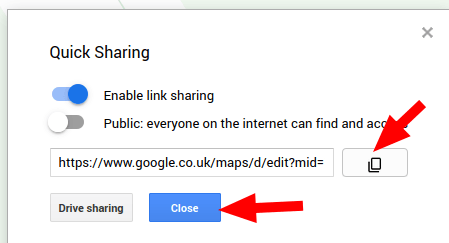
- You will see the "Quick Sharing" box. Click "Enable link sharing":
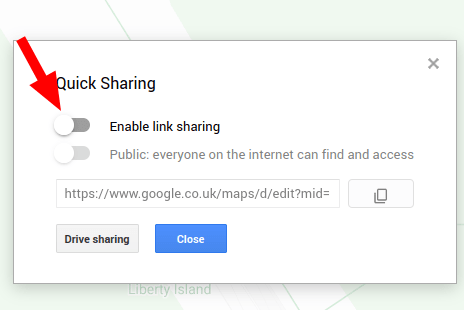
- You will see the "Enable link sharing" button turn blue. Click "Copy" to copy the URL of this map and then click "Close":
- Paste the URL of the map you just copied in a text editor of your choice. It should resemble the following:
https://www.google.co.uk/maps/d/edit?mid=1k4p_svW_LNIBWY51exrjfa92aKCpXqII&usp=sharing
Copy the part between the "=" and "&" symbols. In my example, I will copy the following:
1k4p_svW_LNIBWY51exrjfa92aKCpXqII
This is the ID number of your "My Maps" map that you will need in the next step.
Good job! You are ready to move on to the final step.
Step #4. Set the ID number of your "My Maps" map in Shack Locations Pro
- In your Joomla administrator panel, click "Components" > "Shack Locations Pro".
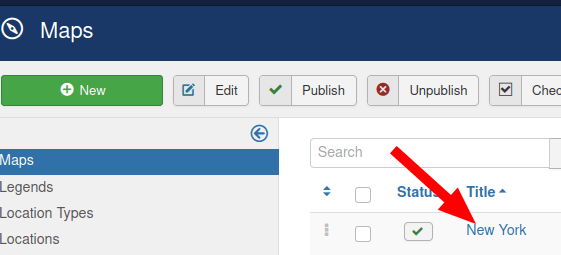
- You will see the "Maps" screen, listing your Shack Locations Pro maps. Open the required map for editing. For my example, I open the "New York" map:
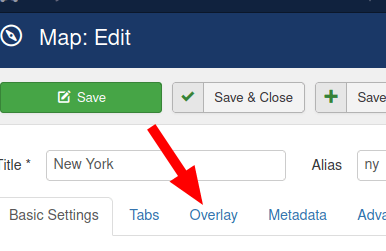
- This will bring you to the "Map: Edit" screen, as you can see in the next image. Click the "Overlay" tab:
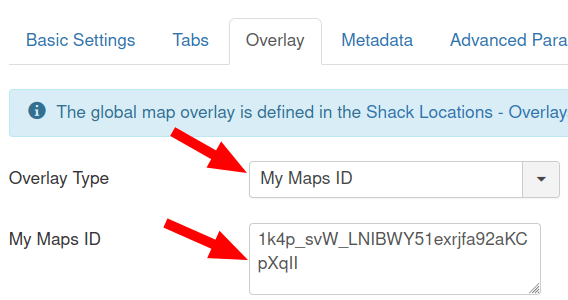
- Select "My Maps ID" option for the "Overlay Type" parameter and enter your "My Maps" map ID number in the "My Maps ID" box:
- Click "Save" or "Save & Close".
- Visit your map at the front end of your Joomla site. You will see the map overlay at work: