This guide will walk you through the steps to export Shack Locations data from one Joomla site and import it into another.
By following these instructions, you can successfully migrate location data, database tables, and related media files with minimal effort.
Step 1: Prepare the Destination Site
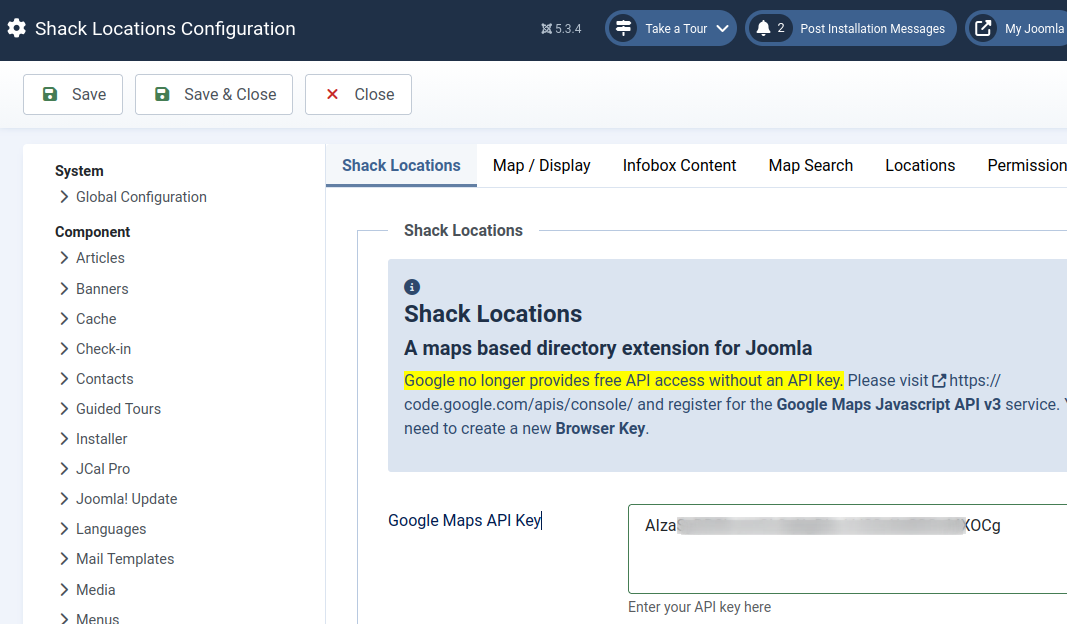
- Install the Shack Locations extension on the destination Joomla site.
- Go to the Shack Locations Options panel and enter your Google Maps API Key.
- Click Save to store your settings:
Step 2: Export the Database Tables from the Source Site
- In your hosting control panel (e.g., cPanel), open phpMyAdmin.
- Select the database used by your source Joomla site.
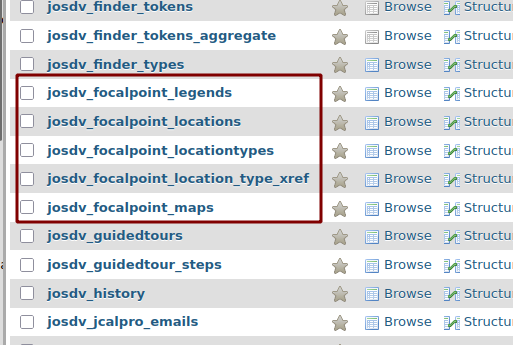
- Export the five Shack Locations-related database tables:
Step 3: Modify the Exported SQL File
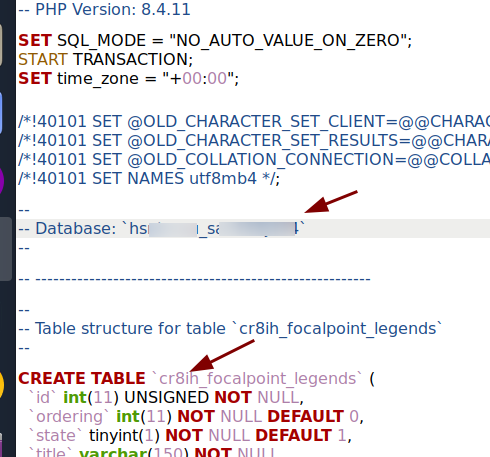
- Open the exported
.sqlfile in a text editor. - Replace the source database name and table prefix with the destination site's database name and table prefix:
- Save the file.
Step 4: Import to the Destination Site
- Open phpMyAdmin for the destination site’s database.
- Delete (drop) any existing Shack Locations tables in the destination database to avoid conflicts.
- Import the modified
.sqlfile into the destination database:
Step 5: Upload Custom Images to the Destination Site
If you used any custom images in Shack Locations on the source site:
- Download those images from the source site.
- Upload them to the destination Joomla site using the Media component.
- Ensure the image folder structure is the same on both the source and destination sites.