Documentation for Joomla 6
Getting started with Shack Open Graph is a four-step process:
- Select which components will be using Open Graph tags
- Configure the Open Graph section.
- Configure the X / Twitter Card section.
- Configure images.
Let's take a look at each of these four steps in more detail.
Step #1. Select components to use Open Graph
Shack Open Graph allows you to control which of your components' pages will add the Open Graph tags on your Joomla 6 site.
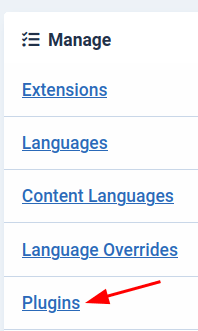
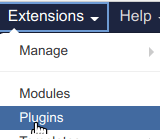
- In your Joomla 6 administrator dashboard go to System > Manage > Plugins:
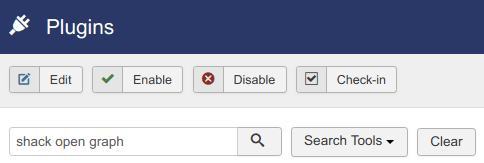
- You will be taken to the Plugins administrative page listing all the plugins installed on your site.
- Enter shack open into the search field and press Enter on your keyboard:
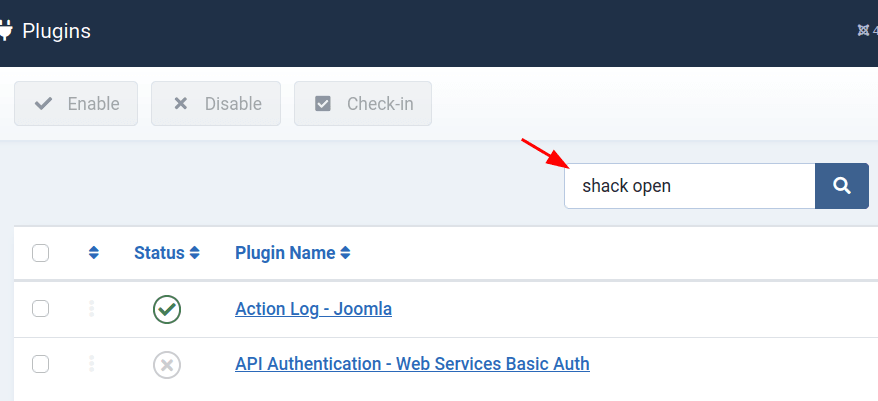
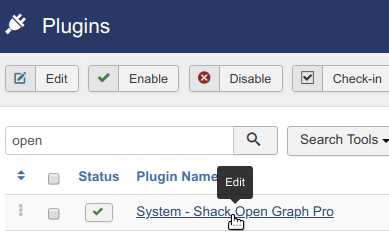
- You will see only the Shack Open Graph plugin listed. Click on its title:
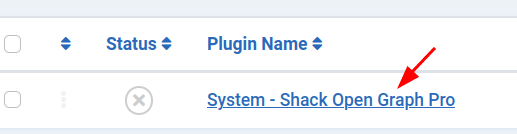
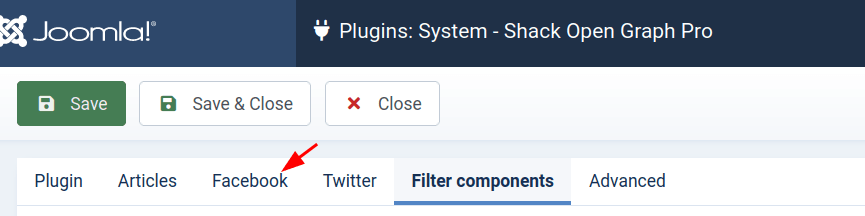
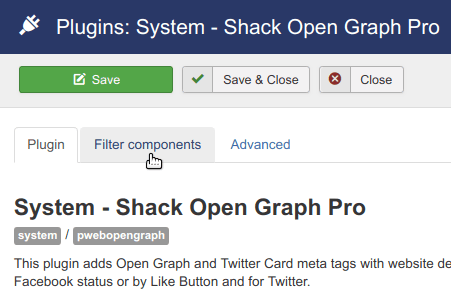
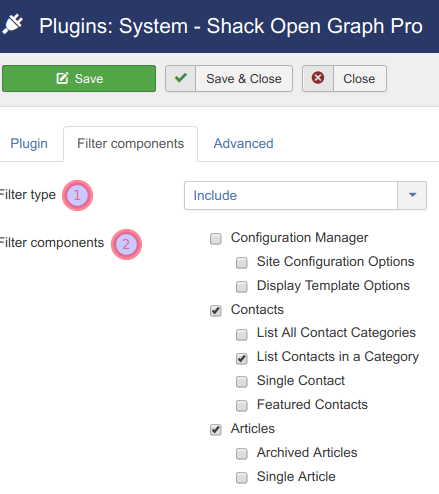
- You will be taken to the Plugins: System - Shack Open Graph Pro screen. Click on the Filter components tab:

- Filter type: Select whether you wish the listed component to be included in or excluded from displaying the Open Graph tags. Default setting: Include.
- Components: Select which exactly components you wish to be included in or excluded from displaying the Open Graph tags. If all views of the component must be used, then select only the component name. The component selected by default is Articles:
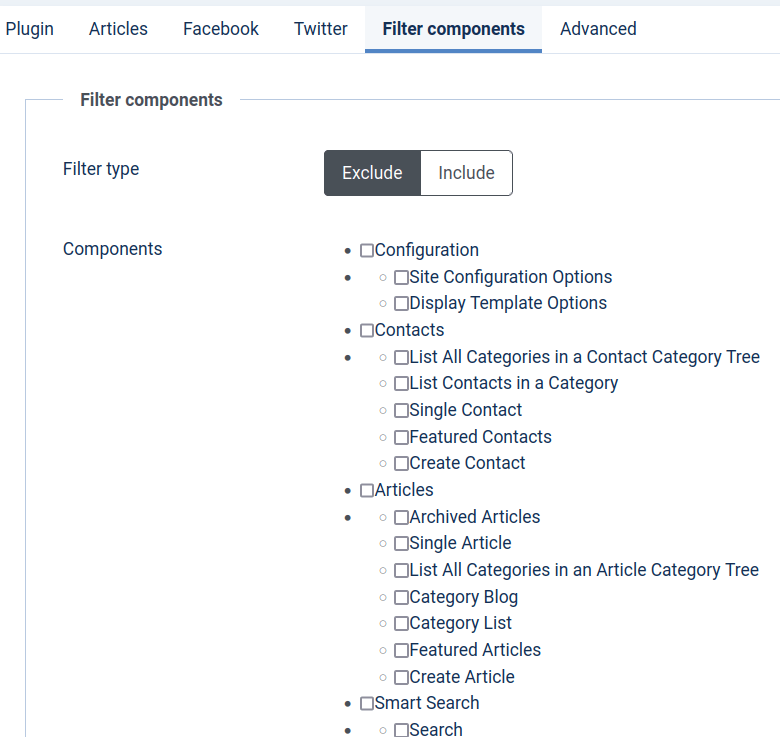
- Click Save.
Good job! You just configured what components will include or exclude the Open Graph meta tags in their pages. In the next step, you will start setting the Open Graph tags.
Step #2. Configure the Facebook Open Graph section
In this step, you will configure the Facebook area.
- Click the Facebook tab:
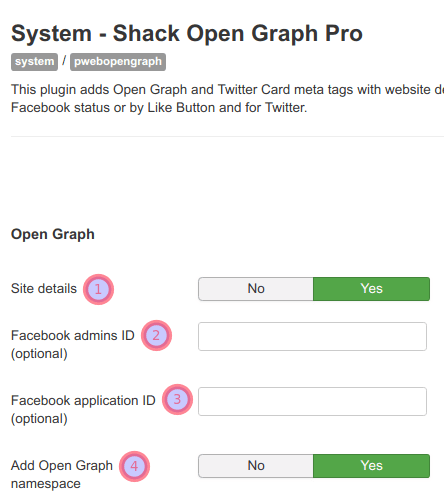
- You will see the settings to configure how Shack Open Graph deals with the Facebook og: meta tags, as you can see in the next image:
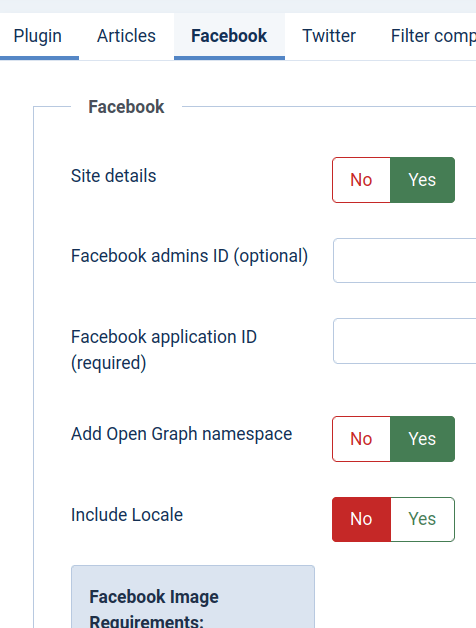
- Site details: Click Yes if you would like your Shack Open Graph plugin to add to your site pages the meta tags with details about your site (og:title, og:type, og:url, og:site_name, og:description). If any other Joomla extension already added them, click No.
- Facebook admins ID (optional): Enter a comma-separated list of IDs of your Facebook pages administrators (optional). These Facebook users would have access to the analytics through Facebook Insights.
- Facebook application ID (required): Enter here your Facebook Application ID. Adding this setting will allow you to use Facebook Insights which lets you view analytics for traffic to your site from Facebook.
- Add Open Graph namespace: Click Yes if you would like to add an XML namespace to the HTML tags of your site pages. Otherwise, click No.
- Include locale: Click Yes if you would like to set the Facebook og:locale tag. It would tell Facebook what your site language is.
- Click Save or Save & Close once you are happy with your settings.
Wonderful! You are ready to move to the X / Twitter area.
Step #3. Configure the X / Twitter Card section
In this step, you will configure the X / Twitter Card tags.
- Click the X / Twitter tab:

- You will see the settings to configure the X / Twitter Card tags, as you can see in the next image:

- Add X / Twitter Card Tags: Click Yes if you would like your site to support X / Twitter Cards. With this setting enabled, users who would tweet a link to your site content will get the link displayed as a "card".
- Site details: Click Yes if you would like to add the following X / Twitter Card tags with details about your site: X / Twitter:card, X / Twitter:url, X / Twitter:title, X / Twitter:description.
- @username of website: Enter here your website X / Twitter username. It will be displayed in the tweets footer.
- @username of content creator: Enter here a X / Twitter username of a content creator (used only with the summary_large_image X / Twitter cards).
- Single image card type: Select 'summary' if your site uses only small-size images.
- Click Save or Save & Close once you are happy with your settings.
Great! You are ready to move to the final step and configure images.
Step #4. Configure images
In this step, you will configure how Shack Open Graph deals with images.
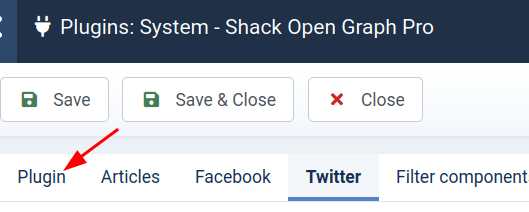
- Click the Plugin tab:
- You will see the settings to configure how Facebook and X / Twitter detect your images, as you can see in the next image:
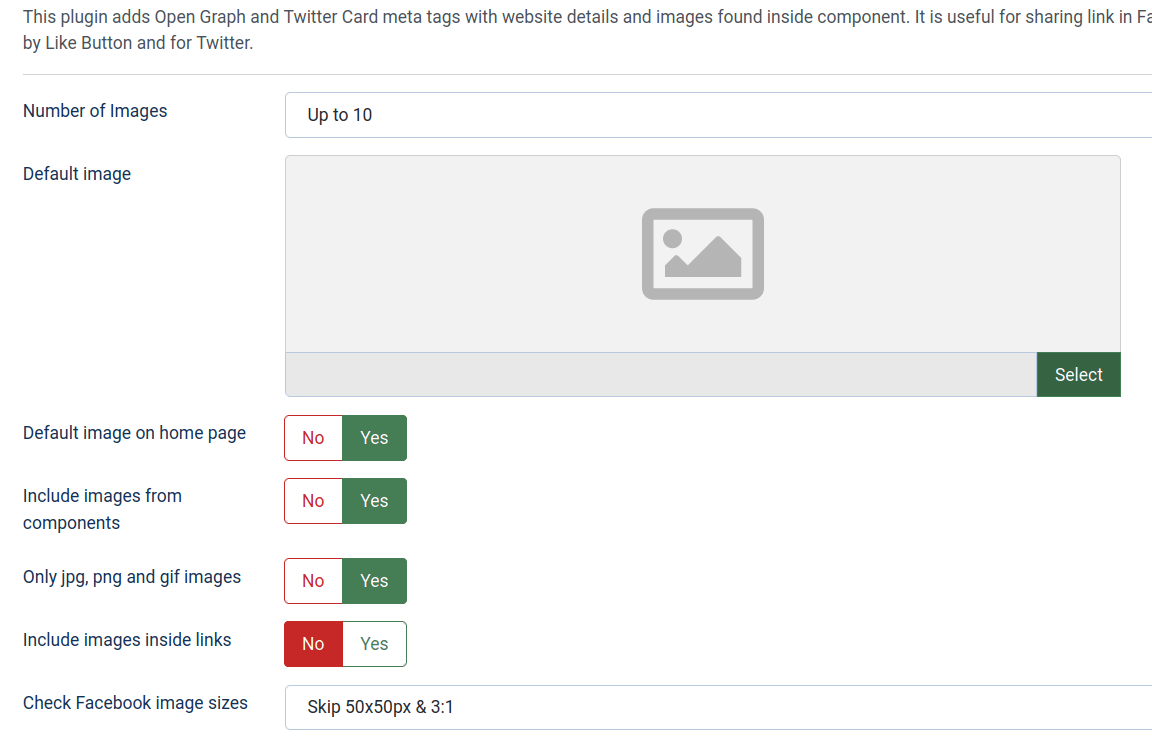
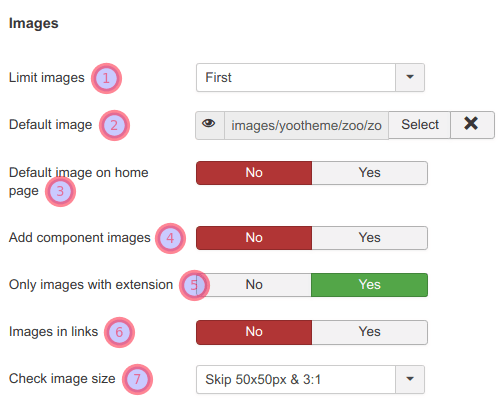
- Number of Images: Select here how many images to add to the Open Graph tag: the first image in the flow of the content item or up to 10 images.
- Default image: Select here an image to be used by default if X / Twitter or Facebook crawlers won't find any image.
- Default image on home page: Select here if you would like to use the default image set in the previous setting only for your site Home page.
- Include images from components: Select if Shack Open Graph should look only for images, placed in the components sections of your site.
- Only jpg, png and gif images: Select whether Shack Open Graph should look for only images with extensions .jpg, .png and .gif. or for any images.
- Include images inside links: Select whether Shack Open Graph should look for images inside links, such as <a href="/image.png">
- Check Facebook image sizes: Please, ignore this setting. It will be updated in future Shack Open Graph versions.
Well done! You just finished setting your Shack Open Graph Pro.
Documentation for Joomla 3
Getting started with Shack Open Graph is a four-step process:
- Select which components will be using Open Graph tags
- Configure the Open Graph section.
- Configure the X / Twitter Card section.
- Configure the images.
Let's take a look at each of these four steps in more detail.
Step #1. Select components to use Open Graph
Shack Open Graph allows you to control which of your components' pages will add the Open Graph tags on your site.
- In your Joomla control panel go to Extensions > Plugins:
- You will be taken to the Plugins administrative page listing all the plugins installed on your site.
- Enter shack open graph into the search field and press Enter on your keyboard:
- You will see only the Shack Open Graph plugin listed. Click on its title:
- You will be taken to the Plugins: System - Shack Open Graph Pro screen.
- Click on the Filter Components tab:
- Filter type: Select whether you wish the listed component to be included in or excluded from displaying the Open Graph tags. Default setting: Include.
- Filter components: Select which exactly components you wish to be included in or excluded from displaying the Open Graph tags. If all views of the component must be used, then select only the component name. The component selected by default is Articles:
- Click Save.
Good job! You just configured what components will include or exclude Open Graph meta tags in their pages. In the next step, you will start setting the Open Graph tags.
Step #2. Configure the Open Graph section
- Site details: Click Yes if you would like your Shack Open Graph plugin to add to your site pages the meta tags with details about your site (og:title, og:type, og:url, og:site_name, og:description). If any other Joomla extension already added them, click No.
- Facebook admins ID (optional): Enter a comma-separated list of IDs of your Facebook pages administrators (optional). These Facebook users would have access to the analytics through Facebook Insights.
- Facebook application ID (optional): Enter here your Facebook Application ID. Adding this setting will allow you to use Facebook Insights which lets you view analytics for traffic to your site from Facebook.
- Add Open Graph namespace: Click Yes if you would like to add an XML namespace to the html tag of your site pages. Otherwise, click No.
Step #3. Configure the X / Twitter Card section

- Add X / Twitter Card Tags: Click Yes if you would like your site to support X / Twitter Cards. With this setting enabled, users who would tweet a link to your site content will get the link displayed as a "card".
- Site details: Click Yes if you would like to add the following X / Twitter Card tags with details about your site: X / Twitter:card, X / Twitter:url, X / Twitter:title, X / Twitter:description.
- @username of website: Enter here your website X / Twitter usename. It will be displayed in tweets footer.
- @username of content creator: Enter here a X / Twitter username of a content creator (used only with the summary_large_image X / Twitter cards).
- Single image card type: Select 'summary' if your site uses only small size images.
- Multiple images card type: Please, ignore this setting. It is obsolete and will be deleted from one of the future Shack Open Graph versions.
Step #4. Configure the Images section
- Limit images: Select here how many images to add to the Open Graph tag: the first image in the flow of the content item or up to 10 images.
- Default image: Select here an image to be used by default if X / Twitter or Facebook crawlers won't find any image.
- Default image on home page: Select here if you would like to use the default image set in the previous setting only for your site Home page.
- Add component images: Select if Shack Open Graph should look only for images, placed in the components sections of your site.
- Only images with extension: Select whether Shack Open Graph should look for only images with extensions .jpg, .png and .gif. or for any images.
- Images in links: Select whether Shack Open Graph should look for images inside links, such as <a href="/image.png">
- Check image size: Please, ignore this setting. It will be updated in future Shack Open Graph versions.