Documentation for Joomla 6
In this tutorial, we'll show you how to get started with OSMap on a Joomla 6 site.
Step #1. Download and Install OSMap
- Download OSMap from this page.
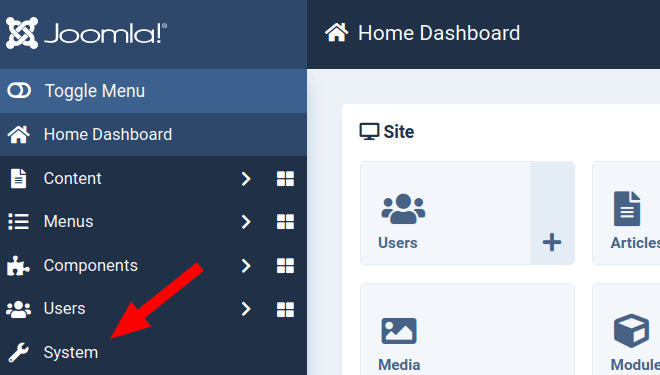
- In your Joomla 6 "Home Dashboard", go to "System":
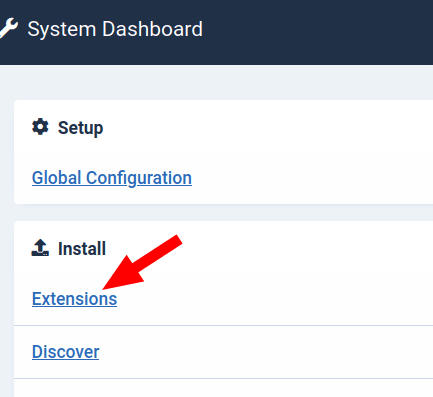
- You will see the "System Dashboard" screen. In the "Install" panel, click "Extensions":
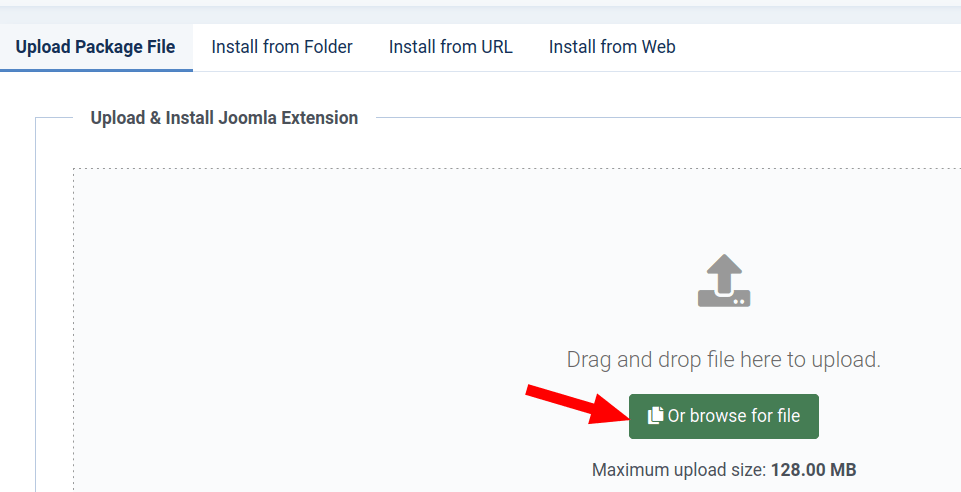
- This will bring you to the default tab "Upload Package File" of the "Extensions: Install" screen, as you can see on the next image. Click the green button:
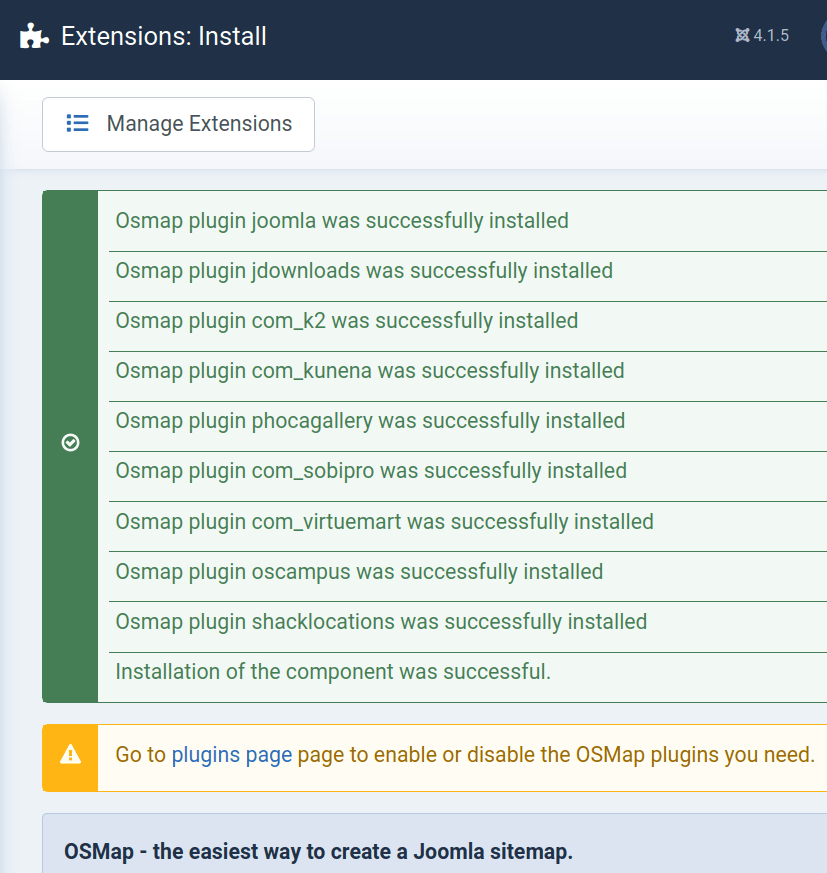
- Select the installation file of your Joomlashack extension on your hard drive and click twice on this file. After a few moments of screen activity, you will see one or a few messages about successful installation, similar to what you see in the next image:
Step #2. View the sitemap
By default, OSMap creates four sitemaps in Components > OSMap Free (or Pro). The image below shows them all:
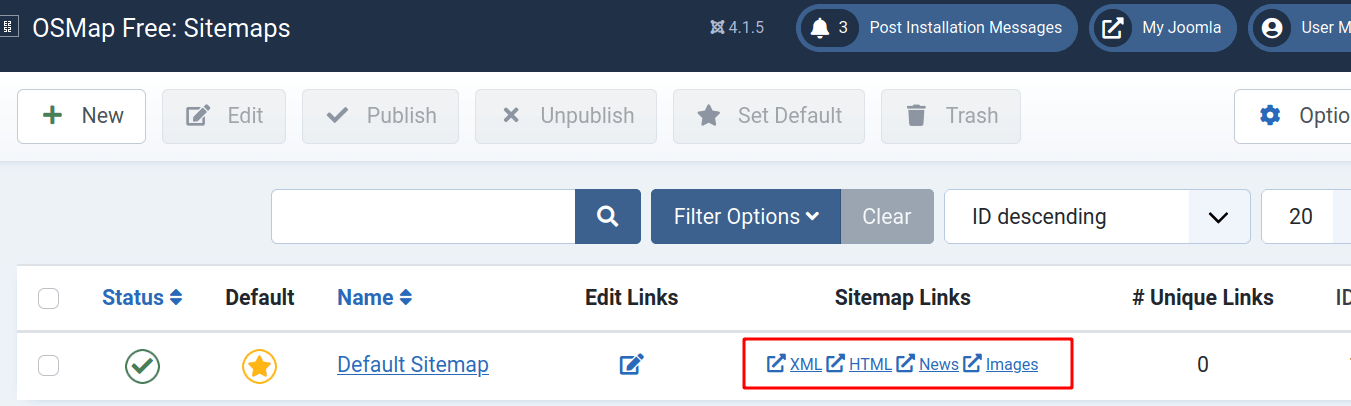
As you can see, there are four sitemap links:
- XML: This is the XML sitemap version. You need to submit it to Google.
- HTML: This is the HTML sitemap version. You need to display it to your visitors.
- News: This is the sitemap version for Google News.
- Images: This is the sitemap version to submit your images to Google.
Step #3. Display a sitemap on your website
- Go to Menus > Main menu > Add new menu item.
- Menu item type: OSMap > HTML sitemap
- Choose your sitemap.
- Click "Save & close".
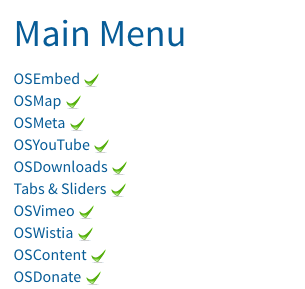
- Your HTML sitemap will look like the one displayed in the image below:

Step #4. Make sure all your content is accessible
If you can't find all your site's content on the sitemap, you should do two things.
- OSMap relies on menus to find your content. Make sure that all your content items are accessible via a menu. You do not have to make a direct link to your content, but you at least have to have a link to a category that contains the content items that you would like to display in your HTML sitemap.
- Check that you have a plugin for any extra components that you use. OSMap Free supports only Joomla content by default. K2, Virtuemart and other extensions are available in the Pro version. You can find plugins for other extensions from this list.
Step #5. Submit your XML sitemap to Google
Now would be a good time to submit the XML sitemap of your Joomla site to Google.
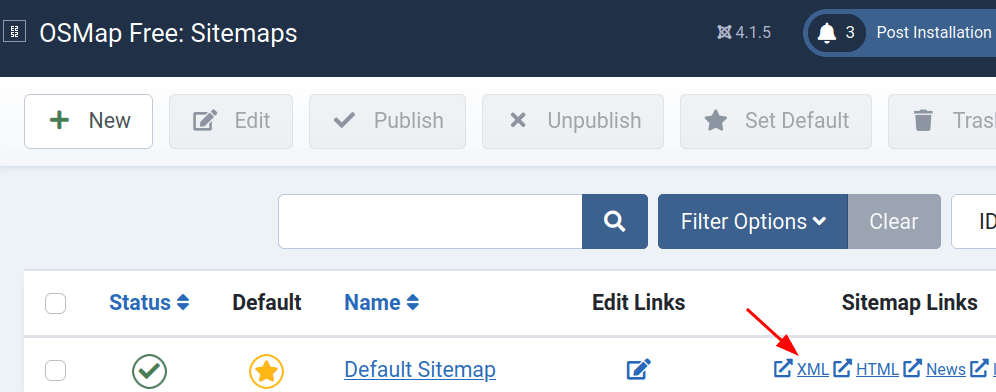
- Go to Components > OSMap.
- Click the "XML" link:
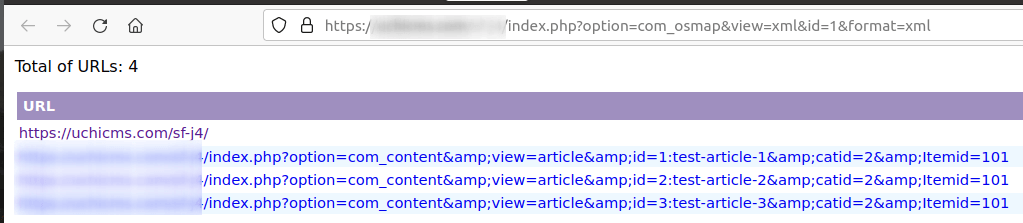
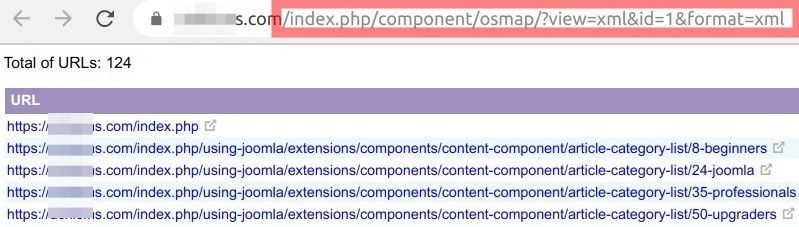
- The XML version of the sitemap will look like the image below. Copy the URL of the XML sitemap's page that starts from the forward slash after the domain name of your website:
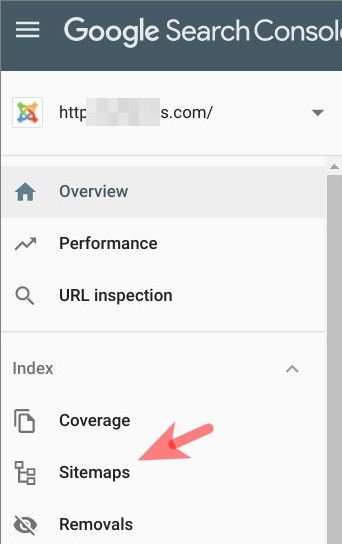
- Log in to Google Search Console.
- On your Search Console home page, select your site.
- In the left sidebar, click "Index" > "Sitemaps":
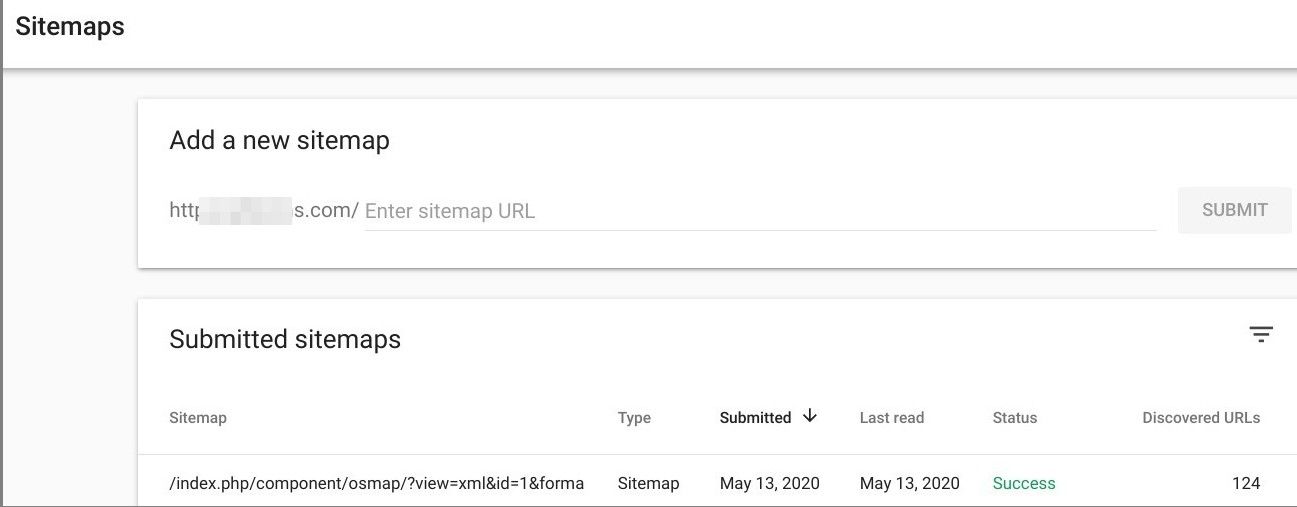
- This will bring you to the "Sitemaps" screen, as shown in the image below. Enter the URL of your XML sitemap after your site name:

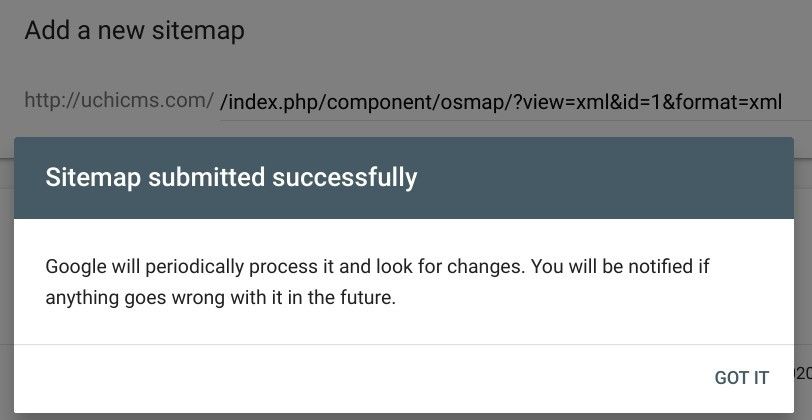
- Click the blue "SUBMIT" button. You will see the "Sitemap submitted successfully" box:
- Close this box. You will see the sitemap of your Joomla site correctly listed:
Documentation for Joomla 3
In this tutorial, we'll show you how to get started with OSMap.
Video introduction to OSMap
Step #1. Download and Install OSMap
You can download OSMap from this page.
Step #2. View the sitemap
By default, OSMap creates four sitemaps in Components > OSMap Free (or Pro). The image below shows them all:

As your can see, there are four sitemap links:
- XML: This is the XML sitemap version. You need to submit it to Google.
- HTML: This is the HTML sitemap version. You need to display it to your visitors.
- News: This is the sitemap version for Google News.
- Images: This is the sitemap version to submit your images to Google.
Step #3. Display a sitemap in your website
- Go to Menus > Main menu > Add new menu item.
- Menu item type: OSMap > HTML sitemap
- Choose your sitemap.
- Click "Save & close".
- Your HTML sitemap will look like the one displayed in the image below:
Step #4. Make sure all your content is accessible
If you can't find all your site's content on the sitemap, you should do two things.
- OSMap relies on menus to find your content. Make sure that all your content items are accessible via a menu. You do not have to make a direct link to your content, but you at least have to have a link to a category that contains the content items that you would like to display in your HTML sitemap.
- Check that you have a plugin for any extra components that you use. OSMap Free supports only Joomla content by default. K2, Virtuemart and other extensions are available in the Pro version. You can find plugins for other extensions from this list.
Step #5. Submit your XML sitemap to Google
Now would be a good time to submit the XML sitemap of your Joomla site to Google.
- Go to Components > OSMap.
- Click the "XML" link:

- The XML version of the sitemap will look like the image below. Copy the URL of the XML sitemap's page that starts from the forward slash after the domain name of your website:
- Log in to Google Search Console.
- On your Search Console home page, select your site.
- In the left sidebar, click "Index" > "Sitemaps":
- This will bring you to the "Sitemaps" screen, as shown in the image below. Enter the URL of your XML sitemap after your site name:
- Click the blue "SUBMIT" button. You will see the "Sitemap submitted successfully" box:
- Close this box. You will see the sitemap of your Joomla site correctly listed: