Documentation for Joomla 6
Joomla 6 map directory extension Shack Locations has a built-in "Getting Started wizard" to help you create your first map directory.
In this tutorial, you will walk through those required steps.
Step #1. Obtain your Google Maps JavaScrpt API Key
The Shack Locations component works in integration with the Google Maps service. For this integration to take place, you will need to obtain a Google Maps JavaScript API Key.
Follow the instructions in our "How to Get Google Maps JavaScript API Key" document to obtain your Google Maps API Key.
Step #2. Set your Google Maps JavaScript API Key
- In your Joomla 6 dashboard, go to Components > Shack Locations Free (or Pro) > Maps
- You will see a graphical prompt to click on the Options button:
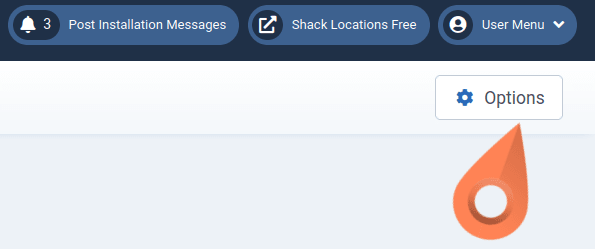
- In the top right corner of the page, click Options.
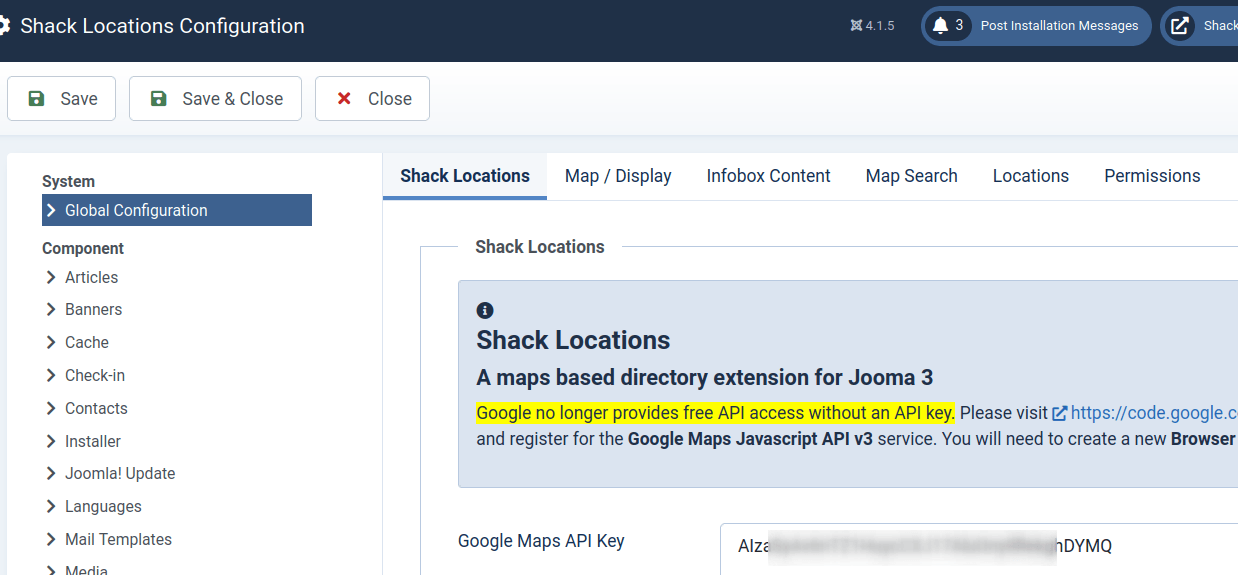
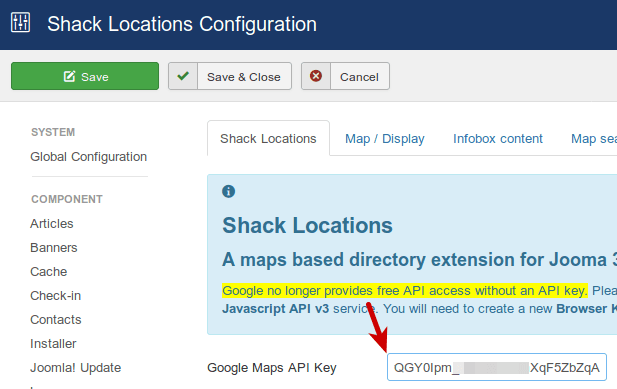
- You will be presented with the Shack Locations Configuration screen. Enter your Google Maps JavaScript API Key into the Google Maps API Key field:
- Click Save & Close.
Excellent! You are now all set to start creating your first directory of locations, or a map directory.
Step #3. Create a map
Just as Joomla articles need to be assigned to a category, your locations need to be assigned to a map.
- Go once again to Components > Shack Locations Free (or Pro) > Maps
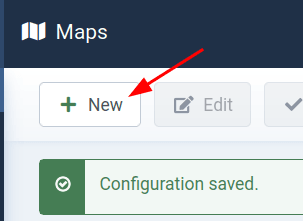
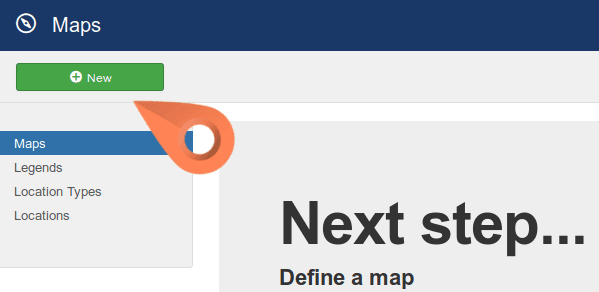
- In the top left corner, click the New button to create your first map:
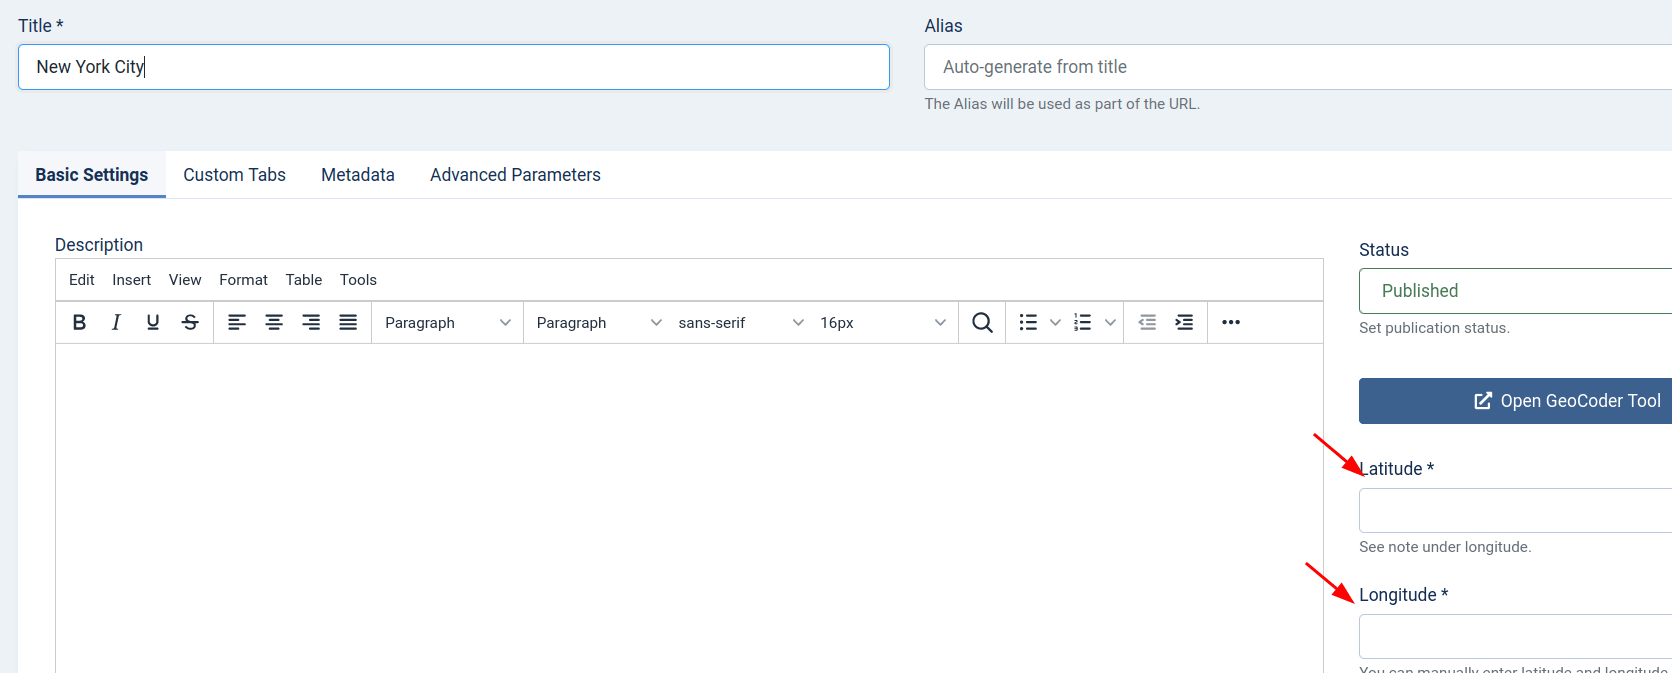
- Give your map a title in the Title field.
- Optionally, enter its description in the Description field.
- Enter the latitude and longitude of your map central point in the corresponding fields:
- Click Save & Close.
Step #4. Add at least one legend
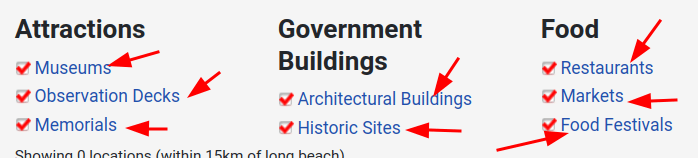
The legend is the container for your location types.
All you need to do is define a title and an optional subtitle.
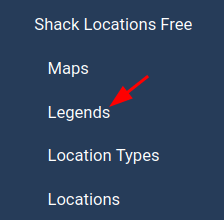
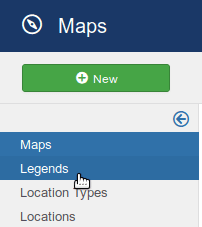
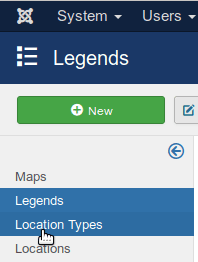
- On the left navigation bar, click Legends:
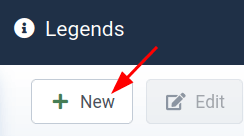
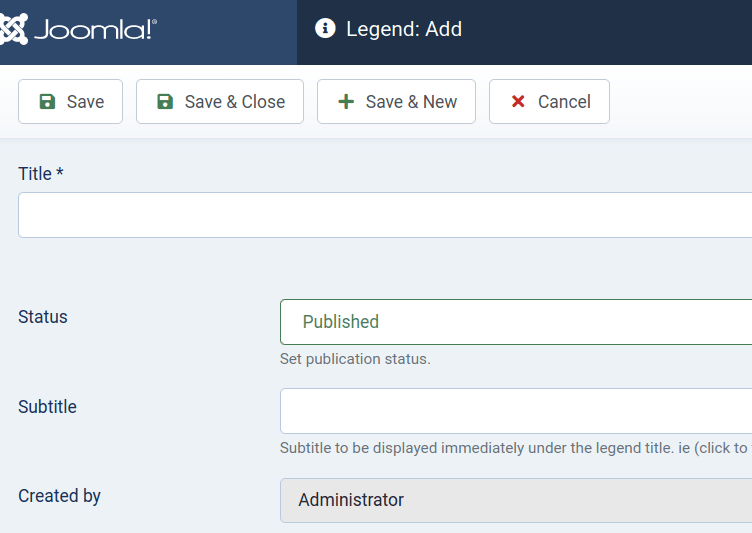
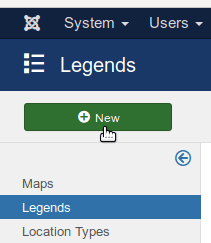
- You will be taken to the Legends administrative page. Click New.
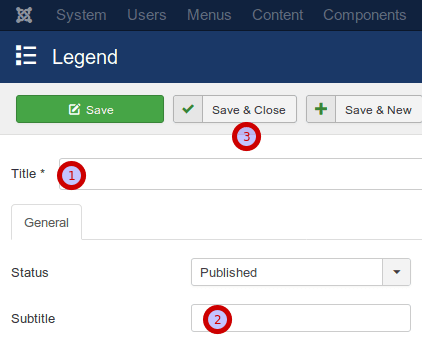
- Enter the required title into the Title field.
- Optionally, enter a subtitle into the Subtitle field.
- Click Save & Close.
- Repeat this step to create the rest of the required legends.
Step #5. Create unique location types
In this step, you create a location type with a unique name and define the legend it displays.
Additionally, you can specify extra fields for different types of locations.
For example, 'Accommodation' types could contain a field for an email address. 'Sporting venues' could have additional fields for opening and closing times. It's all up to you how you set it up.
- On the left navigation bar, click Location Types.
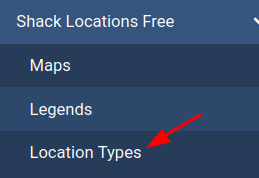
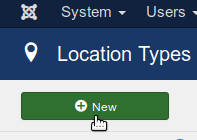
- You will be taken to the Location Types administrative screen. In the top left corner of the screen, click New.

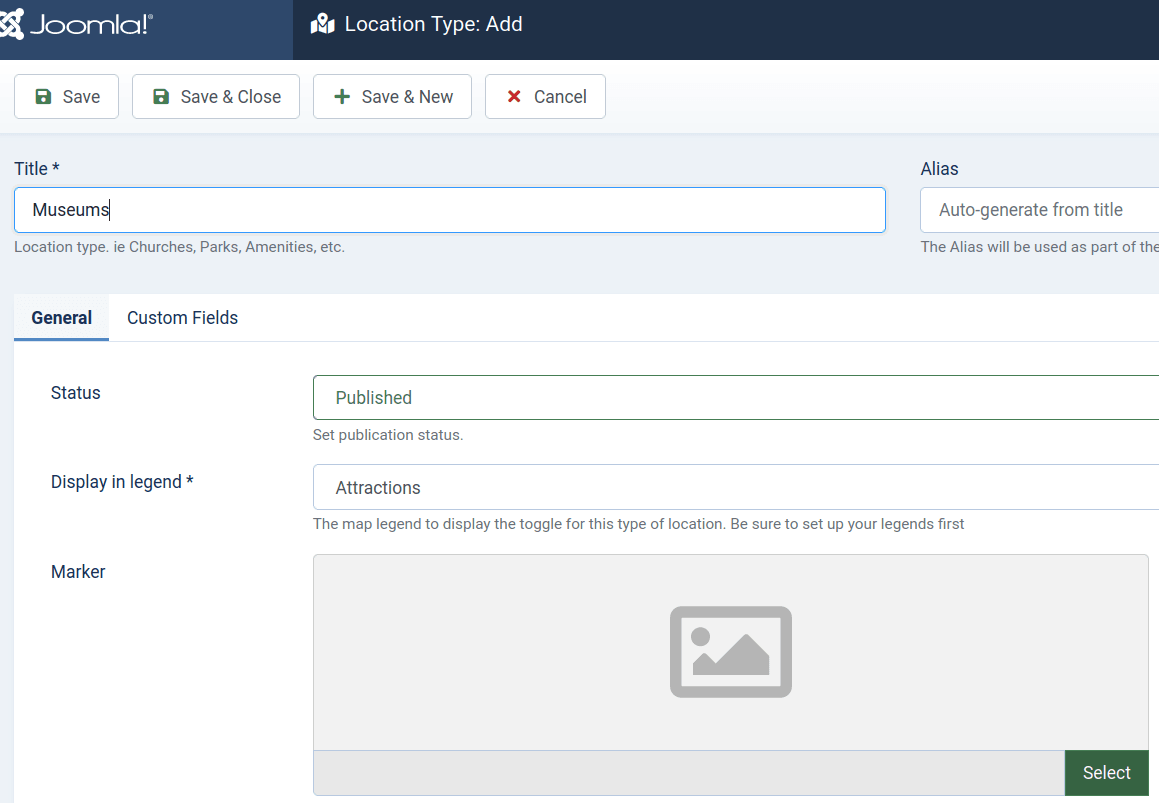
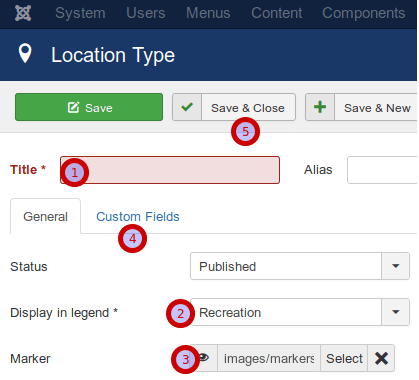
- Enter a mandatory title into the Title field.
- In the required Display in legend field, select a map legend to display with this location type.
- In the optional Marker field, set a marker image for this location type.
- Optionally, set a custom field or fields under the Custom Fields tab.
- Click Save & Close.
- Repeat this step to create the rest of the required location types.
Step #6. Create your map locations
In this last step, you get to add locations to your map directory, choose pins and enter your content.
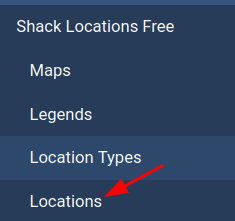
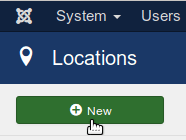
- On the left navigation bar, click Locations.
- On the next screen, click New.
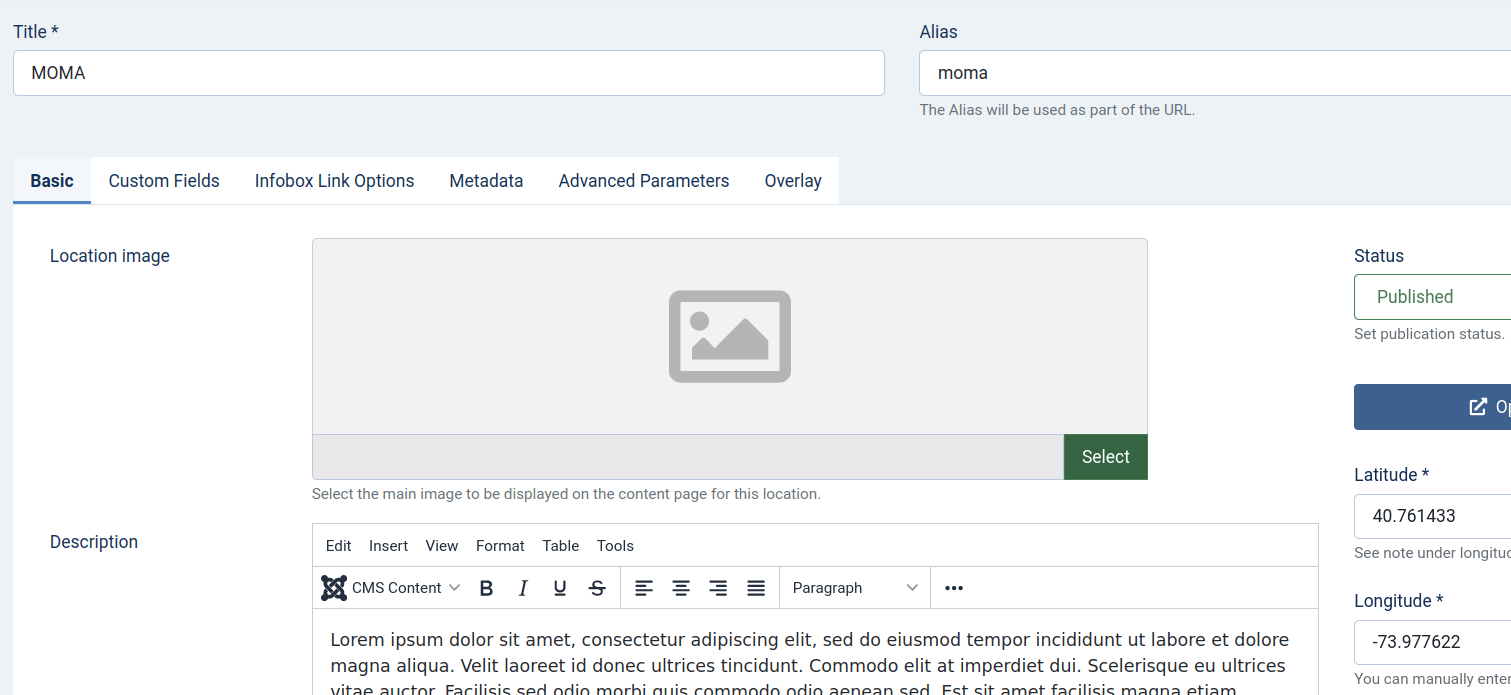
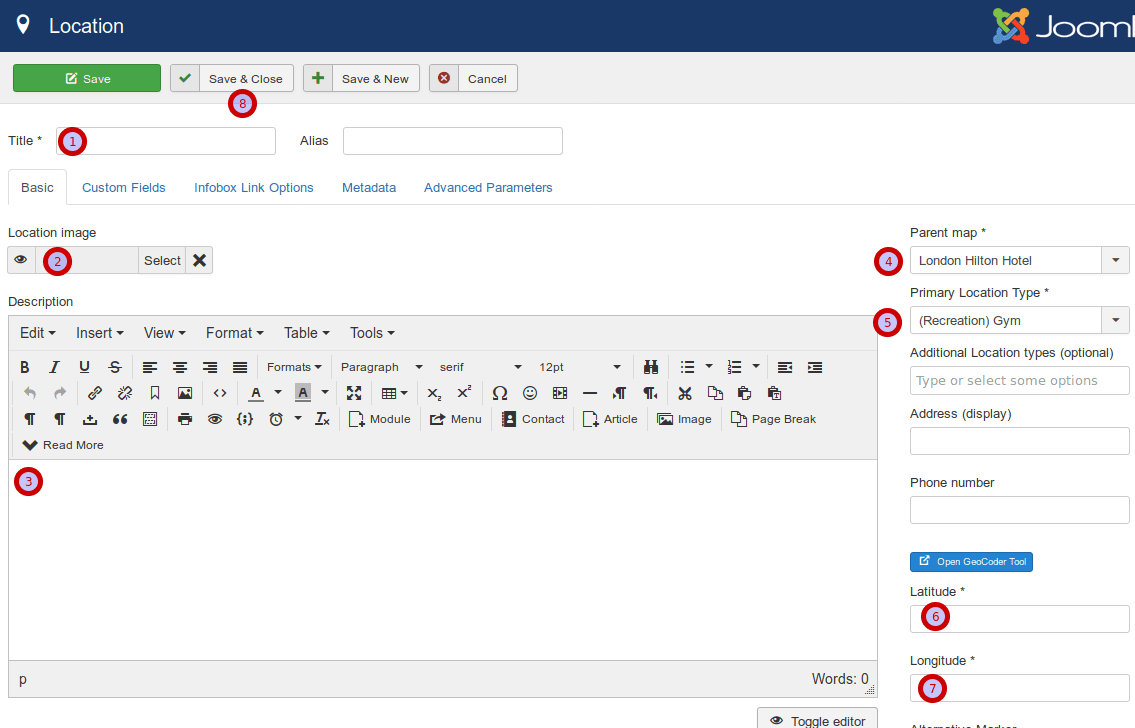
- Enter your location title into the Title field.
- Optionally, set the location image in the Location image field.
- Optionally, enter the location description into the Description text area.
- Select the location parent map from the Parent Map field.
- Select the location primary location type from the Primary Location Type field.
- Enter the location latitude into the Latitude field.
- Enter the location longitude into the Longitude field.
- Click Save & Close.
- Repeat this step to create the rest of the required locations.
Excellent! Your map directory is now ready to be shown to the world. Your final step is to make a menu link.
Step #7. Create a menu link
- Go to the "Menus" area.
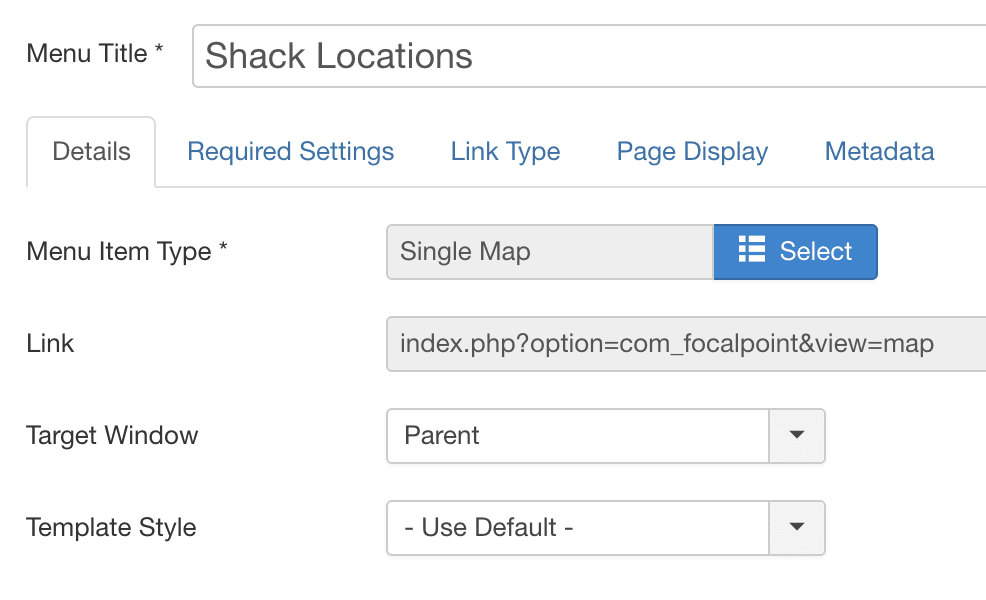
- Click the "New" button.
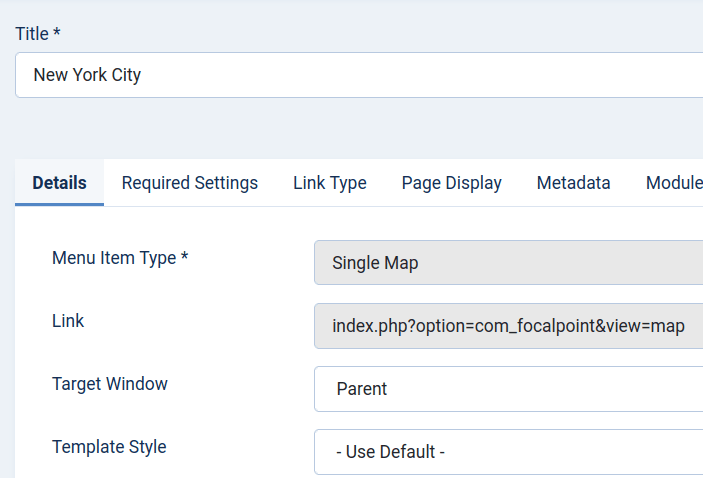
- Choose the "Single Map" option.
- On the "Required Settings" tab, choose your map.
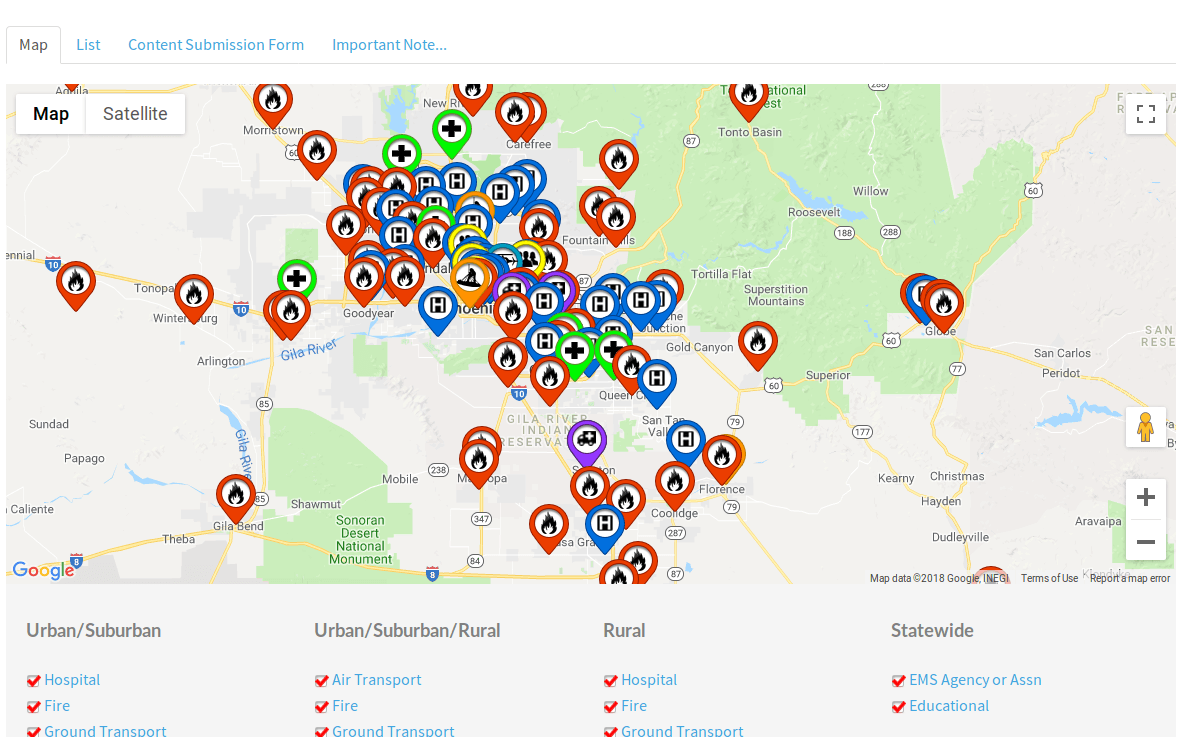
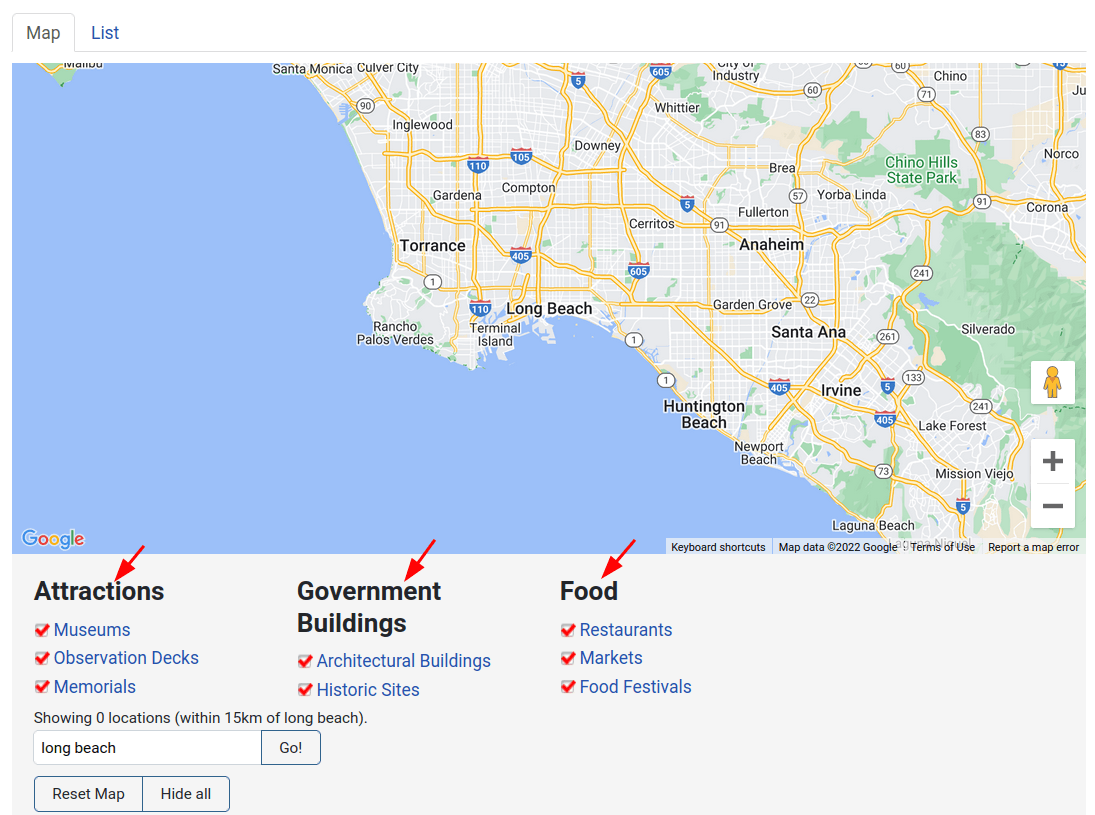
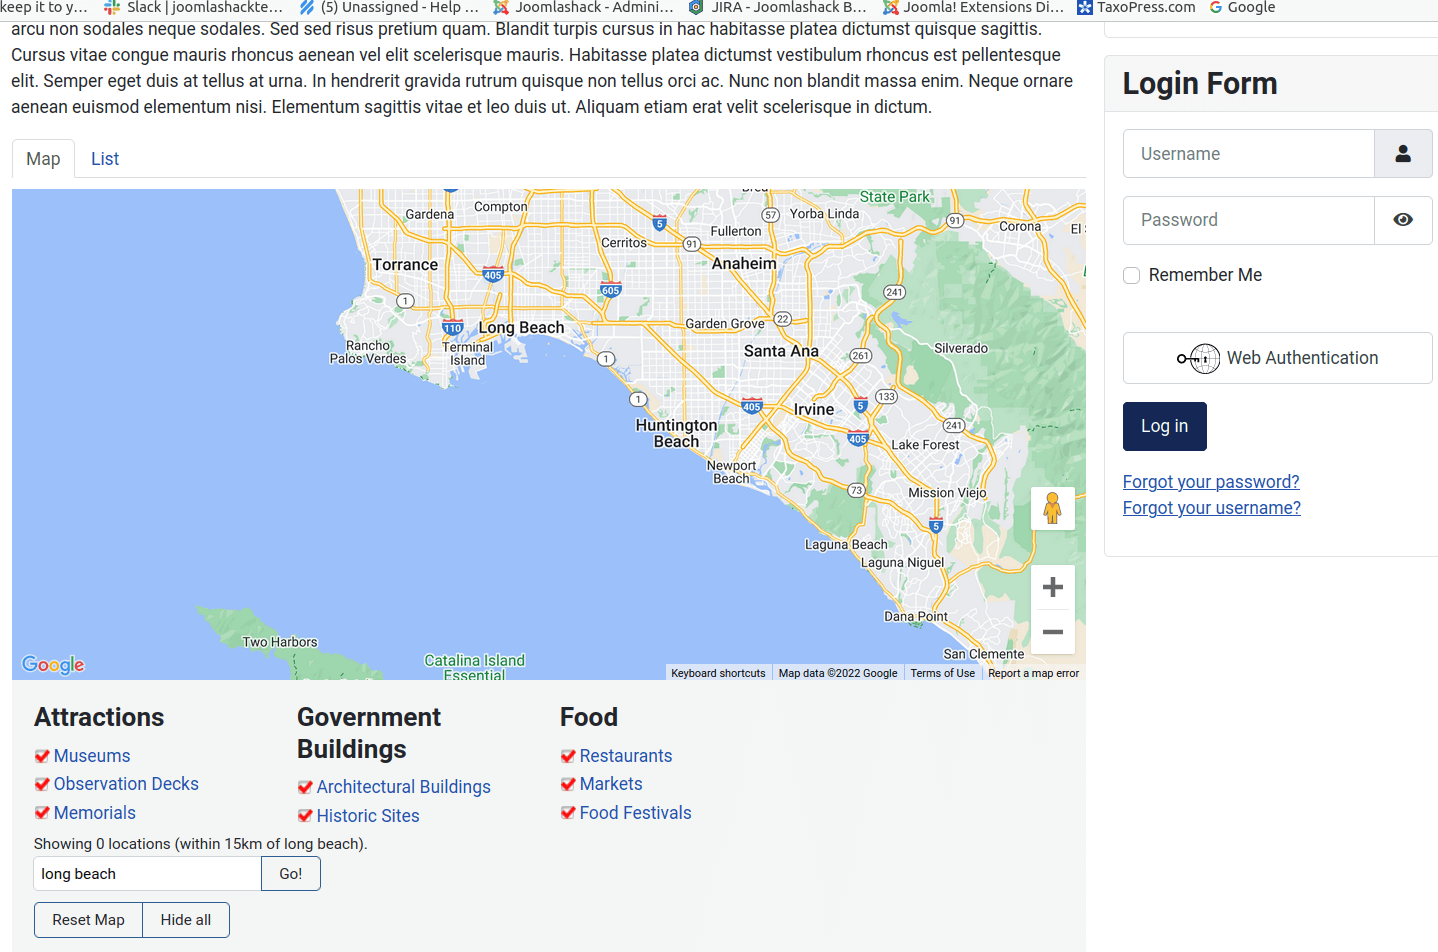
- Visit the front of your website.
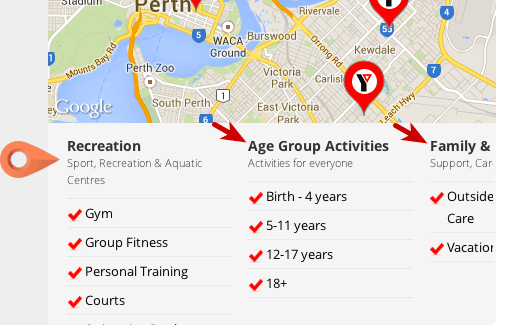
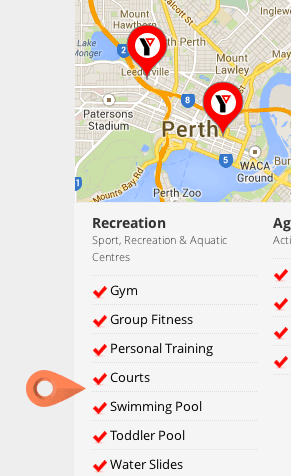
- Click your new menu link and you'll be able to see your map:
Documentation for Joomla 3
Shack Locations has a built-in "Getting Started wizard" to help you create your first map directory.
In this tutorial, you will walk through those required steps.
Step #1. Obtain your Google Maps JavaScript API Key
The Shack Locations component works in integration with the Google Maps service. For this integration to take place, you will need to obtain a Google Maps Javascript API Key.
Follow the instructions in our "How to Get Google Maps JavaScript API Key" document to obtain your Google Maps JavaScript API Key.
Step #2. Set your Google Maps API Key
When you open the Shack Locations component for the very first time, you will see a graphical prompt to click on the Options button:
- In the top right corner of the page, click Options.
You will be presented with the Shack Locations Configuration screen.
- Enter your Google Maps API Key into the Google Maps API Key field.
- Click Save & Close.
Excellent! You are now all set to start creating your first directory of locations, or a map directory.
Step #3. Create a map
Just as Joomla articles need to be assigned to a category, your locations need to be assigned to a map.
- In the top left corner, click the New button to create your first map:
- Give your map a title in the Title field.
- Optionally, enter its description in the Description field.
- Enter latitude and longitude of your map central point in the corresponding fields:

- Click Save & Close.
Step #4. Add at least one legend
The legend is the container for your location types.
All you need to do is define a title and an optional subtitle.
- On the left navigation bar, click Legends:
You will be taken to the Legend administrative page.
- Click New.
- Enter required title into the Title field.
- Optionally, enter a subtitle into the Subtitle field.
- Click Save & Close.
- Repeat this step to create the rest of the required legends.
Step #5. Create unique location types
This is the fun part. Create a location type with a unique name and define the legend it displays in.
Additionally, you can specify extra fields for different types of locations.
For example, 'Accommodation' types could contain a field for an email address. 'Sporting venues' could have additional fields for opening and closing times. It's all up to you how you set it up.
- On the left navigation bar, click Location Types.
You will be taken to the Location Types administrative screen.
- In the top left corner of the screen, click New.
- Enter manditory title into the Title field.
- In the Display in legend field, select a map legend to display with this location type.
- In the Marker field, set a marker image for this location type.
- If required, set a custom field under the Custom Fields tab.
- Click Save & Close.
- Repeat this step to create the rest of the required location types.
Step #6. Create your map locations
In this last step, you get to add locations to your map, choose pins and enter your content.
- On the left navigation bar, click Locations.

- On the next screen, click New.
- Enter your location title into the Title field.
- Optionally, set the location image in the Location image field.
- Optionally, enter the location description into the Description text area.
- Select the location parent map from the Parent Map field.
- Select the location pramary location type from the Primary Location Type field.
- Enter the location latitude into the Latitude field.
- Enter the location longitude into the Longitude field.
- Click Save & Close.
- Repeat this step to create the rest of the required locations.
Excellent! Your map directory is now ready to be shown to the world. Your final step is to make a menu link.
Step #7. Create a menu link
- Go to the "Menus" area.
- Click the "New" button.
- Choose the "Single Map" option.
- Under "Required Settings", choose your map.
- Visit the front of your website.
- Click your new menu link and you'll be able to see your map: