To follow this guide, you will need a Recurly.com account, plus Simple Renew installed on your Joomla site.
Step #1. Add your API Keys
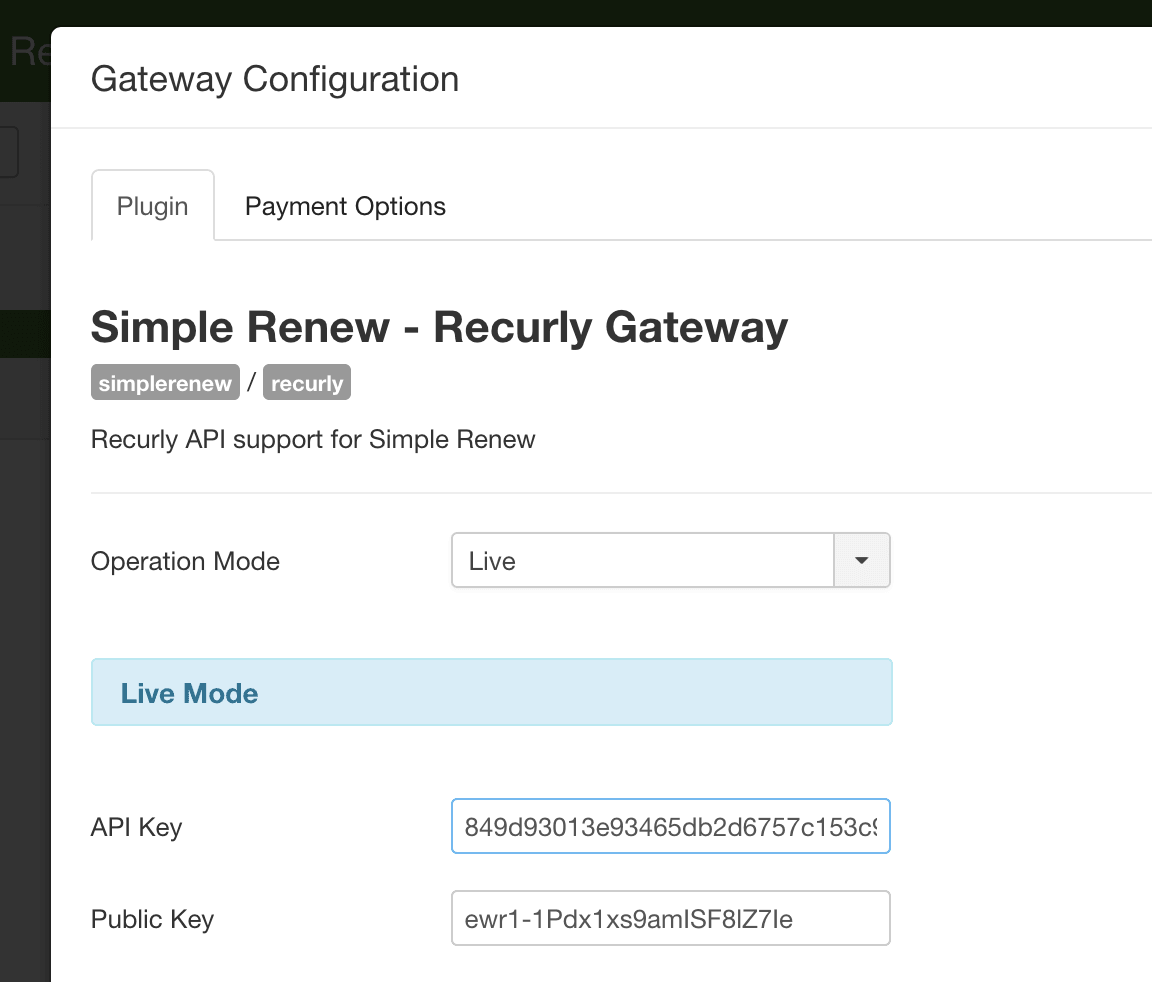
- Go to Components > Simple Renew Pro > Gateways.
- There will be a Recurly option. Here you can enter your Recurly keys.
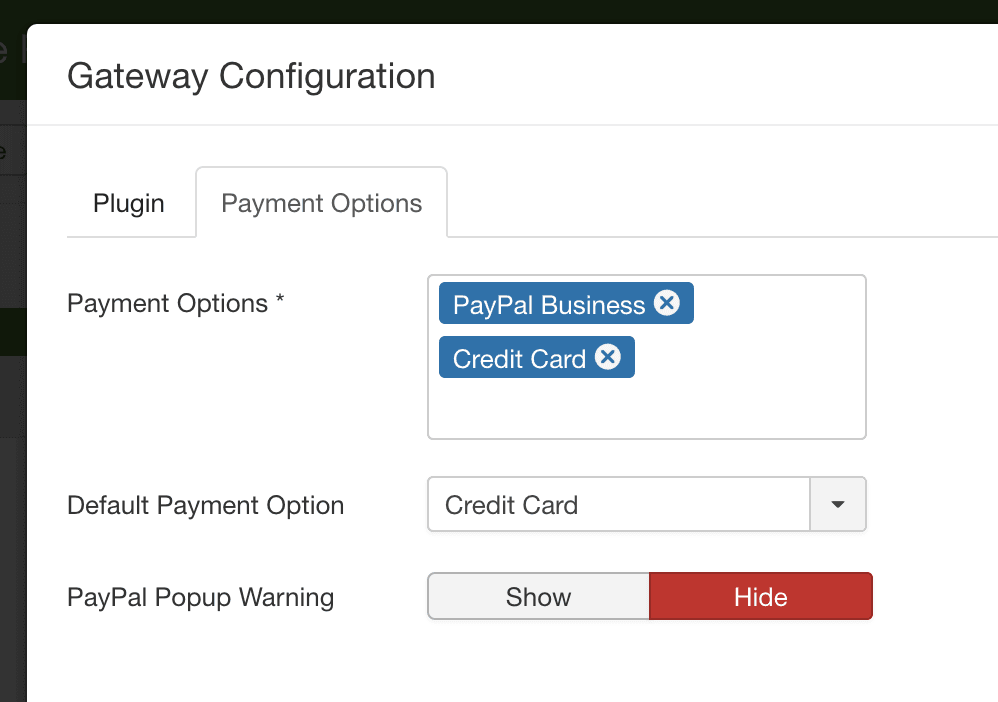
- Click the "Payment Options" tab and you can configure settings for your integration:
Step #2. Add Your Webhook to Recurly
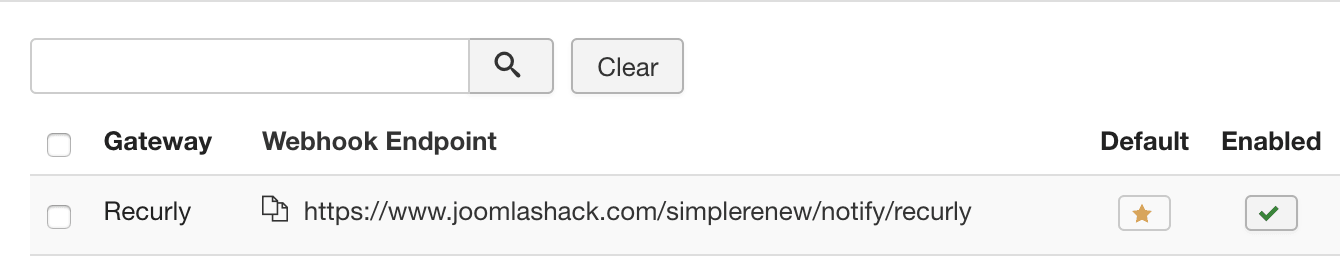
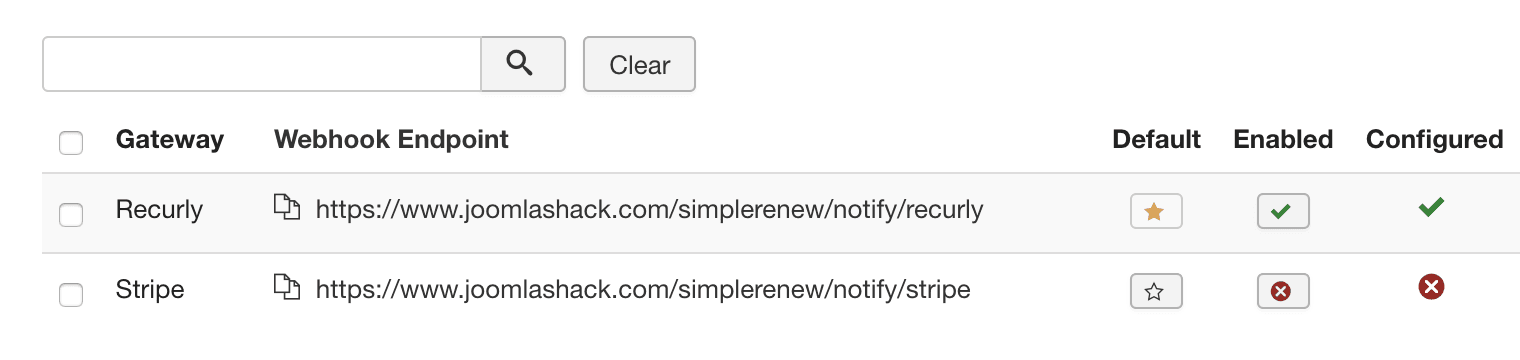
- After you save your Recurly gateway, Simple Renew will show you a webhook. Copy this URL.
- Go to your Recurly account.
- Go to "Integrations", then "Webhooks".
- Click "New Endpoint".
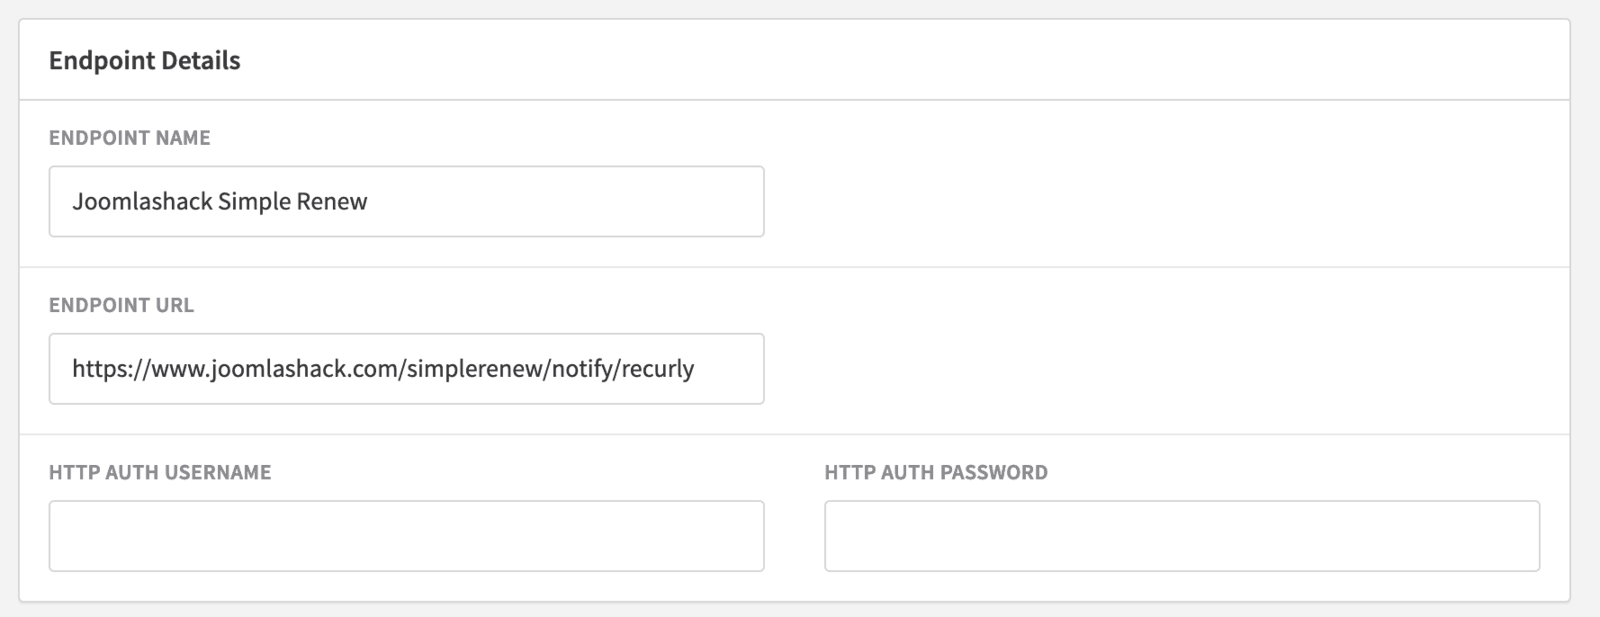
- Give a name to this webhook in the "Endpoint Name" field.
- Enter your webhook URL in the "Endpoint URL" field.
- Back in your Joomla site, go to Components > Simple Renew Pro > Gateways.
- You should see that your Recurly gateway is marked as "Configured".
Step 3. Configure Simple Renew
- Once you've added those two keys and the webhook, you can go to the "Plans" screen and set up subscription plans.

This next image shows an example plan. The subscription gives the user access to a particular user group: "Shack Error Notify". When someone subscribes to this plan, they will have their payment collected by Recurly. They will also get a Joomla account in the "Shack Error Notify" role.
