We recently published a detailed round-up of the best, general Joomla ACL tutorials.
Here's a specific ACL tutorial requested by one of our students. She wanted to know how to allow a single individual to be able to create and modify articles in only single category, so we created this tutorial for her.
Create the User Group
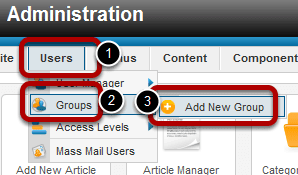
- Go to Users >> Groups >> Add New Group
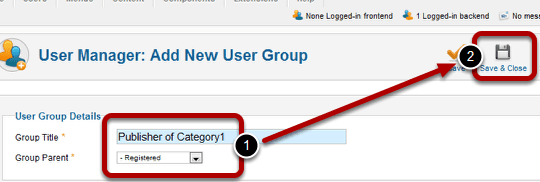
- Enter your Group Title >> and select Group Parent as Registered >> and then Save & Close.
Why did I chose Registered? Here's an explanation:
First, I want to mention that there isn't only one "right" answer. It's similar to asking, "How do you get to such and such a place?" There can be multiple ways to get to a destination. However, there is a way that is generally quicker and more efficient and for example, using "Registered" seems to be the quickest.
The initial inclination is to choose "Publisher" since the person needs to be able to create, edit, and publish new content within the category and since a publisher can do that, the thinking is, "Why not make them a sub-group of Publisher"? The reason that is not a good idea is that a Publisher can edit all content in all categories and since the new group would be a subgroup of Publisher (if Publisher is chosen) then it would inherit the Publishers access levels. You would then have to either modify publisher or change the access levels of numerous categories instead of just one.
Using Registered restricts, by default, access to all categories and thus we only have to modify one category and give access to that group. That's it. In the follow steps we'll do just that.
Access the Category and Set its Permissions
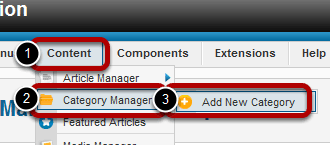
- Go to Content >> Category Manager.
- If you have already created your category then find your category. If you haven't created the category yet then add a new category (and fill in the basic information).
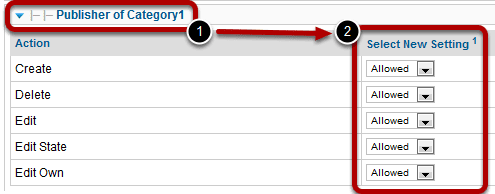
- Go to the bottom of the category. Select the User Group that you created in the first step. That will display all the actions and the respective settings for the actions.
- Adjust the settings to your liking.

- Save & Close.
Assign Users to the User Group
The last step is to assign specific users to the User Group.
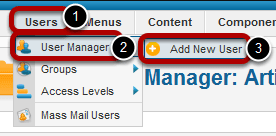
- Go to Users >> User Manager.
- If you have created your user already then find your user. If you haven't created the user yet then add a new user (and fill in the basic information).
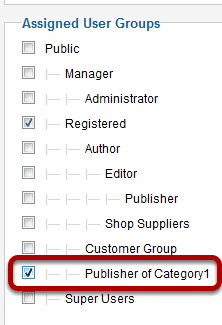
- Assign that User to the User Group that you created earlier.
That's it, you're done! Congrats! All that's left is to Save & Close and test the front-end to make sure you did things correctly.