We've had a few customers recently asking us how to duplicate their live Joomla site. They wanted to create a clone of their main Joomla site for testing purposes.
Creating such a test site is a four-step process:
- Install Akeeba Backup on your live Joomla site.
- Configure your Akeeba Backup extension.
- Create a .JPA file with a compressed copy of your live Joomla site with Akeeba Backup.
- Use this .JPA file to install the copy of your live site.
Step #1. Install Akeeba Backup
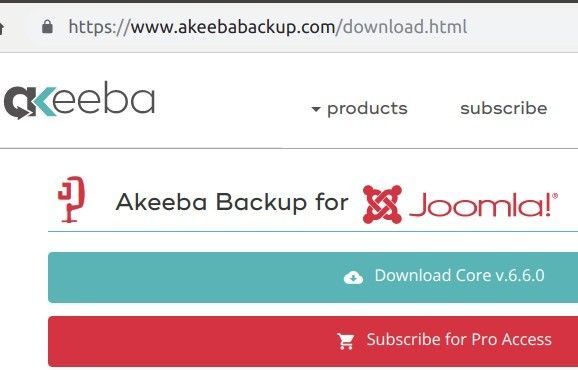
- Download the Akeeba Backup component. Make sure you get the latest release.
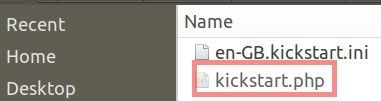
- Download the "Kickstart Core" utility, making sure you get the latest release. Unpack the downloaded ZIP file. Take notice of the kickstart.php file. You will need it in the last step of this tutorial:
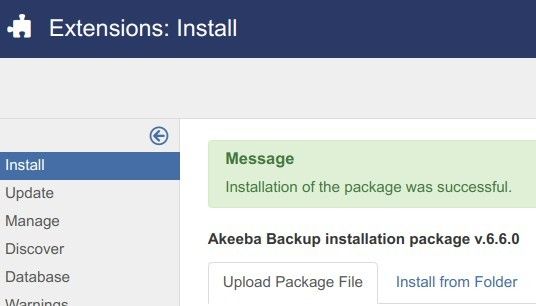
- In the administration area of your live Joomla site, go to "Extensions" > "Manage" and upload the Akeeba Backup Core or Pro for Joomla.
Step #2. Configure Akeeba Backup
- Once the installation is over, go to "Components" > "Akeeba Backup".
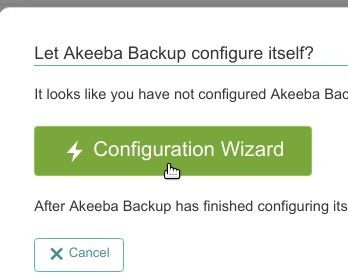
- You will see a pop-up asking you: "Let Akeeba Backup configure itself?". Click on the "Configuration Wizard" button to let your Akeeba Backup configure itself:
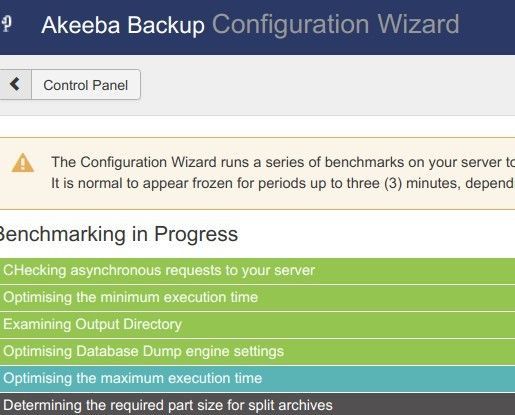
- For a few seconds you will be seeing the screen with benchmarking process in progress:
- Once the benchmarking process is over, you will see the "Finished Benchmarking" message:
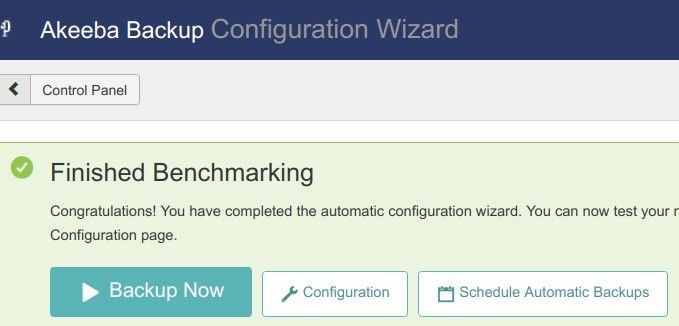
Excellent! At this point, your Akeeba Backup Joomla extension is ready to create a copy of your live Joomla site.
Step #3. Create a .JPA file with a copy of your site
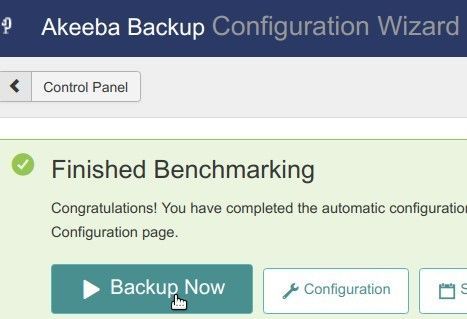
- On your "Configuration Wizard" screen, click "Backup Now":
- You will see the "Backup Now" screen with the "Start a new backup" section. Click "Backup Now!" button to create a backup copy of your live Joomla site:

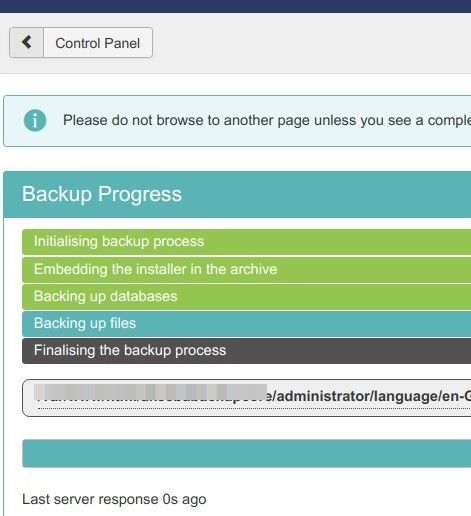
- Depending on the size of your live Joomla site, for a few seconds you will see a backup activity on your screen:
- Once this activity is over, you should see the "Backup Successfully Finished" message:
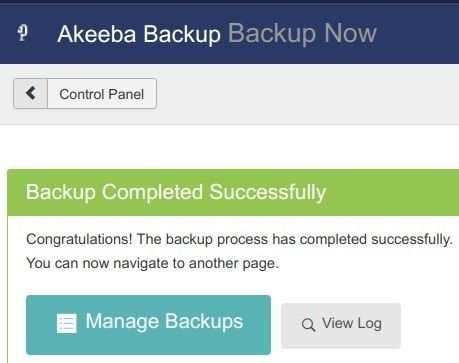
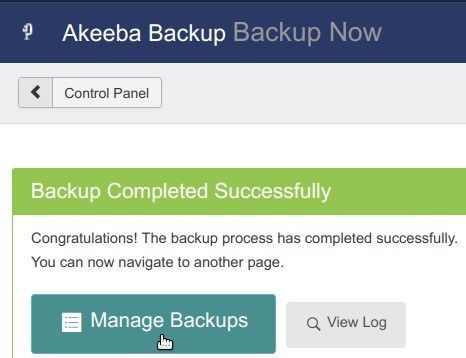
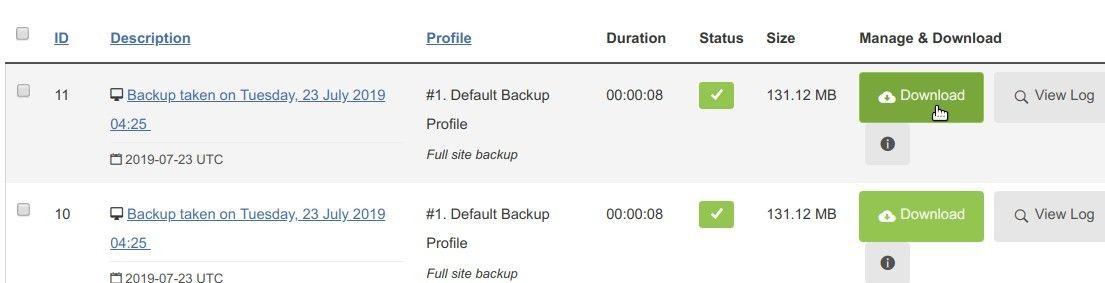
- Click "Manage Backups":
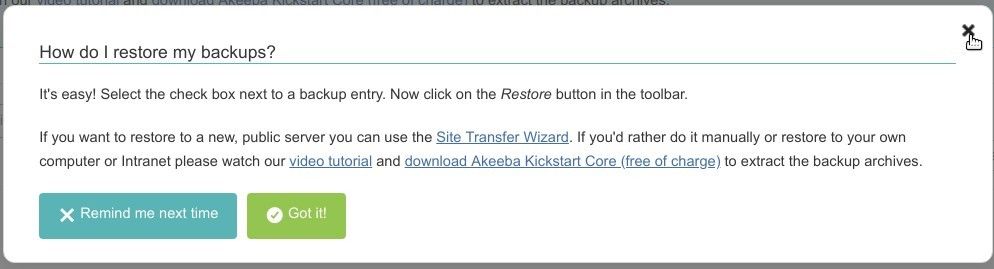
- You will see the popup box asking you, "How do I restore my backups?". Close it:
- You will be taken to the "Manage Backups" screen. Locate the record of your backup, click its "Download" button and save the backup file on your hard drive:
Wonderfull! On your hard drive, you now have a copy of your live Joomla site.
This is a good time to move this copy to your remote host.
Step #4. Use the .JPA file to install a copy of your site
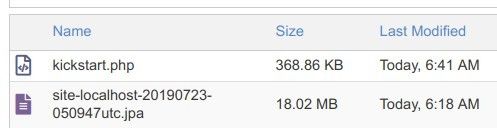
- In your hosting control panel, upload the copy of your live Joomla site to the required folder. It could be your public_html folder. For my tutorial, I uploaded the copy of my live Joomla site to public_html/demo:

- Upload the kickstart.php file into the same folder. You should now see there two files:
- Create a new database using phpMyAdmin or the tool provided by your host. This new database will be used for the duplicate of your live site. It will be populated with data from your livehost backup. Make note of the hostname, username/password and database name for further steps.
- Navigate in your browser to https://backup_directory/kickstart.php. The backup_directory here is the directory your backup file is located
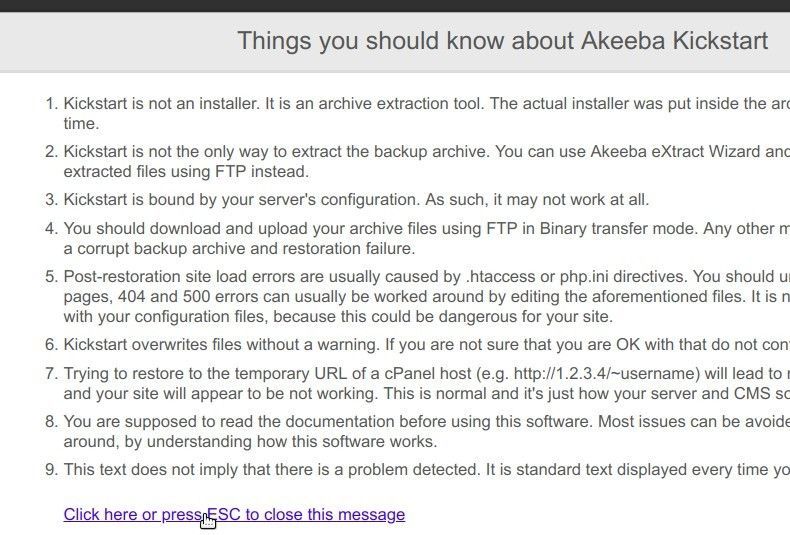
- You will see the "Things you should know about Akeeba Kickstart" screen. Click on the link at the bottom of the screen:
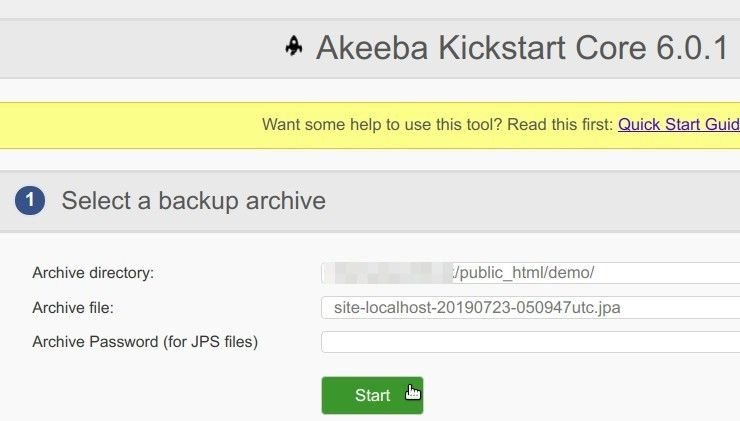
- Click "Start":
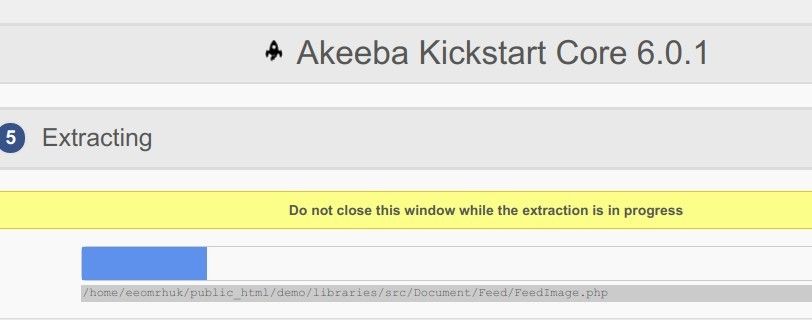
- You will see the extracting in progress:
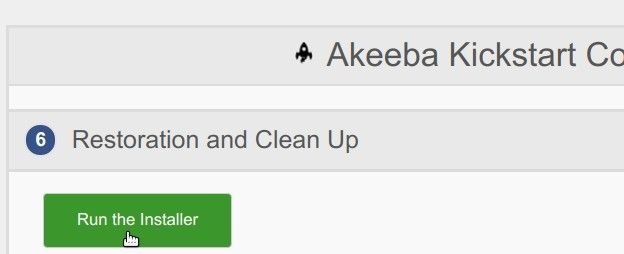
- Once extracting is over, you will see the "Restoration and Clean Up" screen. Click "Start the Installer":
- You will be taken to the "Akeeba Backup Site Restoration Script" screen. In the top left corner, click "Next":

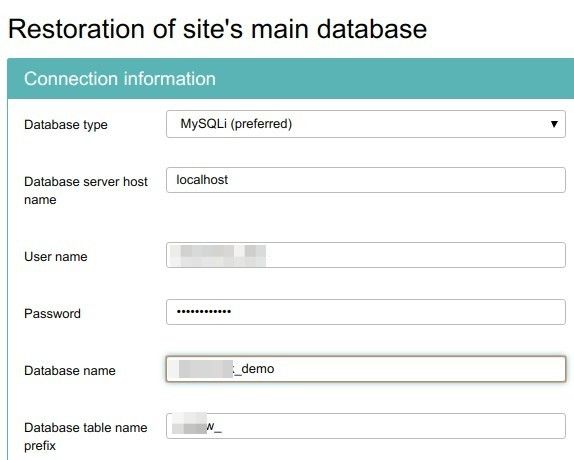
- Type in your database information in the "Connection information" box and click on the "Next" button.
- After a short period, you should see "The database restoration was successful" message. Click "Next step":

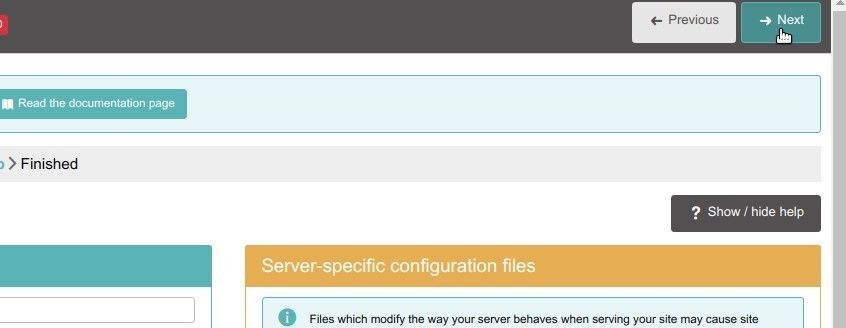
- On the next screen, click "Next" in the top right corner:
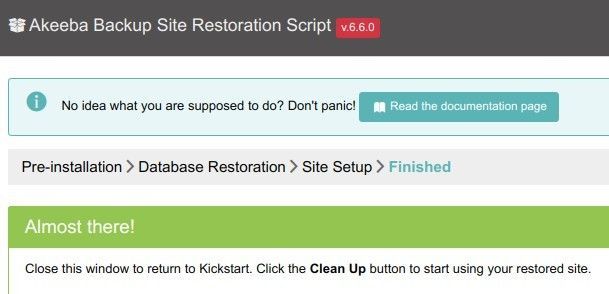
- You should arrive to the screen with the "Almost there!" message. It instructs you to "Close this window to return to Kickstart. Click the Clean Up button to start using your restored site.":
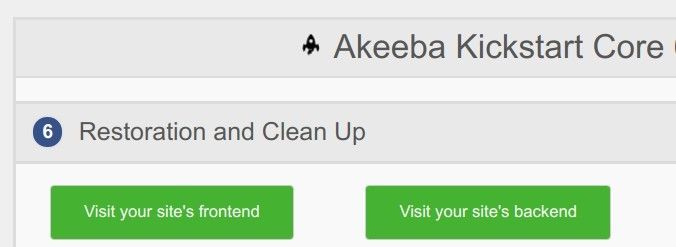
- Close the window and click on the "Clean Up" button. The restoration process should now be completed. You will see two green buttons for access to the remote copy of your live site:
There you have it. You now know how to move a copy of your live Joomla site to a remote host.
Additional Reading
- Upload Your Site Backups to Google Drive Automatically with Akeeba Backup
- How to Install a Joomlashack Template Demo Site with Akeeba Kickstart
- How to Move a Joomla Site from Local to Live Server
- Harden the Security of Your Backups Created with Akeeba Backup
- Beginners Guide to Akeeba Backup Pro Remote Quota Management.
What's Next?
Save $1000's when you sign up to Joomlashack's Everything Club.
You will get access to all our 32 extensions, templates, and Joomla training.