
Are you thinking about creating an email list for your Joomla site visitors but don't know how to? There are two ways of creating email lists with Shack Forms, in no particular order:
- Create a sign-up form for your Mailchimp email lists.
- Create a sign-up form for your AcyMailing email lists.
In this blog post, I will give you a guided tour of each of these three options.
Creating a sign-up form for your email lists using Shack Forms gives you a few significant benefits.
- Your sign-up form will have all of the cool effects and design themes offered by Shack Forms! For example, you may want to add an icon to your sign-up form. Or you may want to add a cool image to your sign-up form background.
- You will be able to further direct the form sender to any page on your Joomla site. Let's say, you may want to direct them to a Thank You page. Or you may wish to direct them to a page deeper into your customer funnel.
- You will be able to automatically store submitted data in your Google Sheets document. Integrate your sign-up form with Google Sheets and use all the power and flexibility of Google spreadsheets to store and analyze use submitted data.
- You will be able to track your sign-up form performance and analyze it in Google Analytics.
Option #1. Use Shack Forms to create email lists at Mailchimp
Mailchimp is one of the most user-friendly email marketing service providers. We use it ourselves here at Joomlashack.com.
Let's assume, you would like to use Shack Forms to create a Mailchimp email list sign-up form with three fields:
- First Name.
- Last Name.
- Email Address:
You would like the form to be displayed in a lightbox. You would like it to be displayed when a visitor of your Homepage tries to exit the page.
For your Shack Forms module to work with your Mailchimp account, you will need to authenticate your site's domain name in Mailchimp.
This authentication is a three-step process:
- Under your site control panel, create an email account.
- Configure your desktop or tablet or mobile email client to receive emails sent to this email address.
- Verify this email address in your Mailchimp account.
At the end of this process, you should see "Domain successfully verified!" message from your Mailchimp account.
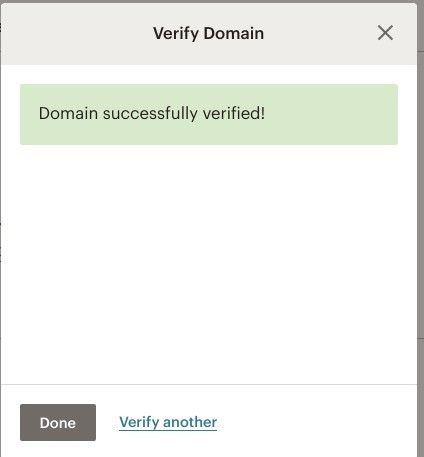
Excellent! You just verified your Joomla site domain name in Mailchimp. You are now ready to connect your Shack Forms sign-up form to Mailchimp.
Your Shack Form integration with Mailchimp starts from connecting the form with your Mailchimp account.
You will do this by setting your Mailchimp API key in your Shack Form.
You will find your Mailchimp API key under your Mailchimp Profile page > Extras > API keys, as you can see on my image below: 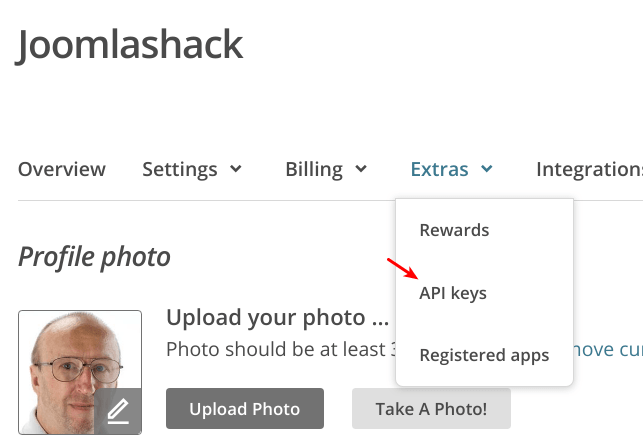
Once you copied your Mailchimp API key, it would be a good time to let your Shack Form know about it.
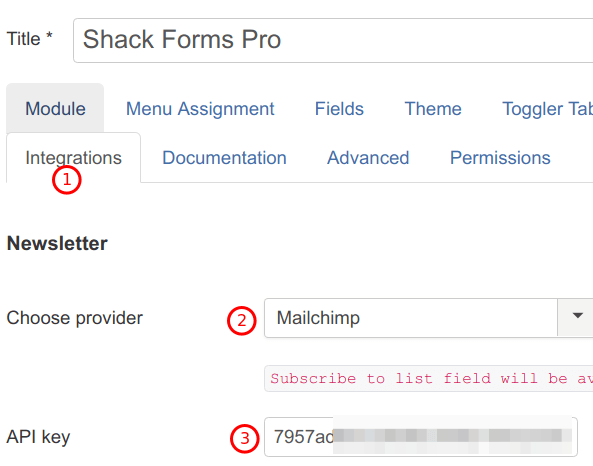
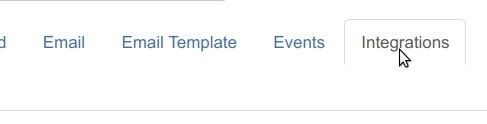
You would do this under the "Integrations" tab. You will select the Mailchimp from the Choose provider field and copy your Mailchimp API key into the API key field:
Once you click "Save", you will see the Subscribe to lists field:
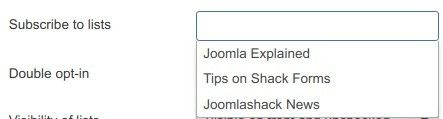
Here you can select to what Mailchimp list your Joomla site visitors will be able to sign. As you can see on the image below, for my purposes, I selected all three of my dummy lists:

I also clicked Yes for the Double Opt-in parameter:

And I clicked Visible on front and unchecked for the Visibility of lists setting:
That's it. You can click "Save" or "Save & Close" now.
Good job! Your Shack Form is now connected to your Mailchimp account. Next, you will want to configure on what pages and how you wish to display your Mailchimp sign-up form.
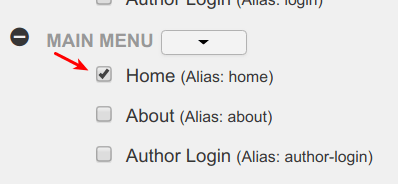
For the purpose of my tutorial, I assigned the form's module to the Homepage:
I also opted to display the form as a lightbox, flying out when the visitor tries to leave the page:

Visit your site and fill in the form with some dummy data and existing email address.
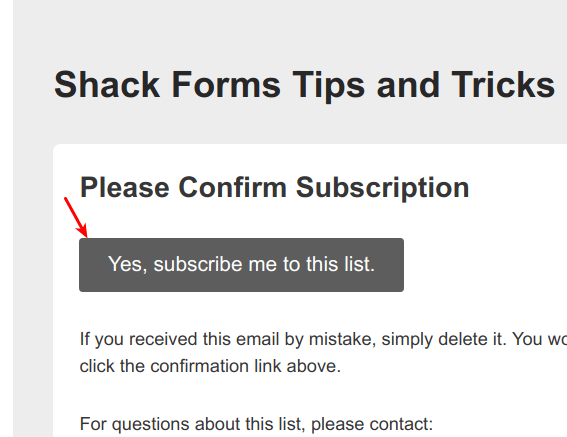
Once you sent the form, check your inbox. You should see the email marked with the Confirm Subscription button:

When you open this email, inside the email body, click on the Yes, subscribe me to this list button:
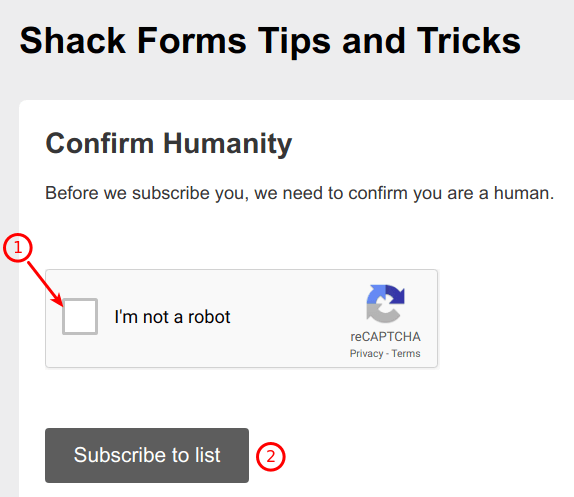
You will be taken to the Mailchimp's Confirm Humanity page.
Click within the I'm not a robot checkbox (1) and click Subscribe to list:
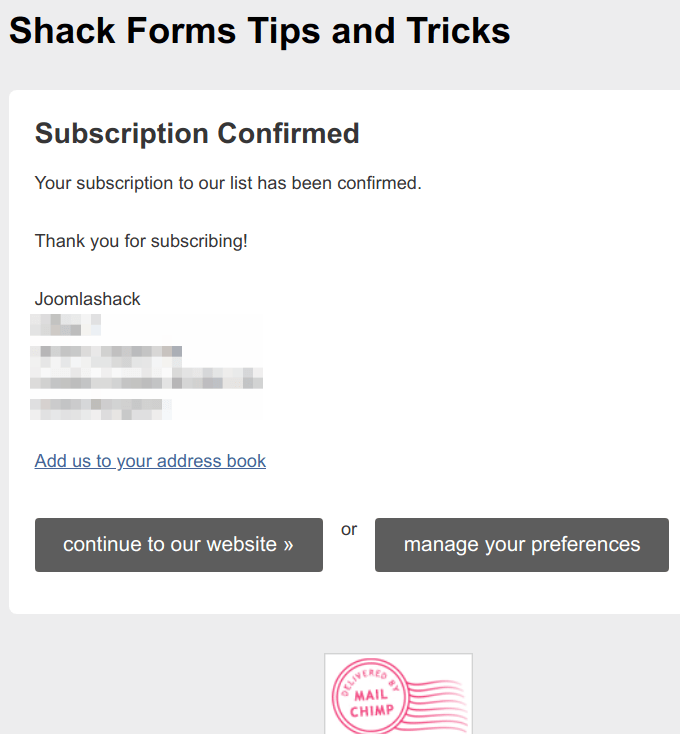
You will see the Subscription Confirmed page:
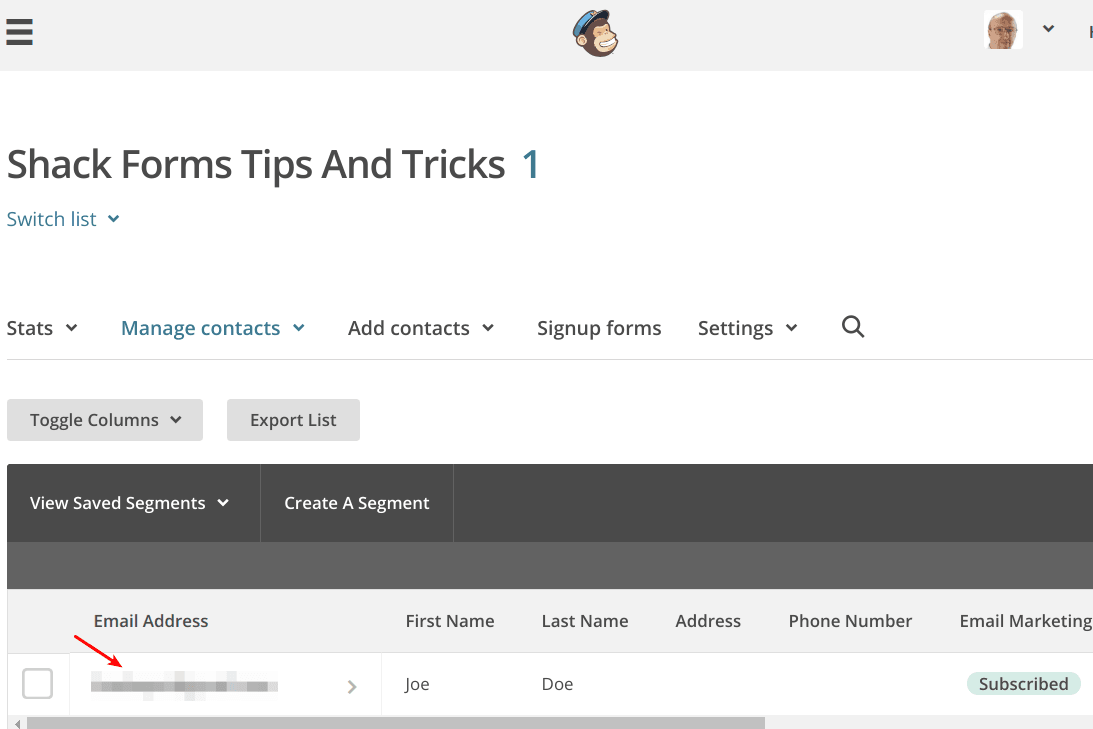
When you check your Mailchimp list to which you set your Shack Form, you will see the subscription listed:
Option #2. Use Shack Forms to create an email list with the AcyMailing extension
AcyMailing by acyba.com is a leading Joomla extension for creating and managing email lists.
Its integration with Shack Forms is a three-step process:
- Create your email lists in AcyMailing.
- Create a sign-up form for the AcyMailing lists using Shack Forms.
- Connect the form with AcyMailing.
Let's take a look at this process in more detail.
You create email lists in AcyMailing like you would create Joomla articles.
As you can see in the image below, I created three lists:

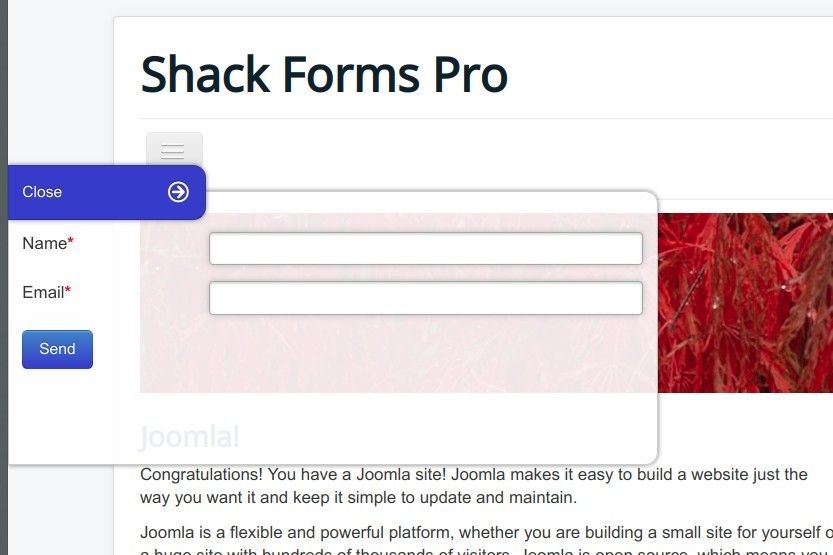
Next, you will create a sign-up form in Shack Forms. Let's assume you decided to create a basic form with just two fields: "Name" and "Email":

Here is how this sign-up form would look from the frontend:
Excellent! You have your AcyMailing email lists. You also have a sign-up form. Now let's ask our Shack Form to subscribe the form submitters to those email lists.
In your Shack Form, you would go to the "Integrations" tab:
You will locate the "Choose provider" parameter in the "Newsletter" section and set it to "AcyMailing."
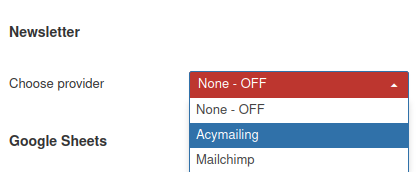
You will see the "Subscribe to lists" field drop-down with your AcyMailing email lists.
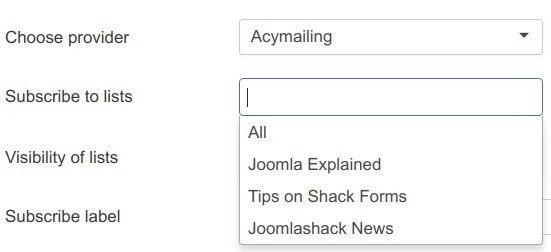
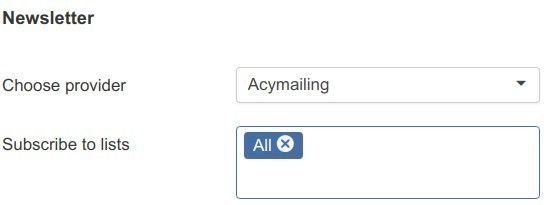
You then click on "All" to subscribe your visitors to all lists or click on a single list of your choice to subscribe to that particular list or lists. As you can see on the image below, I added all three of my AcyMailing lists:
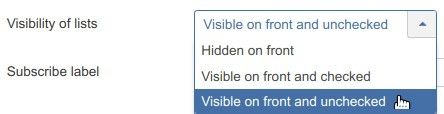
Set the "Visibility of lists". I opted for "Visible on front and unchecked" for my demonstration.
Optionally, set a custom label for the button of your sign-up form.
You are ready to finish and click "Save" or "Save & Close".
When you test your sign-up form, you will see the new subscribers in the AcyMailing lists.
Additional Reading
What's Next?
What's Next?
Save $1,000's when you sign up for Joomlashack's Everything Club.
You will get your hands on our extensive range of over 20 extensions, plus legendary support!