
Documentation for Joomla 6
In this getting started guide, you'll learn how to add online training to your Joomla 6 site using the OSCampus Pro extension.
OSCampus Pro has a simple structure: Classes contain Lessons. There are many other useful features, but we'll focus on these core elements to help you get started.
Step #1. Download and Install OSCampus Pro
If you have an OSCampus Pro subscription or an Extension Club membership, log in to Joomlashack and download OSCampus Pro.
Install OSCampus Pro using Joomla's built-in extension installer.
If you want to add videos or other media to your lessons, you can also download and install one of these extensions:
Alternatively, you can use another Joomla 6 plugin that supports the type of video or media you want to display.
Step #2. Create a Teacher
Every OSCampus Pro class must have a teacher. You can create an OSCampus teacher using an existing Joomla user.
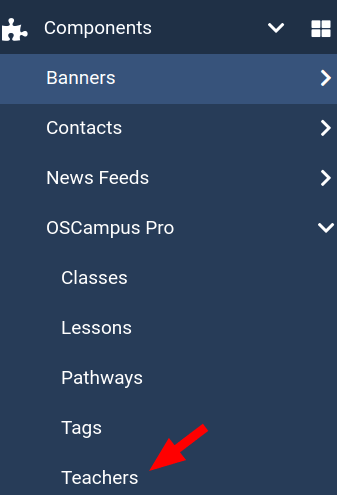
- In your Joomla 6 administrator dashboard, go to Components > OSCampus Pro > Teachers:
- You will see the "OSCampus Pro: Teachers" screen. Click New:
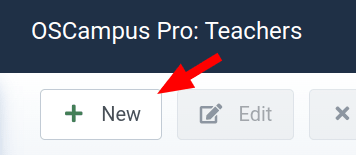
- Select a teacher from the User box.
- Enter the details for your OSCampus teacher.
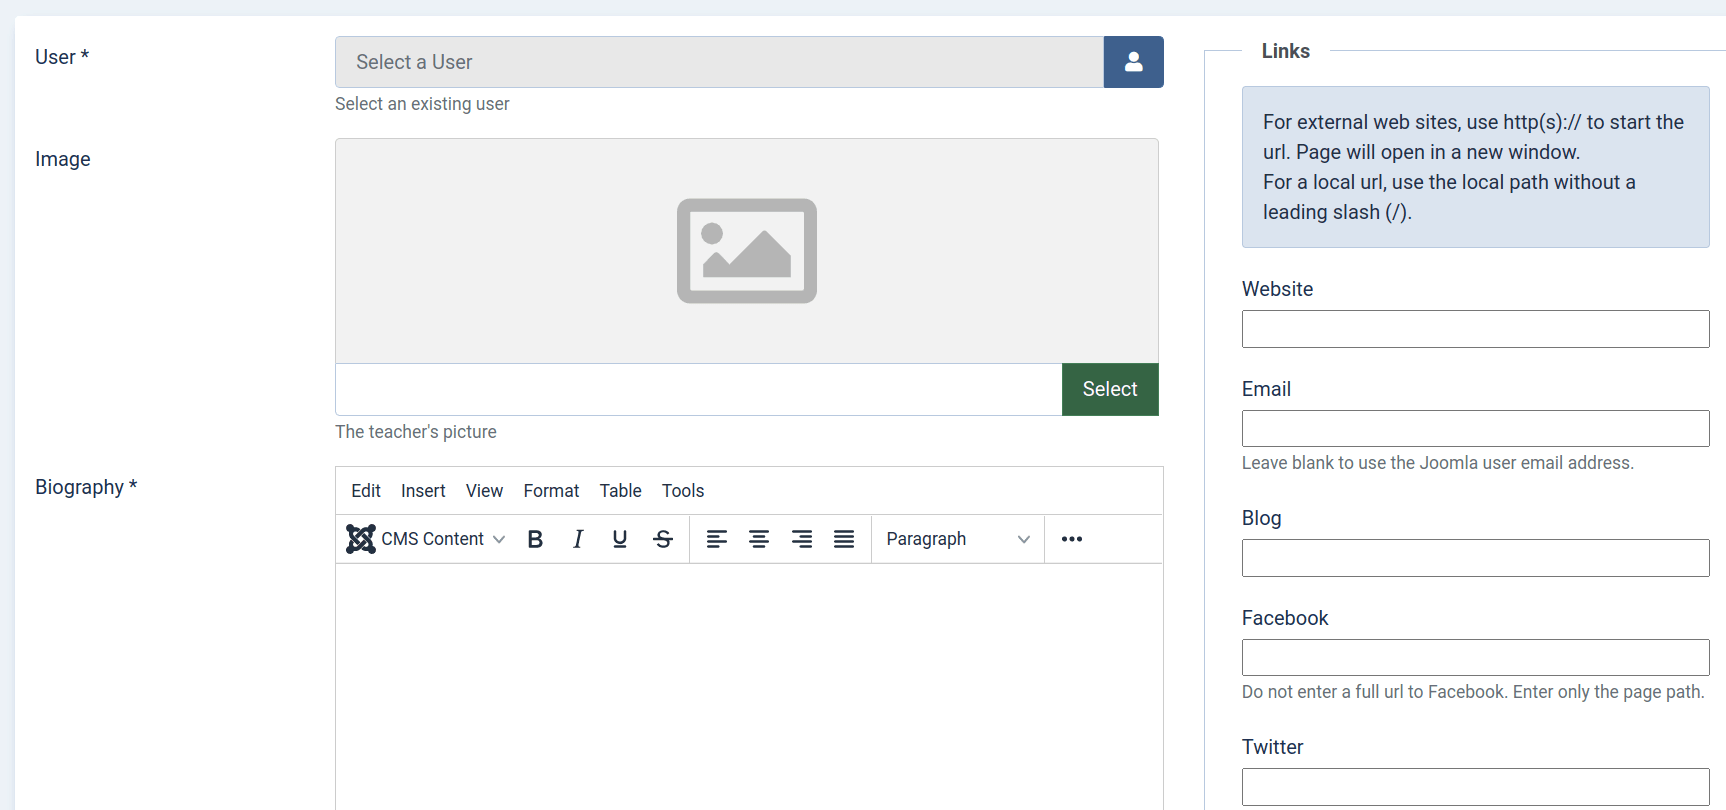
Here are the main settings:
- User: (Required) Select an existing Joomla user.
- Image: Select an image of your teacher. This image will be displayed on the teacher's class pages.
- Biography: (Required) Enter a biography for the teacher.
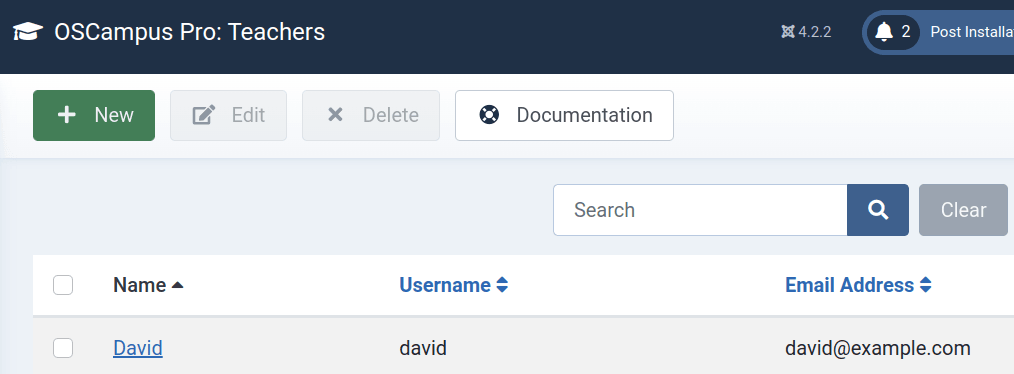
Once you have entered the teacher's details, click Save & Close. You will see the teacher listed on the "OSCampus Pro: Teachers" screen:
Step #3. Create a Class
- In your Joomla 6 administrator dashboard, go to Components > OSCampus Pro > Classes.
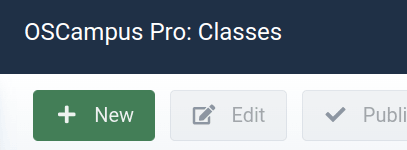
- You will see the "OSCampus Pro: Classes" screen. Click New:
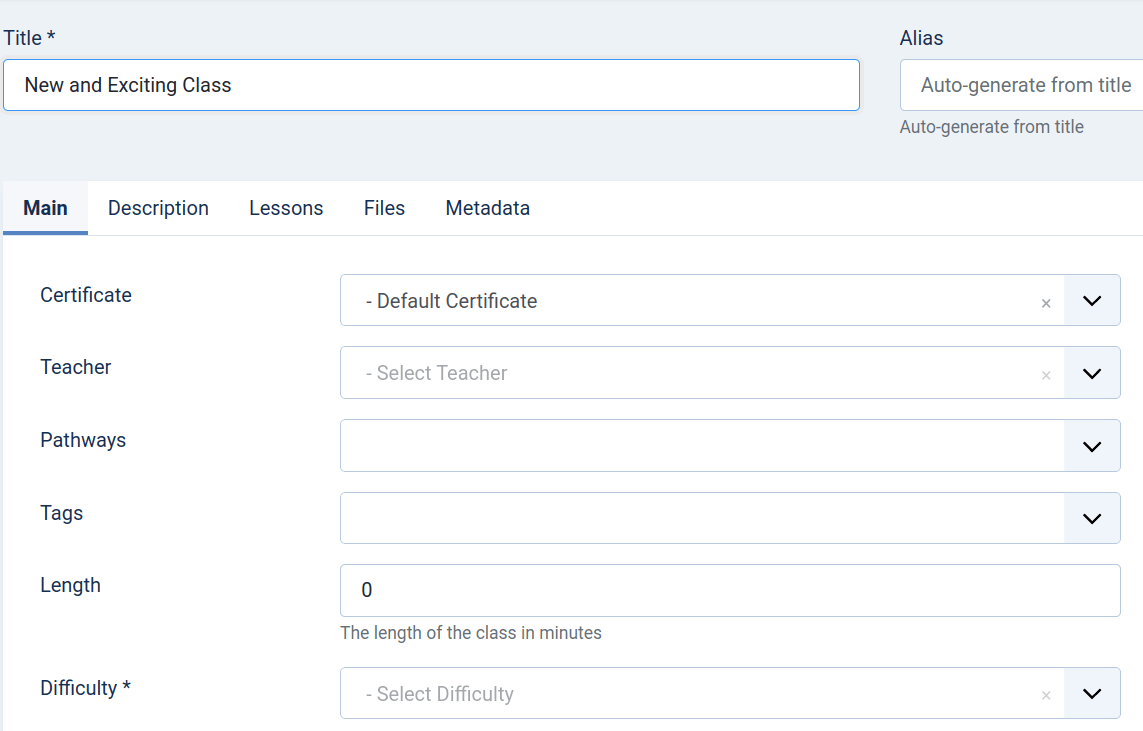
You can now set up your class. Here are the main settings:
- Title: Enter the title of your class.
- Certificate: Choose whether to use the default certificate or a custom certificate.
- Teacher: Select the teacher you created in the previous step.
- Pathways: Use pathways to organize your classes. They work in a similar way to Joomla categories.
- Tags: Add tags to your class. These work in a similar way to Joomla tags.
- Length: Let your students know approximately how long the class will take to complete.
- Difficulty: Select the difficulty level of the class. The available options are Beginner, Intermediate, and Advanced.
- Description: Enter a description of your class.
Step #4. Create Lessons
Now that you have created a class, you can add lessons to it.
- Click Lessons in the left menu.
- Click New.
Here are the main settings for your lesson:
- Title: Enter the title of the lesson.
- Class: Select the class you created earlier.
- Module: Use modules to organize your lessons into groups or sections.
- Lesson Type: Select the type of content you want to use for the lesson. The available options depend on the extensions you have installed. For example, if you have OSEmbed installed, you can select "URL Embed".

If you select "URL Embed", click Save. You can then enter the video URL under the Content tab.
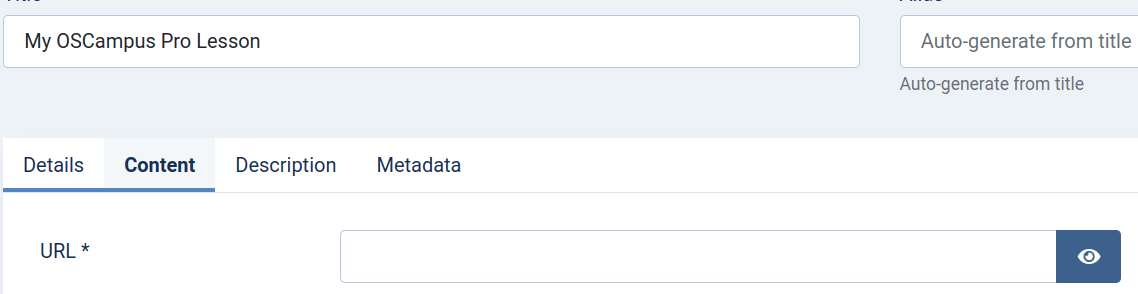
For example, you can enter the URL of a YouTube video in this field:
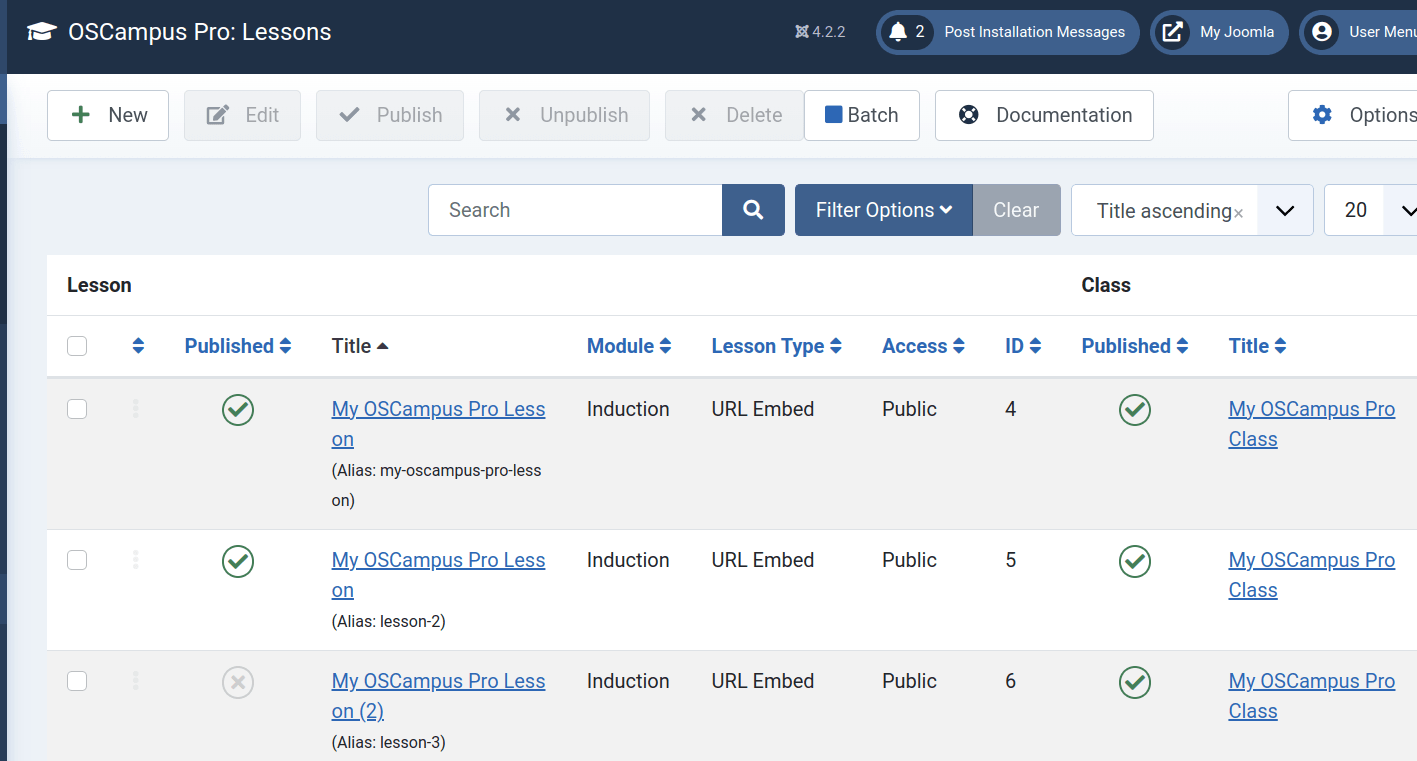
As you create more lessons, you will see them listed on the "Lessons" screen:
Step #5. Create a Menu Link
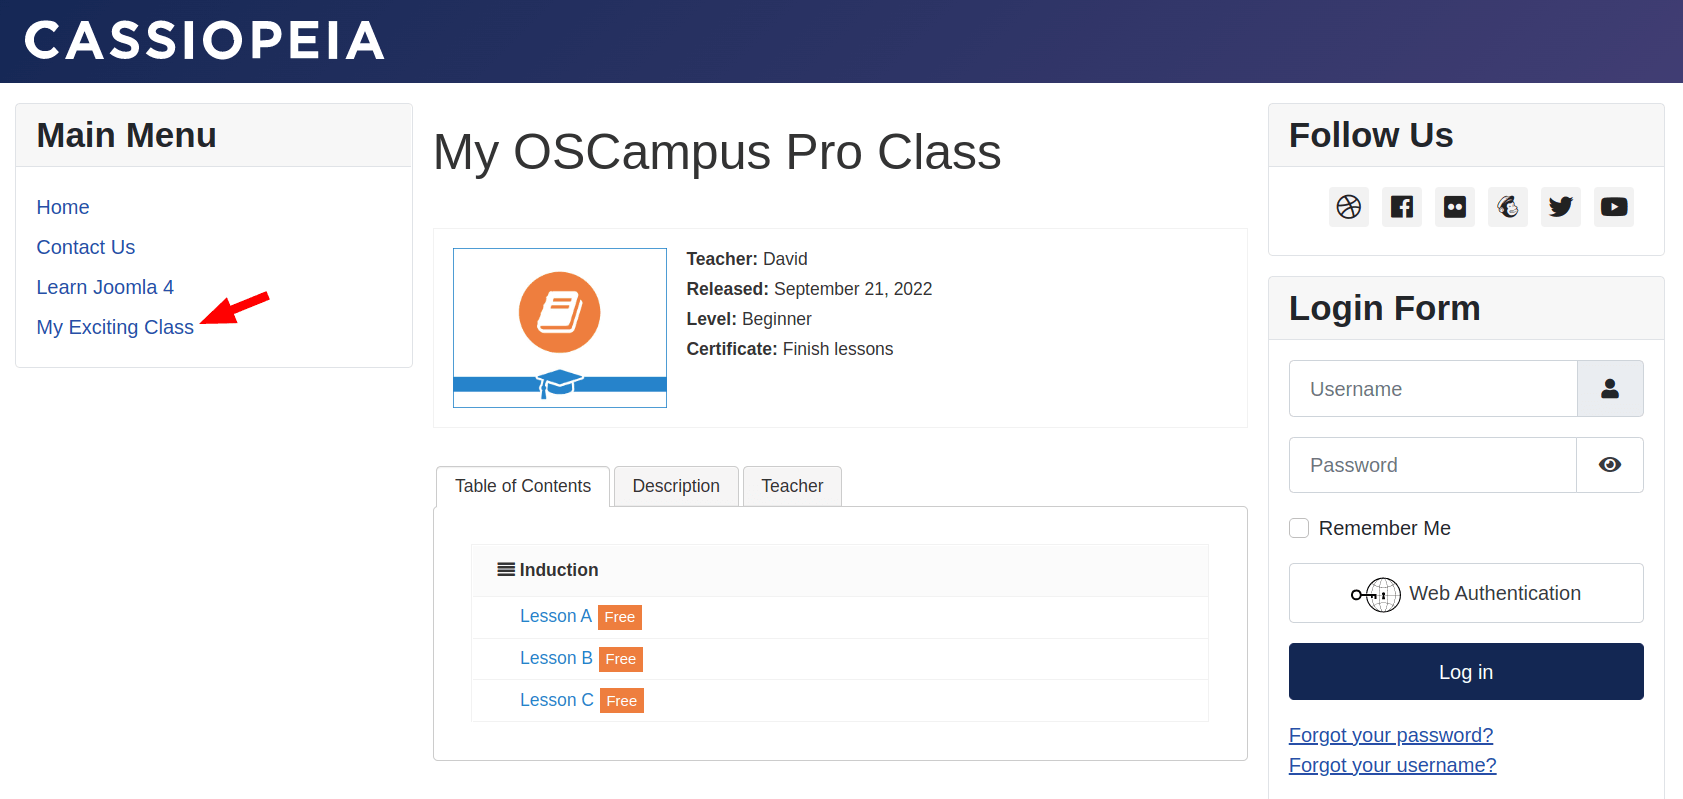
The final step is to create a menu item so visitors can access your OSCampus class from the frontend of your site.
- Read our tutorial "How to Create a Menu Item for an OSCampus Class" for step-by-step instructions.
- Save your menu item and visit the frontend of your site.
You will now see your class page. Visitors can view the class information and start working through the lessons.
What's Next?
Now that you have created your first OSCampus Pro class, here are some more tutorials that can help you explore its features:
Documentation for Joomla 3
In this getting started guide, you'll see how to add online training to your site using OSCampus.
OSCampus is organized in a very simple way. Classes contain Lessons. Everything is a secondary feature, so we'll focus on setting up those core elements.
Video guide to OSCampus
Step #1. Download and Install OSCampus
If you are an OSCampus Pro member, or an Extension Club member, login to Joomlashack and download OSCampus.
If you want to test the videos or media embeds in lessons, download and install one of these useful extensions:
If you wish, instead of the above extensions, use any Joomla plugin that shows videos or media.
Step #2. Create a Class
- Go to Components > OSCampus and you'll find the main screen.
Create your first class:
- Make sure "Classes" is selected in the left menu.
- Click "New".
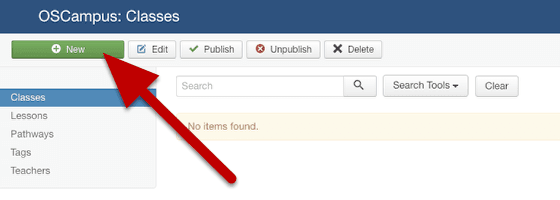
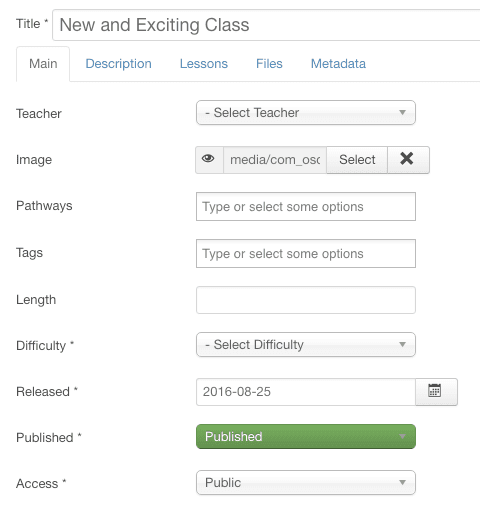
You can now set up your class. The main settings will be on the first page:
- Title: your class title.
- Teacher: you can add these via the main OSCampus page in the image above.
- Image: you can upload a main class image here.
- Pathways: these work in a very similar way to core Joomla categories.
- Tags: these work in a very similar way to core Joomla tags.
- Length: you can tell people how long the class will take to complete.
- Difficulty: currently available options are Beginner, Intermediate, and Advanced.
- Release: the publication date of the class.
- Description: click the tab and enter your class description.
Step #3. Create lessons
Now we can create lessons for this class.
- Click "Lessons" in the left menu.
- Click "New".
Here are the key things to enter:
- Title: The name of this lesson
- Class: Choose the class you created earlier
- Module: Use this to divide up the lessons into shorter modules.
- Lesson Type: This will depend on the video extensions you have installed. If you have OSEmbed, choose "URL Embed".
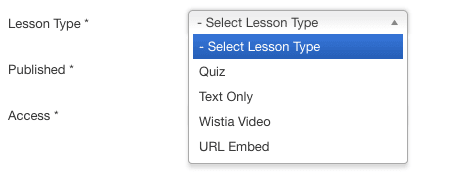
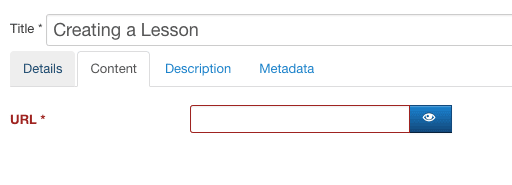
If you choose "URL Embed", and click "Save", you'll then be asked to enter a Video URL under the "Content" tab.
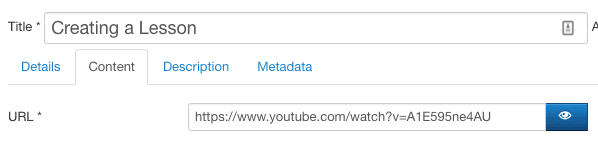
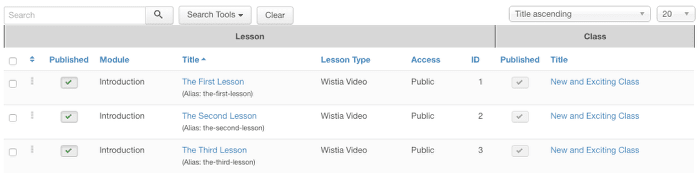
If you create several lessons, you'll see them organized on the "Lessons" page, as in the image below:
Step #4. Create a Menu Link
Read our detailed tutorial "How to Create a Menu Item for an OSCampus Class" to learn how to create a menu item for your OSCampus class.
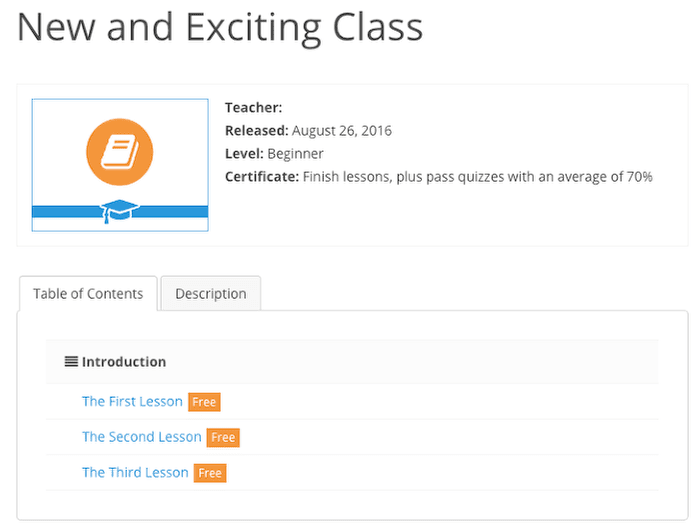
Save the menu link and visit the front of your site. You'll see a preview of the class. Click the title to see the full class overview, or click "Start this class" to go directly to the first video.
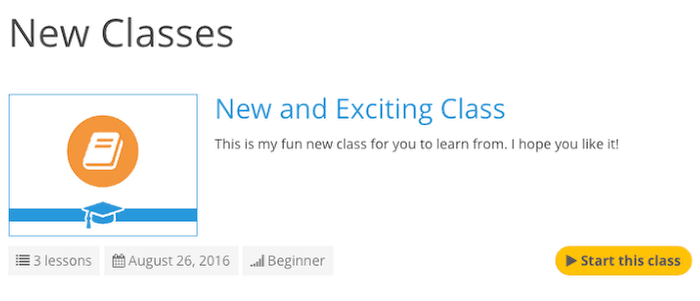
This image below shows the full class overview:
Here are more tutorials you can now take to learn OSCampus: