The Joomlashack Blog
How to Disable XML Styling in OSMap
- Written by Nick Savov Nick Savov
- Published: 25 October 2018 25 October 2018

One of our members was having trouble submitting his sitemap to Google. The message displayed at Google was:
"Your Sitemap appears to be an HTML page. Please use a supported sitemap format instead."
This tutorial will show you how to disable XML styling in OSMap, which should fix the issue. Let's get started.
CSS Grid #13: The auto-fill and auto-fit Keywords in CSS Grid
- Written by Jorge Montoya Jorge Montoya
- Published: 16 October 2018 16 October 2018

Welcome to the 13th tutorial in our series on the CSS Grid.
We are presenting this series to help Joomla developers learn about CSS Grid. The introduction of CSS Grid will be one of the major changes in upcoming Joomla 4.
As you already learned, it is possible to create repeating track patterns with help of the repeat notation.
However, using this method gives you a fixed number of tracks, independently of the content inside each one of them.
The auto-fill and auto-fit keywords will allow you to place as many tracks of the specified size as possible, depending on the size of the viewport. This tutorial will explain the usage of these keywords.
Let’s start!
Read more: CSS Grid #13: The auto-fill and auto-fit Keywords in CSS Grid
CSS Grid #12: The minmax() Function
- Written by Jorge Montoya Jorge Montoya
- Published: 08 October 2018 08 October 2018
Welcome to the 12th tutorial in our series on the CSS Grid.
We are presenting this series to help Joomla developers learn about CSS Grid. The introduction of CSS Grid will be one of the major changes in upcoming Joomla 4.
Accordng to the CSS Grid Specification, minmax()
Defines a size range greater than or equal to min and less than or equal to max.
In other words, the minmax() function provides a method to specify the minimum and maximum sizes of a grid track. Thus, the minimax() takes two values as parameters.
This tutorial will explain the use of this CSS function.
Getting to Hello World With Your First Joomla Plugin
- Written by Steve Burge Steve Burge
- Published: 28 September 2018 28 September 2018

Are you ready to learn how to build Joomla plugins?
These powerful extensions act on Joomla's trigger events to perform almost any task that you can imagine. Plugins are responsible for a huge variety of tasks on your site from logins, to search, to article features and 1,001 other things.
Inside Joomlashack University, you'll find detailed classes on every aspect of Joomla development. In these 3 videos, we'll show you how to set up your Joomla plugin environment and create a "Hello World" plugin.
Read more: Getting to Hello World With Your First Joomla Plugin
Fresh Install - Template Messed Up?
- Written by Steve Burge Steve Burge
- Published: 25 September 2018 25 September 2018
One of the most asked questions we get in our support ticket system, is why a particular template is 'messed up, broken, not right, etc etc' upon first installation.
The following is taken from a tutorial on how to set up the Onyx template with Joomla 3, however, there are some concepts that might help a user of any Joomlashack template understand why a template does not look like the demo right out of the box.
This information is not designed to help you set up any particular template besides Onyx (for that please see the template documentation in the demo of the template you are seeking help with) but it is important as a user of Joomla to grasp some concepts that will make life a little easier as you learn how to use this sometimes confusing system.
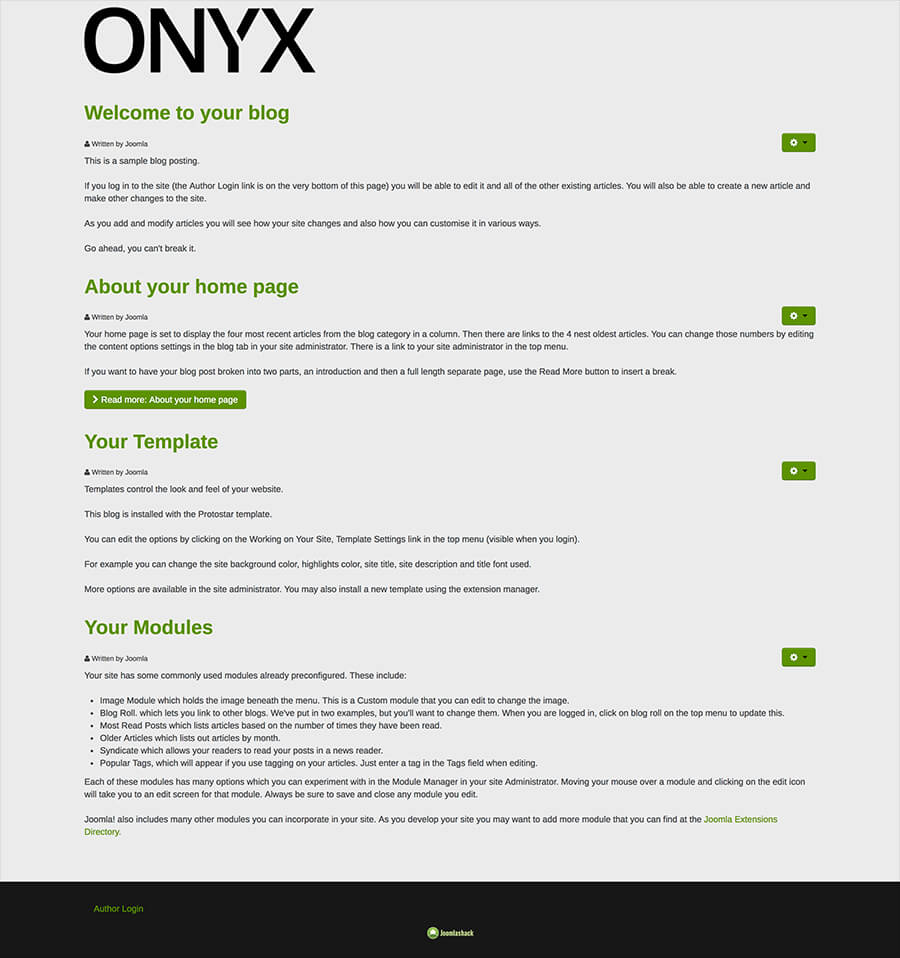
Default Template installed
This is how our Onyx template with demo content looks, within the style variations.

So you've installed Joomla successfully, and now you want to us a profession template. First you need to install your template. For help with installing that template, see the tutorial 'How do I install a Joomlashack Template'
Joomlashack Template installed
This is how Onyx template looks without the demo content.
You've successfuly installed your template and set it as the 'default', and gone to view your wonderful new template... and WHOA! It looks like something went terribly wrong!
...it's not all that bad - you just need to do some simple template setup now. Keep reading and it will all look good in a time.
First Things First - know your available module positions!
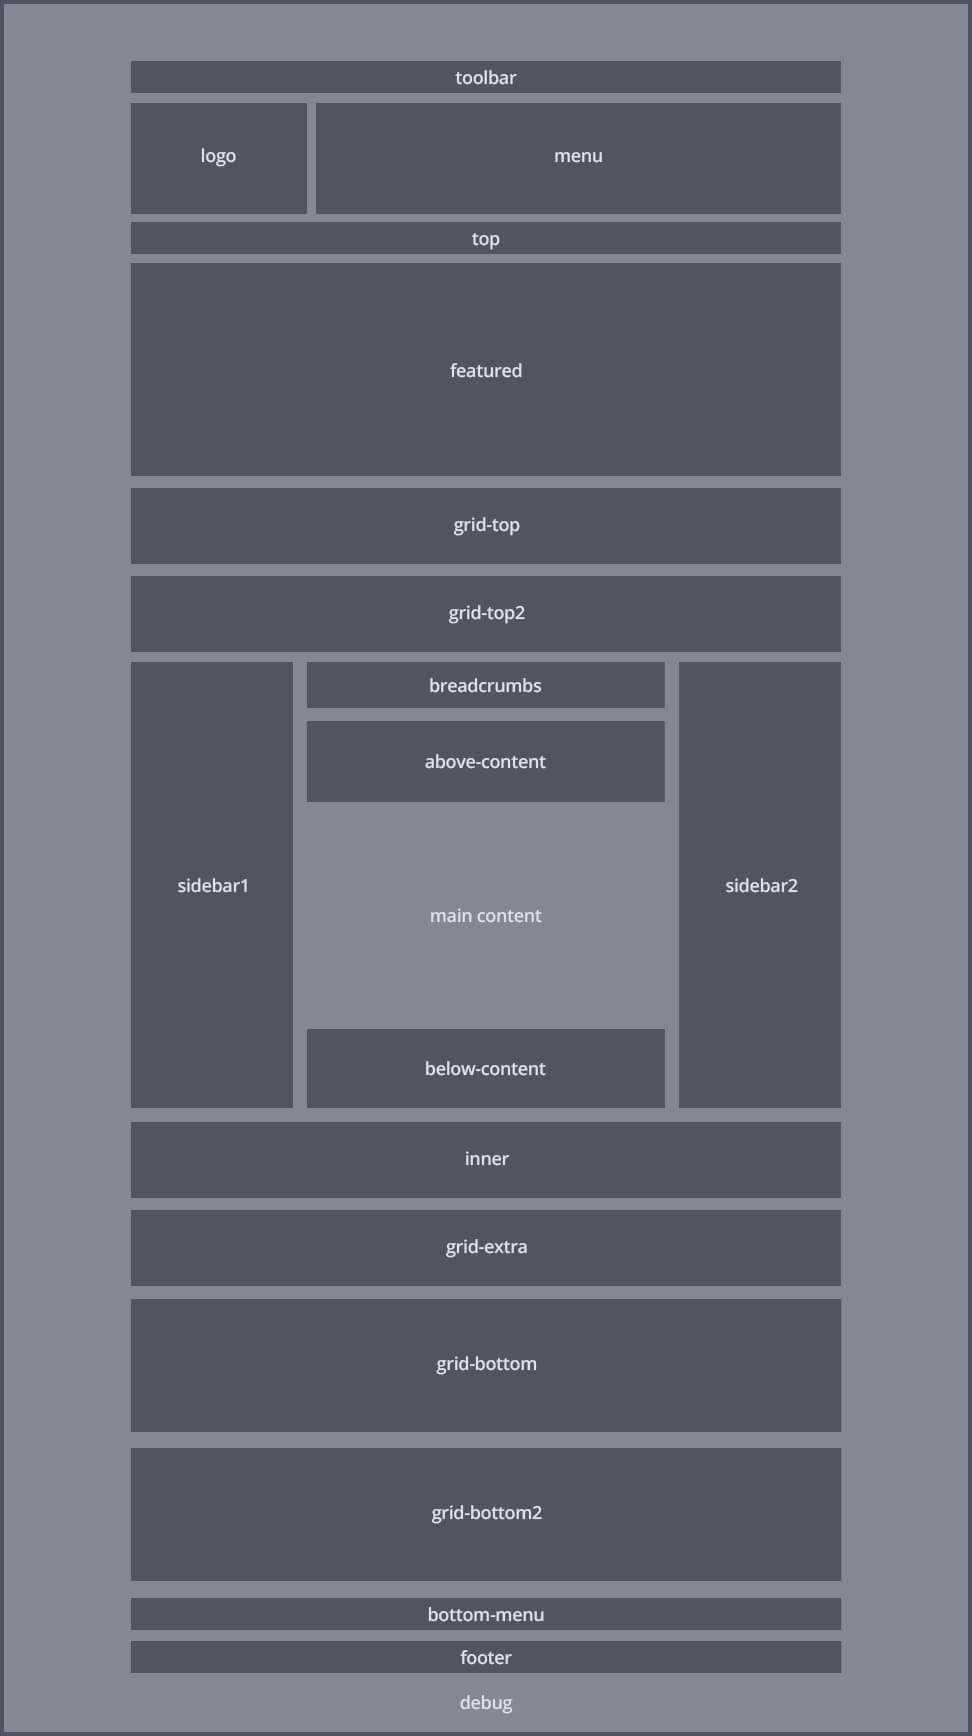
Before you can put things where they belong (or where you want them), or move things from where they don't belong, you need to know what module positions are available with your particular template. Each template demo contains a 'Module Map'. The module map will outline your available module positions. This is the Module Map for Onyx, to view the module map for your particular template, see the Demos.
Where is my menu?
You'll notice in the default template (Protostar), that menu module is published nicely to the 'position-1' position. When you change the default template to the Onyx template (in this example), you need to change that menu module to the 'menu' postion.Know your available module styles
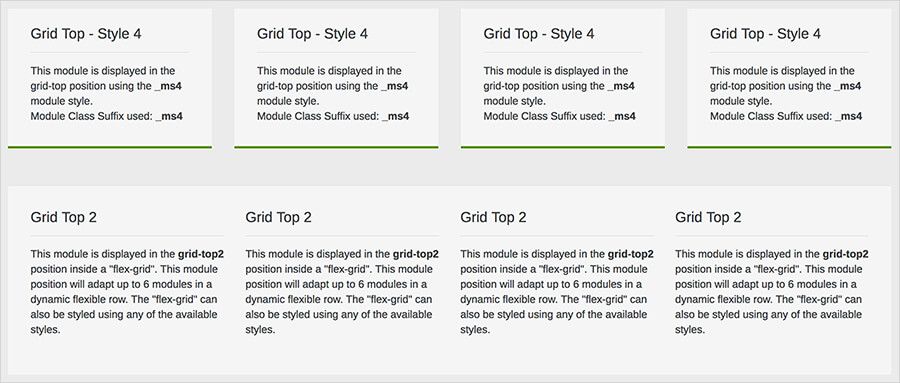
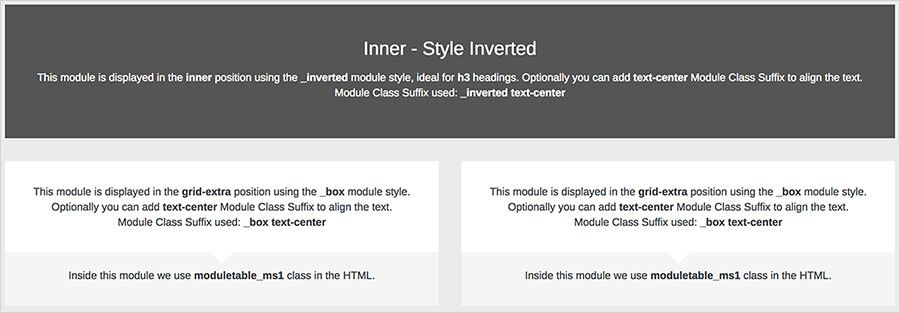
Just as you need to know what module positions are avaialbe if you want to put things where you want them - you also need to know the styles that are available for your particular template. And just as each demo contains a Module Map ... guess what?.... they also contain info on what styles are at your disposal!
The above image shows the 'Module Class Suffixes' and corresponding formatting for the Onyx template (for your template's available suffixes, see the demo).
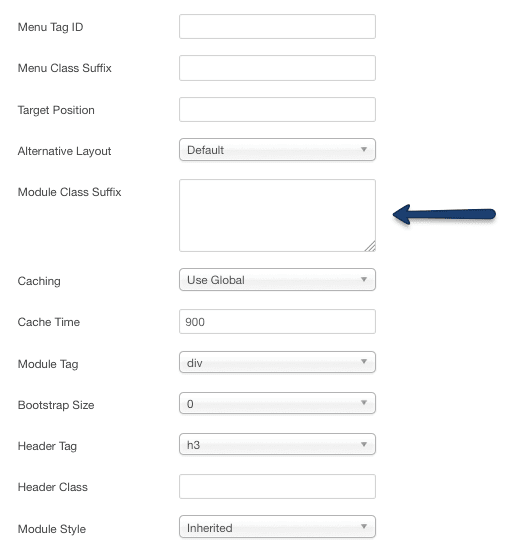
Add the suffix.
The module itself will gain styles based on the Module Class Suffix, which is added in the module's parameters as seen in the screenshot below:
Remember, if you need help further assistance after viewing this information and the documentation for your template, please submit a ticket (only available for customers).
Thanks for using Joomlashack's template, and Have Fun!
CSS Grid #11: How to Place Items with Grid Template Areas
- Written by Jorge Montoya Jorge Montoya
- Published: 25 September 2018 25 September 2018
Welcome to the 11th tutorial in our series on the CSS Grid.
We are presenting this series to help Joomla developers learn about CSS Grid. The introduction of CSS Grid will be one of the major changes in upcoming Joomla 4.
In past tutorials, you learned how to place items on a grid using the span keyword and/or using a line-based placement.
There’s another method for placing items on a grid. You can create areas inside the grid with your own specific names and then position the items
Read more: CSS Grid #11: How to Place Items with Grid Template Areas
CSS Grid #10: How to Name Grid Lines
- Written by Jorge Montoya Jorge Montoya
- Published: 17 September 2018 17 September 2018
Welcome to the 10th tutorial in our series on the CSS Grid.
We are presenting this series to help Joomla developers learn about CSS Grid. The introduction of CSS Grid will be one of the major changes in upcoming Joomla 4.
In the previous tutorial, you learned how to place grid items according to the numbered lines that compose the grid.
As humans though, we find much easier to process names rather than numbers.
In this tutorial, you will learn how to name the lines that compose the CSS Grid.
Let's start!
CSS Grid #9: How to Layer Items Inside a CSS Grid
- Written by Jorge Montoya Jorge Montoya
- Published: 05 September 2018 05 September 2018
Welcome to the 9th tutorial in our series on the CSS Grid.
We are presenting this series to help Joomla developers learn about CSS Grid. The introduction of CSS Grid will be one of the major changes in upcoming Joomla 4.
Read more: CSS Grid #9: How to Layer Items Inside a CSS Grid
CSS Grid #8: How to Use Line Placing in CSS Grid
- Written by Jorge Montoya Jorge Montoya
- Published: 29 August 2018 29 August 2018

Welcome to the 8th tutorial in our series on the CSS Grid.
We are publishing this series because Joomla developers need to know about CSS Grid. The introduction of CSS Grid will be one of the significant changes in Joomla 4.
CSS Grid #7: How to Size Grid Items with the Span Keyword in CSS Grid
- Written by Jorge Montoya Jorge Montoya
- Published: 22 August 2018 22 August 2018
Welcome to the 7th tutorial in our series on the CSS Grid.
We created this series because Joomla developers need to know about CSS Grid. The introduction of CSS Grid will be one of the significant changes in Joomla 4.
Here are the previous posts in this series:
- Everything Joomla users need to get started with CSS Grid
- How to use the Grid Inspector tool in Firefox
- The difference between Implicit and Explicit grids
- How to use the Autoflow property
- Determining the size of the tracks
- The Auto keyword and repeat notation
Read more: CSS Grid #7: How to Size Grid Items with the Span Keyword in CSS Grid