The Joomlashack Blog
VirtueMart - eCommerce for Joomla
- Written by Ed Andrea Ed Andrea
- Published: 02 November 2011 02 November 2011
![]() VirtueMart is absolutely huge. By some counts, it stands second in popularity amongst all eCommerce platforms.
VirtueMart is absolutely huge. By some counts, it stands second in popularity amongst all eCommerce platforms.
Right now the VirtueMart team is getting ready to launch VirtueMart Version 2.0 for Joomla 1.7. So this is a great opportunity to give you an introductory tutorial.
VirtueMart comes with a lot of flexibility and there are also many additional extensions available. Get started with the following tutorial. Afterwards you can move on to more advanced features and extensions with confidence.
How to Clear the Cache in Joomla
- Written by Ed Andrea Ed Andrea
- Published: 25 October 2011 25 October 2011
We get asked this question quite often. Usually someone is trying to change something in their admin section, they go to the site to preview the changes and - NOTHING'S CHANGED!
That usually leads to varying amounts of hair pulling and frustrated searching around for answers. However, the solution is pretty simple once you know how to manage cache.
SobiPro - The Missing Documentation
- Written by Ed Andrea Ed Andrea
- Published: 21 October 2011 21 October 2011
 SobiPro is a great Joomla extension. It allows you to create completely custom displays for the information you need.
Let's take an example. You buy, sell or make guitars and you need to build a catalog to show them. You're going to have someone type in your product list with all sorts of information that is specific to your guitars. A basic Joomla article simply has a title and a body, with no special fields for the price, the manufacturer or other information that is vital for your customers.
SobiPro is called a Content Construction Kit (CCK) because it allows you to construct the content that you want. It allows you to create a custom display for the information you need. We've also written documentation for K2 which is another Joomla CCK.
Help, My Joomla Username and Password Don't Match!
- Written by Ed Andrea Ed Andrea
- Published: 21 October 2011 21 October 2011
Has this happened to you? You try to login and suddenly your username and password don't match.
Well, it happened to me three times this week, and after doing a little research I found that this happens more often than it should.
In this tutorial we'll show you how to fix it, and in the process, you will learn how to enable and disable plugins using phpMyAdmin when you can't get to your Joomla Admin panel.
Read more: Help, My Joomla Username and Password Don't Match!
Stay Logged Into Your Joomla Site for Longer
- Written by Ed Andrea Ed Andrea
- Published: 20 October 2011 20 October 2011
There is nothing more frustrating than working on a Joomla entry a little too long and then trying to save and get the login screen ( OK, I guess there are worse things, but this one ranks pretty high).
You can make the frustration go away by going to Site > Global Configuration and increasing the session time. You can also solve the problem with the installation of a simple plugin called Admin Forever. With this plugin, once you log in you'll stay logged in - until you log out, that is.
Remove your meta tag generator from Joomla header.
- Written by Steve Burge Steve Burge
- Published: 19 October 2011 19 October 2011
Your Joomla site always comes with a default meta generator to show that your website is a Joomla site, and sometimes it will show its version as well. It is important to hide this for security measures if you do not want others to see your source code and know it is a Joomla site and what version it may be. It is good to be aware that the changes you make will be overwritten when upgrading your Joomla version.
Read more: Remove your meta tag generator from Joomla header.
Encrypt any password in Joomla using MD5
- Written by Ed Andrea Ed Andrea
- Published: 19 October 2011 19 October 2011
We already have a tutorial on changing the password of a Joomla user to "admin". That tutorial allows you to reset any user password to "admin".
However, one of our students wanted to know how to create safer passwords. How could they create safer passwords that were also encrypted in the database. Here's how to do it ...
Impacto template gets a Joomla 1.7 update!
- Written by JohnFlanagan JohnFlanagan
- Published: 17 October 2011 17 October 2011
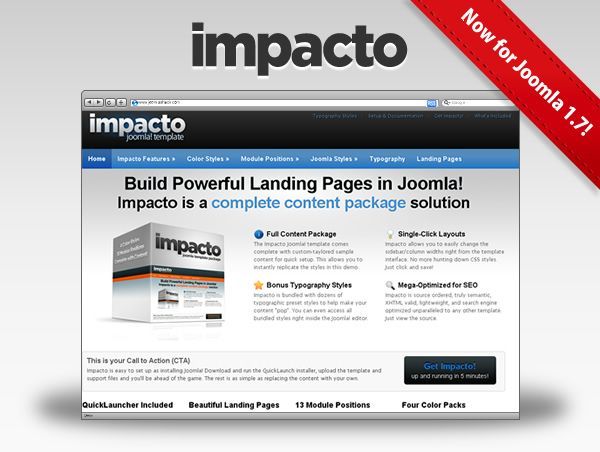
We're excited to announce that we've just updated Impacto—one of our most popular templates—to Joomla 1.7!
It takes roughly 100 man-hours to upgrade one of our templates to our versatile and dynamic Wright Framework. It may look the same, but for all intents and purposes, this is a brand new template. Besides being a great all-purpose Joomla template perfect for any site, Impacto is also a powerful Landing Page for your advertising campaigns.
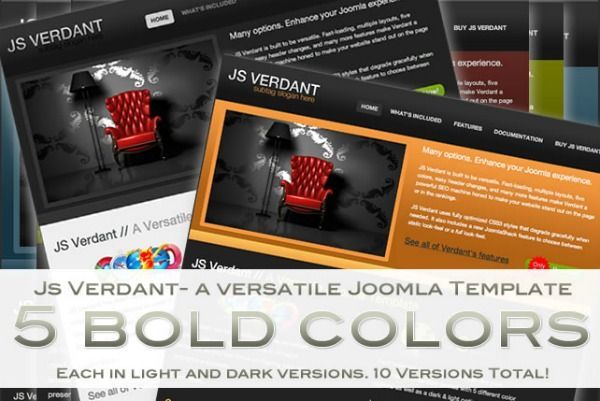
Verdant template upgraded to Wright and Joomla 1.7!
- Written by Joomlashack Joomlashack
- Published: 17 October 2011 17 October 2011
We are well into the month of December and here at the Shack, we are still working hard for you. We will continue working the remainder of the month and hope to release two more templates before the month is over.
Read more: Verdant template upgraded to Wright and Joomla 1.7!
Our New Year Gift for You: A New Free Joomla Template
- Written by Joomlashack Joomlashack
- Published: 17 October 2011 17 October 2011
We at the Shack are excited about 2012 and to start off the year well we are releasing this pretty and NEW Free Joomla Template built on the Wright Framework.
During the first years of the Joomla! project, it used to be that you could not throw a stick in the Joomlaverse without hitting a Free Joomla Template. Today however, reliable Free Joomla Templates have become scarce and truly hard to find. Most Joomla Template stores either stopped making them, or they've hid them so deep inside their sites that you'll need Indiana Jones to help you find them. But not us...
Read more: Our New Year Gift for You: A New Free Joomla Template